Here is a tutorial outlining how to use video effects in Final Cut Pro, as well as how to use them to make video look like film.
Jumping to Video Effects
Video effects are a standard part of the digital video post-production and editing process, and all non-linear video editing programs have some degree of video effects available. These video effects are usually used to repair a video clip, alter the perspective or color, change the characteristics of the image, and generally take a different kind of control as to how the video image appears and behaves. Most video editing programs will not have an extensive sheet of video effect options like an effect specific program like Adobe After Effects , but they all will still have quite a number to take up at least your basic needs. Final Cut Pro is quickly becoming the most popular non-linear video editing program both in homes and the professional industry, and it also has enough options to keep you busy for quite a while. Here is a basic look at how to use video effects on your Final Cut Pro project, as well as how to use Final Cut Pro to make video look like film.
Applying Video Effects
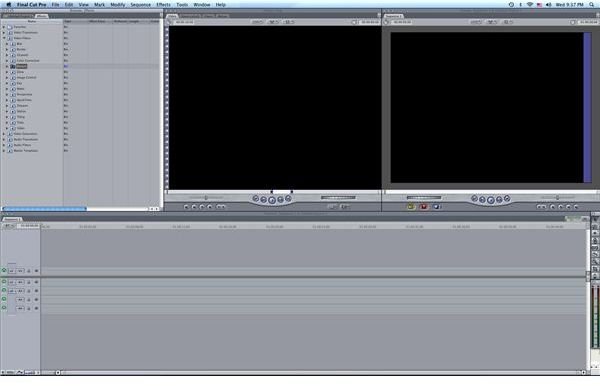
You are going to start out in Final Cut Pro by working with clips that are already in your Timeline. You do not want to be altering base clips or larger master clips as you want to make sure that these maintain the way that they appeared originally. Instead you are going to want to add video effects to clips that are already cut out and in play.
Go to the Browser and select the Effects tab, which will give you a series of options. From the list you are going to select Video Filters, which will be directly under Video Transitions and above Video Generators. Now you will be given a series of different labeled folders, each one indicating a category of video effects that are contained within like Blur or Image Control. When you choose one you will have a series of options for video effects that you want to apply to your clip, and all of them are going to be unique and have their own purpose.
Once you find the specific video effect you want you are going to select it and “drag and drop” it into the Timeline on the specific clip that you wan to add it to or you can select the clip in the Timeline and drag and drop the video effect over in the Viewer. Once the video effect is on the clip and it is opened up into the Viewer you can go to the
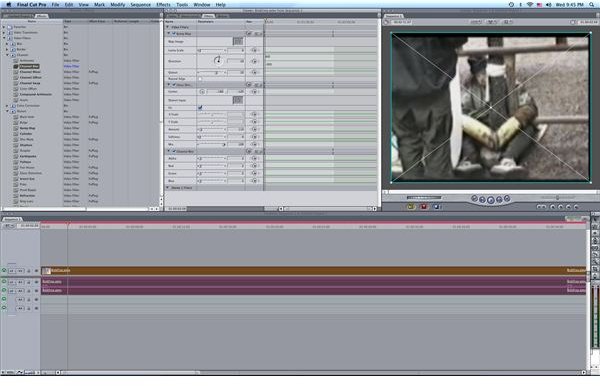
Filers tab and you can begin to control the specifics of the video effect, such as how intense it will be, the details of the changes it makes, and if you want it to move along with the Motion capabilities.
If you want to apply the same combination of video effects that you have on one clip to other clips then you can right click the clip with the Final Cut Pro video effects in the Timeline and choose Copy. Then right click on the clip you want to add these video effects to and right click it, select Paste Attribues. You will then choose Filters when you are asked what attributes you would want to paste.
Using Final Cut Pro to Make Video Look Like Film
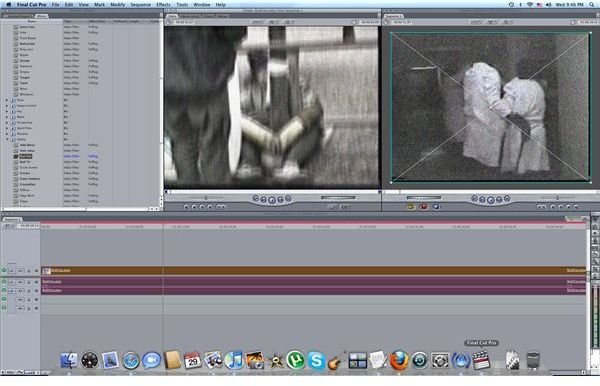
No matter what you do video will never look exactly like film, even with the most advanced video effects. What you can do is use Final Cut Pro make video look like film as closely as you can. Video filters are again going to be the primary way that Final Cut Pro will make video look like film, but a combination of video effects. Start by going into the Styalize folder in the Video Filters and dragging and dropping both Bad Film and Add Noise onto the clip. You will then want to add a little Blur, and the type of blur that you should use is not fixed so you can try several others. You will want to go into the Filters tab when the clip is up in the Viewer and lower the overall intensity of all three filters before applying 3-Way Color Corrector . This will allow you to bring out the colors even more, which will have been dulled by video. From here the video image is your canvas as you can start applying different filters to try and make it look more like film, but take a special look at avoiding interlacing, video noise, and a lack of contrast.


