In order to make sure that you are getting the most value out of the various storage media at hand try out the iTunes data disc burning feature which will make it easy for you to get it all sorted and taken care of.
iTunes Makes Making Data Discs Easy…
There are a number of ways in which you can get your iTunes music out of your computer but the oldest and most trusted way that I know of happens to involve DVDs. Yes, I said DVDs and I did not even wince or get a flash back of the 2000s. DVDs are still used a lot, especially if there is only a couple of gigabytes of data that needs to be transferred. Whatever your reasons, follow the steps that I have listed below and you will soon find yourself in possession of a iTunes Data Disc that you can use for a number of purposes.
Most people want to know if there are any benefits of using a data disc over standard MP3 disks and I must say that the biggest benefit that I can think of off-the-cuff is that when you burn data discs you are able to preserve the album artwork which is something that is impossible to do otherwise. In addition to that the folders that are created when you burn a data disc are set up in the same way as they are by default when your music library is managed by iTunes as opposed to being sorted by artist or by album name as far as MP3 discs are concerned.
Where To From Here?
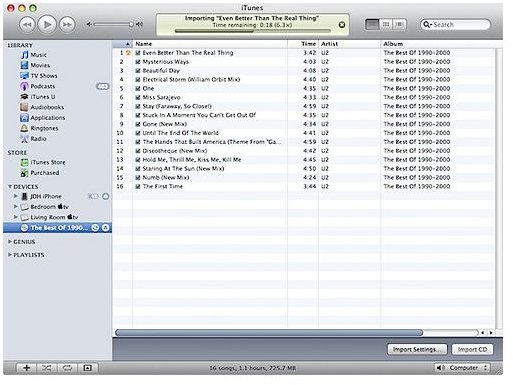
Unless you’ve changed the preferences on your Mac, the moment that you pop in a blank DVD or CD in your Mac with iTunes running you should get a blank CD detected alert and the blank disc should show up in your computer’s sidebar.
Add songs to the disc as you would to a playlist and once you are done with that what you need to do is click on the Burn CD/DVD icon at the top right hand side of the iTunes window.
iTunes Guide To Making And Using Data Discs. What Next?
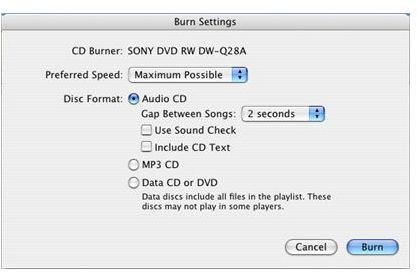
You will be prompted to choose a format to burn the disc in and you should select Data CD here. A quick tip before we go forward — make sure that all the songs that you would like to have burnt to the disc have checkmarks next to them since the ones that aren’t ticked won’t get written to the disc. They are all usually ticked by default so no need to worry though.
If you aren’t prompted to select what kind of disc you need to create what you need to do is head into your iTunes preferences and head into the Advanced pane where you can select what kind of disc your computer will burn by default when you are using iTunes. Alternatively, you can chose to burn an entire playlist to your data drive by selecting Burn Playlist to Disc from the file menu under iTunes.
If you need more information, have a look at the Four Ways to Burn a Data Disc on Your Mac as well as the The Best DVD Burning Software For Your Macbook articles respectively.
Image Credits: Tuaw.com / Apple.com


