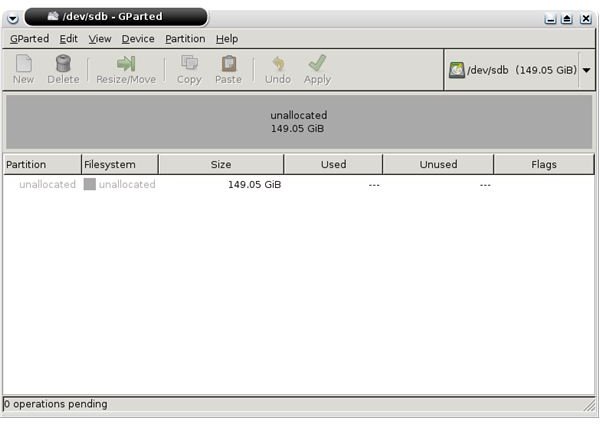
Partitioning a new hard drive can be a daunting task for a new Linux user. This article explains how to do this, and it will give some insight on how to use GParted for this task. I’ll use a real life scenario and include a lot of screen shots to help out.
Note: This set of “how to” instructions was written for Kubuntu. Procedures described might work differently on your distribution.
What Software to Use?
I haven’t found any partitioning software for Linux that is better than GParted. I’ve tried others but they are not as easy to use.
The Scenario
You bought a new 160GB hard drive and you want to start using it. You put it in your box (synonym for your computer), but Kubuntu doesn’t recognize the drive. So, now it must be partitioned. You want to divide it up into three partitions, but how?
How To Install?
You will find GParted in most of the repositories of Linux distributions out there. Just in case you can’t, here’s the link to the GParted website . You will also find more detailed information about GParted there.
Now the How To
Start GParted (start->system->Partition Editor). You will have to put in your password because GParted needs root access to the drives.
For the purpose of these intructions, I’ve hooked up a 160GB hard drive via USB. The concept for partitioning is the same whether the hard drive is internal or external.
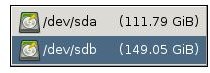
First to appear is the default window of GParted. I have more than one hard drive, so I have to select the right device as shown in the following screenshot.
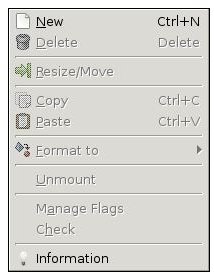
Right click on the unallocated partition then click New.
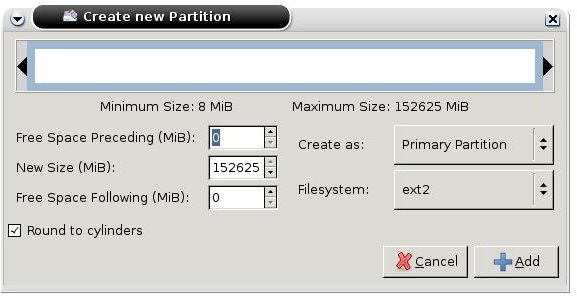
Resize the partition. There is 149.05GB to divide, so make the first two partitions 49GB each. The remaining amount will be used for the third partition.
Why doesn’t it read 160GB anymore?
It is related to the conversion from binary to decimal values. Hard drive manufactures use the decimal values. Operating systems use binary values. In decimal value, 1 GB = 1,000,000,000 bytes. In binary value 1GB = 1,073,741,824 bytes.
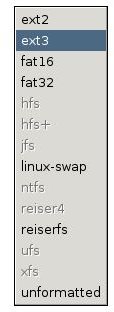
Change the file system to ext3.
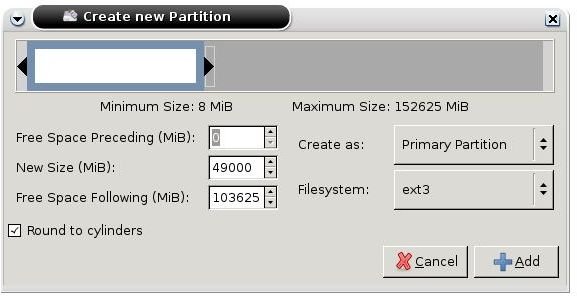
This is how it should look after configuring all the options. Now click add. Repeat this step for the other two partitions.

After creating all three partitions, click Apply.
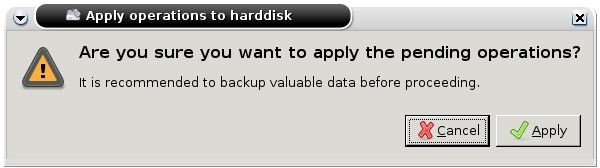
Now it will ask if you’re sure. Click Apply.
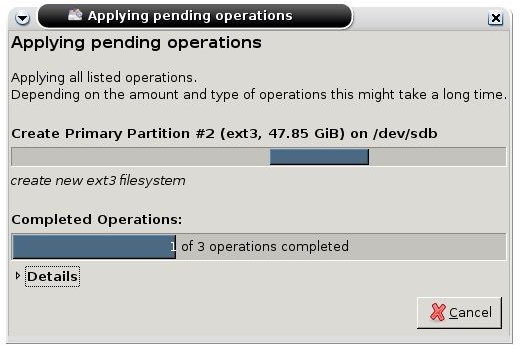
After clicking apply a window will pop-up.
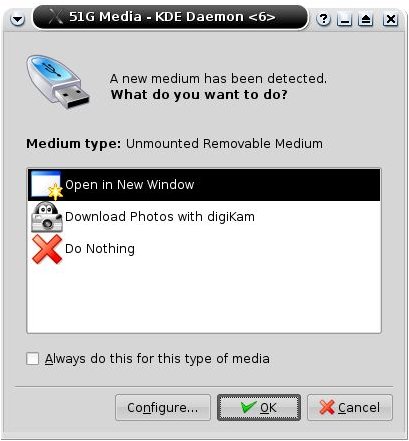
GParted performs many operations at one time and may take up to several minutes to finish. When GParted is done creating a partition, a window will pop-up and the partition will be ready for use.
Adding the Partition to Fstab
In part 2 of this series, I’ll explain how to add the partition to the fstab file. If you’re unfamiliar with the fstab file, don’t worry. I’ll explain all about that, too.
This post is part of the series: Partitioning And Mounting Made Easy
This multi-part article will explain and demystify Linux hard drive Partitioning and Mounting. If you are a beginner in the Linux world and just bought a new hard drive then this article is a must read.