Tutorial: How to Make a Bow on Photoshop
Ribbons and Bows in Photoshop
Sometimes you want to add a little flare to your graphics design projects, or maybe you want to create a great finishing touch for an invitation or thank you card. You can use this tutorial to learn how to make a bow on Photoshop. This tutorial was written using Adobe Photoshop CS4, but will work just fine for versions 7.0+. It was also written in mind for those who have a basic knowledge of where the tools are located and how they work - namely the pen tool, the dodge tool, and the burn tool.
Create a new document in Photoshop. Here I’m going with an 800x600 document - standard 72DPI - If you’re going to be printing it, you are going to want to increase the DPI for a smoother product when printed.
If you’re using this image for a graphic design product, you can go ahead add a background, or add one later if you so choose. Here, I’m using a fading gradient in orange and yellow.
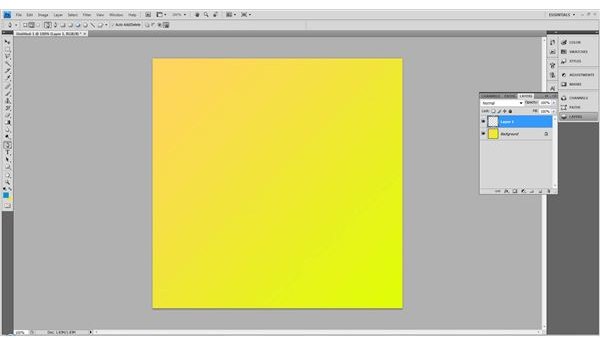
Create a new layer on top of it and tile it “Bow Loops” and make sure it is your active layer. It should be highlighted.
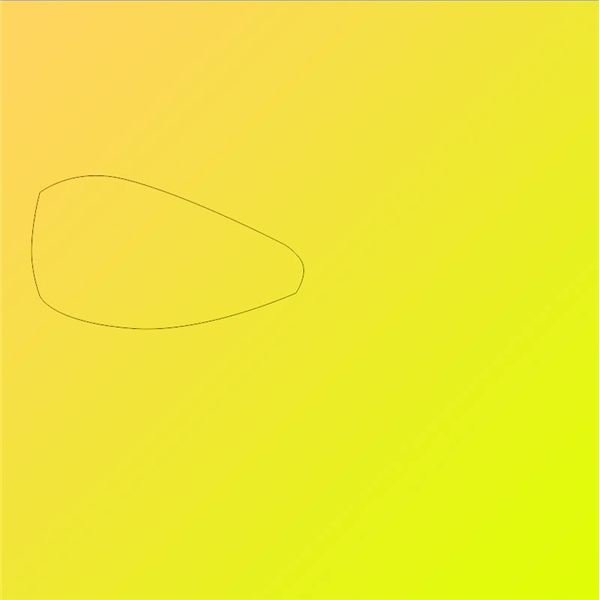
Now, grab the Pen Tool and create a loop of your bow. I’m going with a standard two-loop bow, but you could easily create a multi-loop bow if you’ve got the desire to do so.
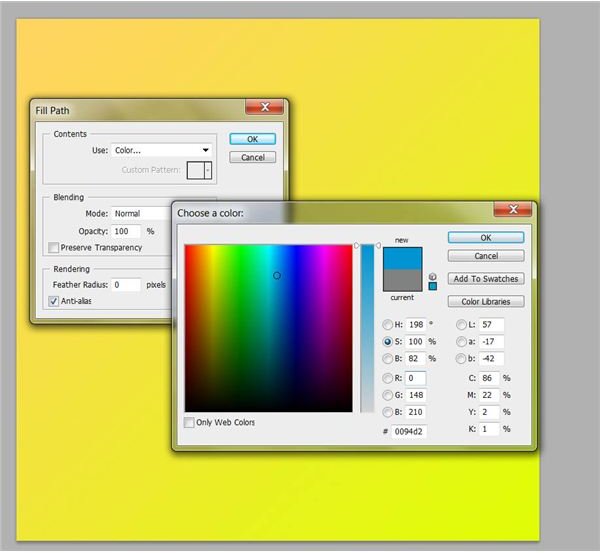
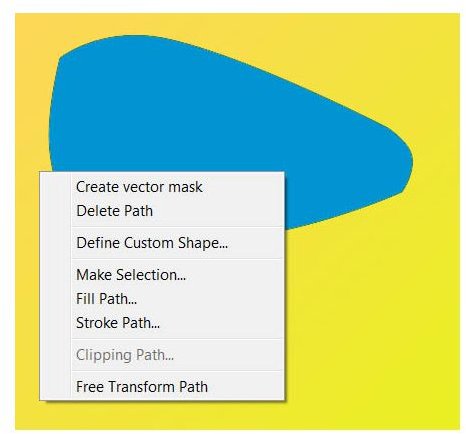
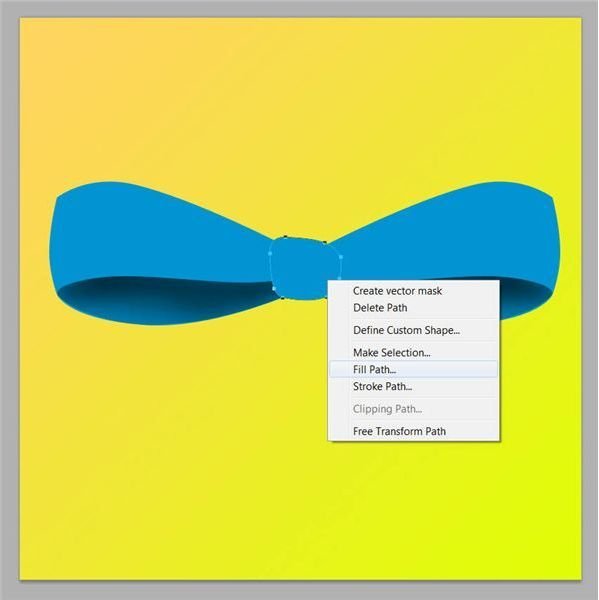
Right click and fill your bow with a your desired color. Here I am using #0094D2.
Delete your pentool path by right clicking and selecting “delete path.”
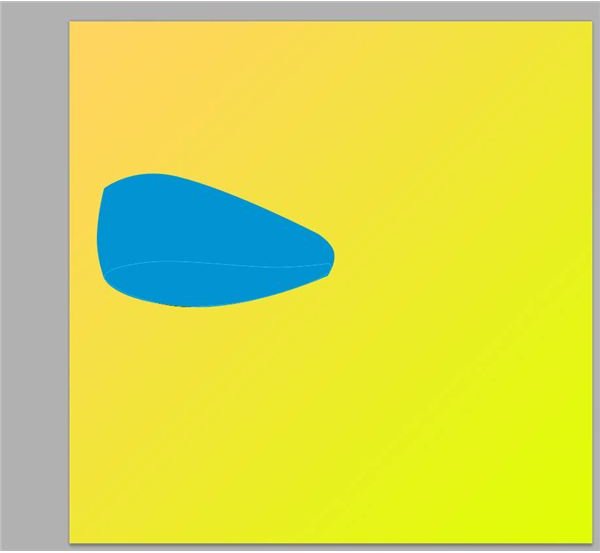
Create the negative space in your bow with the pen tool.
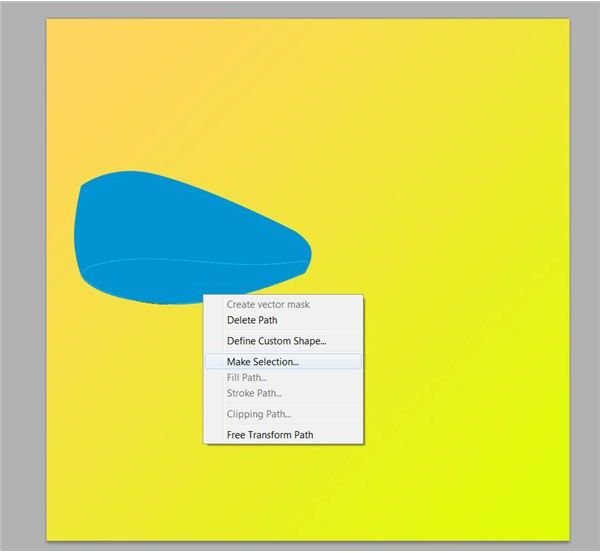
Right click and select “make selection.” This will be where you shade to create a realistic bow.
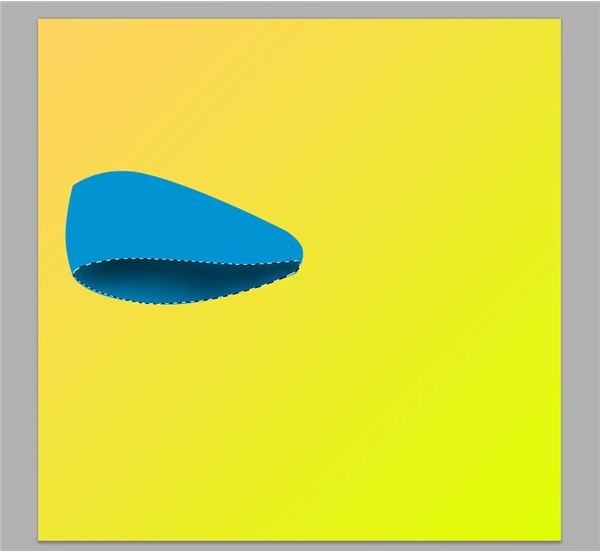
Grab the burn tool and set the opacity to about 20% and the mode to “midtones.” Begin shading in the negative space to create a realistic shadow. The more times you go over a certain area, the darker it will be. Build up to your desired level or shadow. Play around a little until you achieve your desired effect. Here I am using a 50px, round, soft-edge brush.
Deselect the selection (Select > Deselect) and duplicate the bow loops layer. You can do this simply by dragging your layer onto the new layer icon at the bottom of the layer panel.
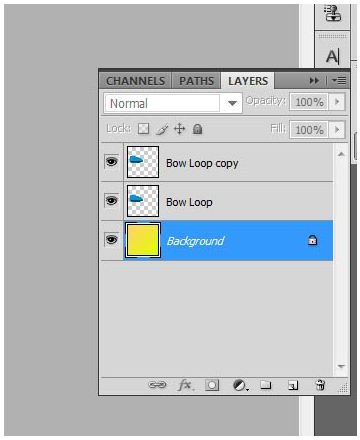
Continue on to the next page for the rest of this tutorial on how to make a bow using Photoshop.
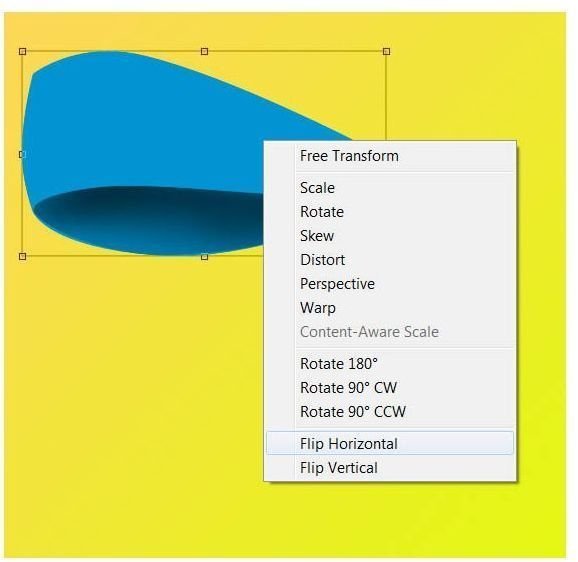
Press Ctrl-T to bring up the Free Transform tool, and slide the cross hair in the middle to the left center box. Right click and select Flip Horizontal. Press CTRL+E to merge them onto the same layer.
Create a new layer above the “Bow Loops” layer. Name it “Bow Knot.” Make sure it is your active (selected) layer.
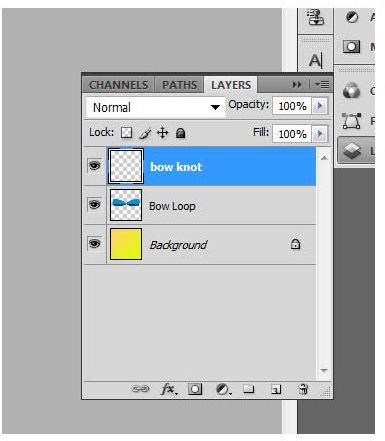
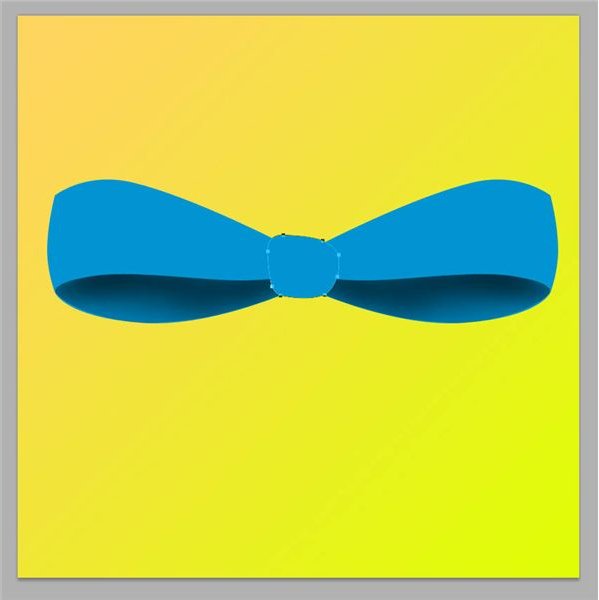
Use the pen tool to make a knot that covers the center of your bow loops like I have done. You can make it as full or as thing as you would like, as long as it covers the center of your loops. Fill your selection with the same color as you have done before.
Delete your pen tool path like you did before.
Create a new layer between the Bow Loops and the Bow Knots layer. Name it “Bow Tail Right” and make sure it is your active layer.
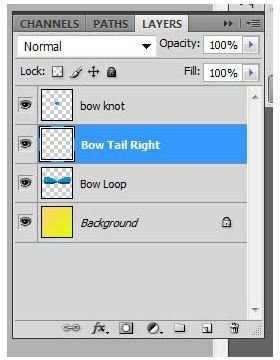
Using your pen tool, create a shape similar to what I have drawn on the left. Fill it with your bow color. Be sure to delete your pen tool path when you are done.

Create another layer - this time under your Bow Loops layer - and name it “Bow Tail Left.”
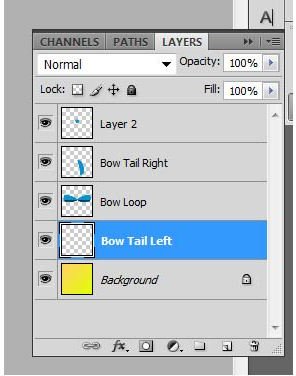
Use the pen tool to create another bow tail, this time on the left of your image, as I have done. Fill it with your bow color and delete your pen tool path when finished.

Now, using your burn tool with the same settings as before, create some light shading on your bow loops, tails, and knot to give it some dimension. You may want to look up an image reference to see how a real bows folds and curves. You can make it as detailed or as simplistic as you want.

To create highlights, grab your dodge tool (under the same button as the burn tool) and set the opacity to 25% and the mode to “midtones.” Here I am using a 65px soft-edge, round brush.

Brush on highlights to add another layer of dimension. Once again, you can be as detailed or as simplistic as you want.

When you have finished, save your file as either a PNG or JPEG image.
Image Credits
All image and graphics were created and assembled in Photoshop by the author of this article for specific educational purposes. Program used: Adobe Photoshop CS4.