
Interested in helpful tips for creating designs for screen printing with Photoshop? You’ve come to the right place! This guide teaches you how you can create fantastic stencil templates for screen printing by taking the time to design layer by layer to save time later on.
If you’re looking to create your own screen printing designs, using Photoshop can help you to make some of the more tedious tasks a bit easier. By employing the help of both layers and layer styles, you can quickly create a multi-layer design in no time. This quick walkthrough assumes that you have a basic knowledge of designing in Photoshop, as well as an understanding of screen printing. If you’re looking to learn a little more about screen printing, why not check out these two great articles?
Creating Stencils for Screen Printing with Photoshop
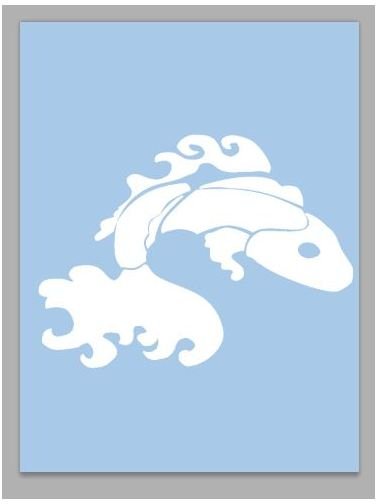
When you begin to create a design for screen printing, you have to remember that each color has to be laid down individually via separate stencils. Doing this by hand can be somewhat of a chore, but using Photoshop’s layer feature can make this much easier. Imagine how much easier it would be if you just designed each individual color element on a separate layer? For example, here’s a koi fish that I designed to show you what I mean.
As you can see, this koi is an extremely simple design when you break it down. Say we’re going to start with a baby blue t-shirt or baby blue cardstock - whatever you enjoy screen printing on.

Seeing as I went for a calico koi there’s a white base layer for the body of the fish. Keep in mind that if you’re going to be printing a white design on something other than a white t-shirt or cardstock, you’re going to need a good quality opaque white paint!
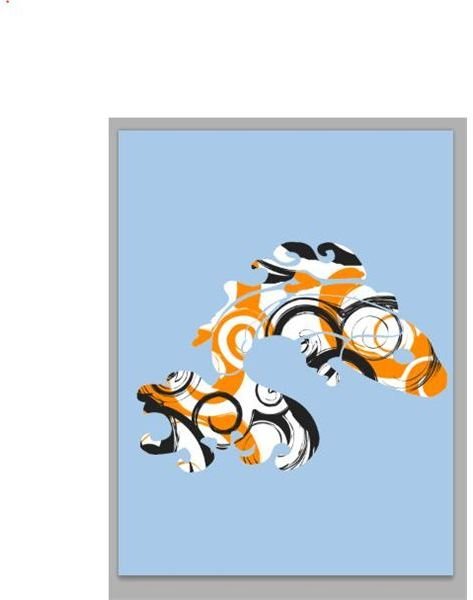
…Orange swirly lines go on top of that as the first detail color…

…then gray swirly lines lay on top of the orange.
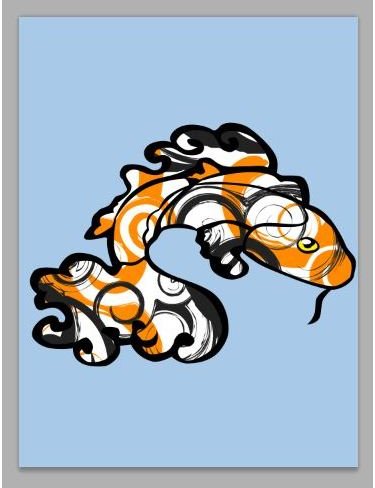
A yellow eye helps brighten up the face of the fish…

… And then the outlines solidify the design and clean it up!
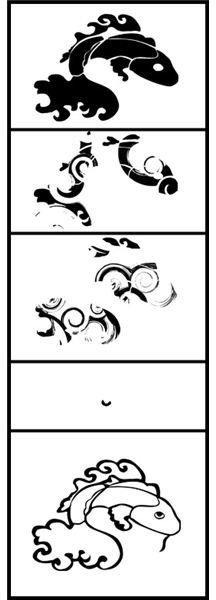
It’s a surprisingly simple design that results in five easy to manage stencils, that when laid together properly will create a great design. Printing them is easy as well. All you’ve got to do is simply save each layer by itself (though if you are using a white base layer, you’re going to want to use a color overlay layer style and convert it to black, which will make it possible to trace onto a clear sheet of clear acetate. However, it’s not a bad idea to color overlay all of the sections as black either, especially if you are printing them directly on clear acetate (read more about that below).
Printing on Clear Acetate
There are special clear “papers” that you can print on, and these can remove the step of having to trace your design by hand onto a sheet of clear acetate. However, if you choose to go this route, please make sure you get a sheet of a paper that is compatible with your type of printer. There is also the option of going to your local print shop, say a Xerox or a Kinkos, and asking if they have the ability to print your images on sheets of clear acetate. It’s a cheap and easy solution if you’re just going to do this a few times.
Information & Image Credits
Images: All images were created by the author of the article.
Information Resources: Author’s personal experience with design and screen printing.


