Macro Photography Lighting: Learn Tips & Techniques for The Best Macro Photography Lighting
Introduction
Macro photography with a new macro lens can be tricky. In low light, it is often difficult to get blur-free photos at such a high magnification and small aperture to maximize your depth of field. To get the best photos, you will need to add some of your own light to stop the action. In good light, sometimes the light can be harsh and result in nasty shadows or washed-out images. We will attempt to tackle both situations today.
Macro Photography Lighting - Using Natural Lighting
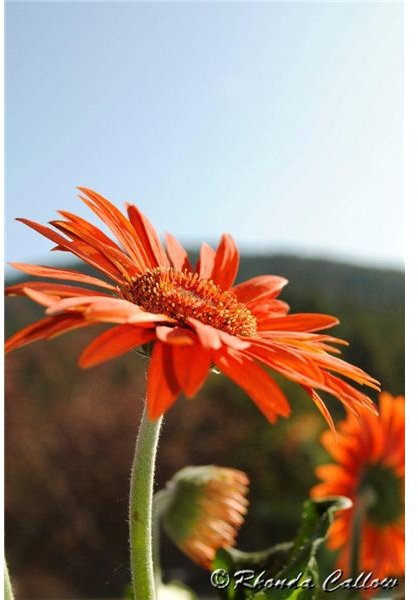
With natural lighting, you have to make do with whatever you have. Of course, the best times to shoot outdoors are during the golden hours before and after sunset. This provides the softest and warmest light. During the daytime however, the lighting will be too harsh and your subjects will be unevenly lit. In many cases, your subject will be lit from above and not have enough light on the front. To get around this, try using a silver (foil), gold, or white (a plain sheet of paper) to reflect the light and put it where you want. This is a great trick for flowers during the middle of the day. Alternatively, you can try different angles around your subject to see where the light falls best.
If all else fails and the natural light refuses to cooperate, use your shadow to cover your subject or if possible, bring it into the shade. In a shadow or shade there is no direct harsh lighting. Because there is less light, you may need to bump up your ISO to maintain a fast enough shutter speed to hand hold your camera.
Macro Photography Lighting - Working with Artificial Lighting and Flash
If it is dark or you are indoors, you will need to add some light to get a clearer, sharper picture. There are two ways of doing this. The first is to obviously turn on more lights in the room or use a lamp or flash light to light your subject. Be sure to set your white balance and/or shoot in RAW to account for the changes in color temperature of different lights. The second is to use a flash. A flash on your camera can be great indoors on a tabletop setting because you can bounce it off of the ceiling or nearby wall to fill in the shadows of your object. Many flashes also have AF focus assist beams of light that help you focus in low light. Never use direct flash because it usually blows out your image and creates white reflections and deep shadows. By bouncing the light and softening your flash, it gives your subject a more pleasing look. This is my favorite method for macro photography lighting because it is the easiest and gives some of the best results.
For more info on building your own lighting kit, see our guide: Photography Lighting Equipment: Putting Together a Lighting Kit