How to Make a Rollover Image in Corel Paint Shop Pro Photo X2 Ultimate
What is a Rollover Image?
Have you ever seen those digital photos on web pages that change to another image when you click or roll the mouse pointer over them? These rollover image files usually consist of two or more photos that transform into one another after some mouse action is taken. The name “rollover” is a little bit of a misnomer since the action that transforms the photos doesn’t have to be restricted to just moving the mouse over the image. The action could also be a click or double-click, or it could consist of moving the mouse pointer away from the selected image.
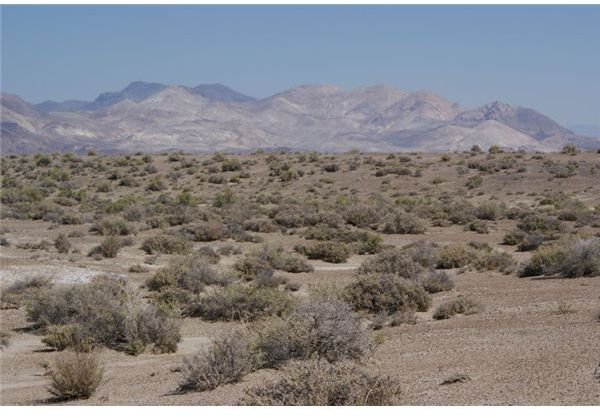
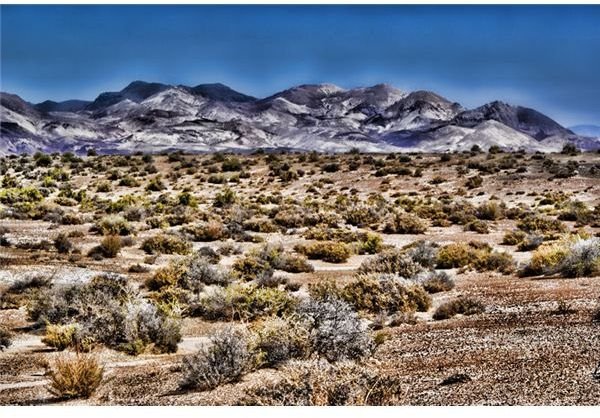
In Corel Paint Shop Pro Photo X2, you can easily create these image effects without knowing anything about HTML or web development. After creating a rollover image file, you can save it as an HTML document that can be added to a web page or other publication. In the steps below, we’ll describe how to develop such an effect. As a working example, we’ll take the before and after images shown in the review of Topaz Adjust, and we’ll demonstrate how a rollover effect can be used to pass from the before to the after image and back again. The two images that we’ll be using are shown below. (Click any image for a larger view.)
Creating a Rollover Image in Paint Shop Pro
Step 1: Open the photo that you want used as the initial image in Paint Shop Pro.
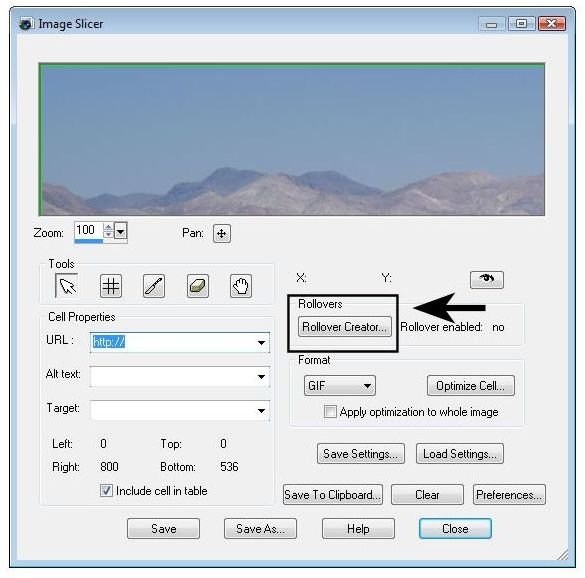
Step 2: From the File menu on the main Paint Shop Pro toolbar, select Export and then choose Image Slicer.

Step 3: In the Image Slicer window, click the Rollover Creator button.
Step 4: Next, the Rollover Creator window will appear on your screen. Put a check in the box next to each action you want to assign a new image to. If you only want to use one type of action, that’s fine, but you can choose as many as you like.
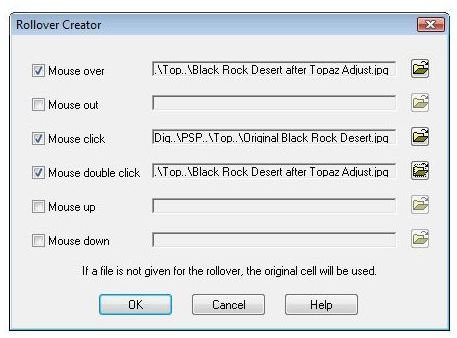
In order to make a new image appear when the chosen mouse action takes place, click on the folder icon and navigate to the directory where that image is stored. Click on it and the directory path will now be shown next to the action. If you want the action to cause the original photograph to reappear, you don’t have to do anything here since the default image for any action is the original photo.
When done in this window, click OK to continue.
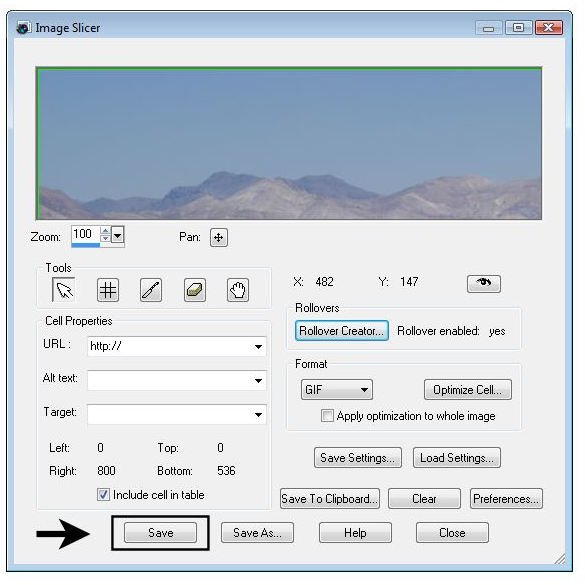
Step 5: You’ll now be returned to the Image Slicer window. Click Save to create a new HTML file that will include the effects you just defined.
Step 6: In the HTML Save as dialog box, select a name to use for the new file and a directory to store it in. Note that this new file will have an HTML extension so it’s okay to use the same name as the original photograph – the image file won’t be overwritten.
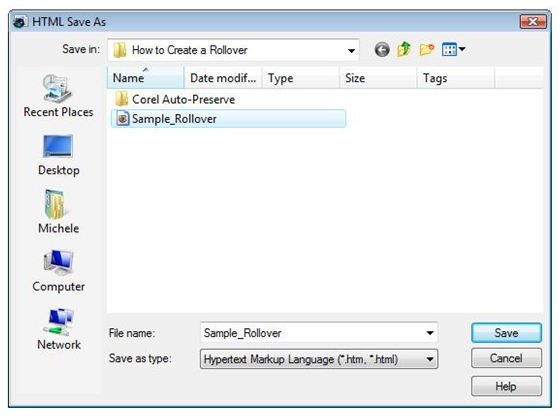
Click the Save button to continue.
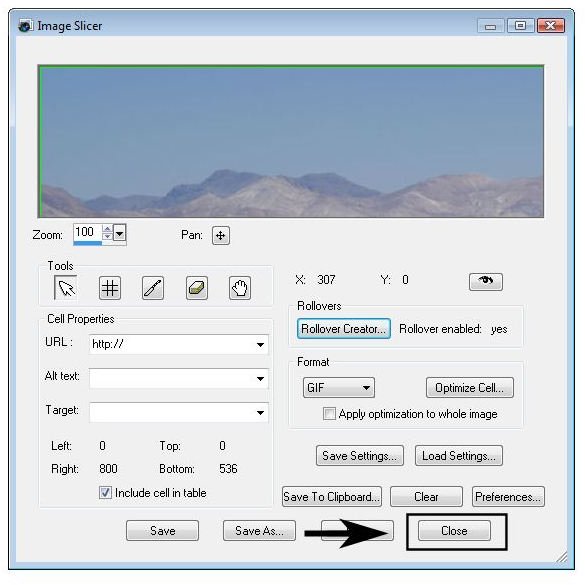
Step 7: Unless you want to modify the file or use any of the other tools in the Image Slicer window, click the Close button to return to the main Paint Shop Pro interface.
If you want to view the new rollover effects, you can open the HTML file in any web browser. It’s a good idea to test out all the mouse actions you defined using the Rollover Creator just to make sure they’re working as planned.
For details on how to use other features in Paint Shop Pro, take a look at the other tutorials and user guides found here at Bright Hub.