Creating a contact page on your website has some very solid benefits, the number one being the ability to receive accurate feedback from your visitors by listing your contact information. This article will teach you how to create a contact page in Dreamweaver in a few simple steps.
Getting Started
Depending on the type of website you have, you’ve got a few options here. Either you’re going to open a new document entirely and redesign it from the ground up (great for simple websites), or you’re going to create a template based off of one of your other pages (this is good if you’re using a premade template, or if you want to carry over backgrounds and stylesheets without having to re-enter the information.) Here, I’m creating a new page using the same CSS of my other pages.
Entering the Information
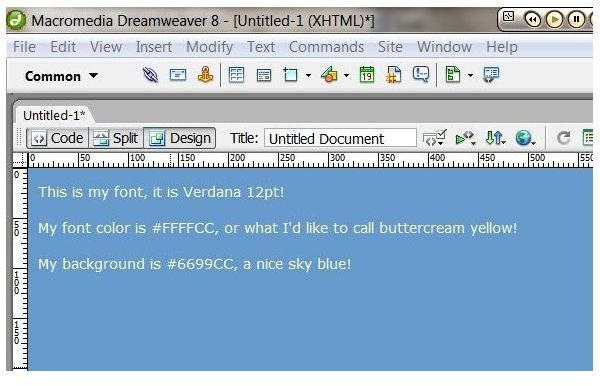
This takes surprisingly little effort, about the same (or less) effort than creating any other page in Dreamweaver . Simply choose a readable, attractive font (Arial and Verdana are timeless) and type in your information in the DESIGN view of Dreamweaver.
Introduction Paragraph/Special Instructions
Before you provide any information on how to contact you, you might want to provide a small introduction paragraph about times when it is best to contact, what time people should realistically expect a response (especially if you take a few days to respond to phone calls or emails), and any special information you think the users should know. This is an optional step, but it can save you a lot of headaches in the future! Here’s an example from GeekSoap.net
“You can follow me on Twitter @geeksoap and/or interact with me and other fans on our Facebook fan page. Questions or concerns? Simply fill out the form below and I will personally get back to you as soon as possible! Thanks :)”
Including Emails
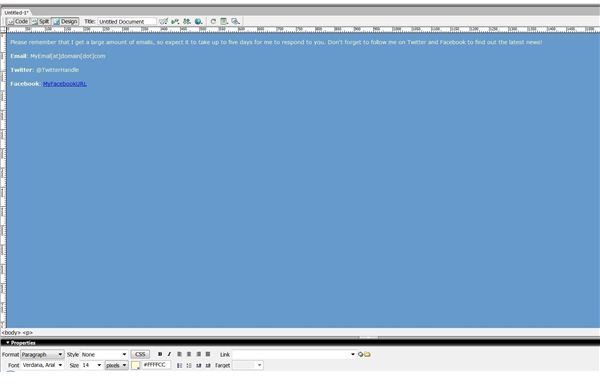
Information you should provide is largely dependent on the type of website you are running. If you’re running a blog or informational website, you’re going to want to provide an email at the very least. The contact page is also a great place to feature any social networking sites such as Twitter or Facebook . Here’s an example of what your page’s information might look like:
*Email: Myemailhandle[at]myemailwebsite[dot]com
Facebook: My Facebook Profile
Twitter: @MyTwitter
*Why did I break the email link? Thanks to the wonders that is the Internet, it is very easy for spam list’s email hunting bots to get a hold of your email and sign you up for every rude, crude, and socially unacceptable emailing list out there! How do you circumvent this? Breaking your email by using [at] instead of @ and [dot] instead of . will easily provide you with sufficient protection against spambots, but almost all of your visitors will easily be able to figure out your email. EmailTo code snippets are still vulnerable to this as email hunting bots will scan the HTML of your website and uncover your email.
Including Phone Numbers & Fax Numbers
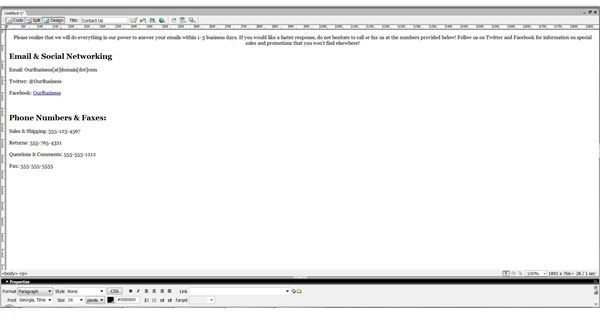
If you’re running a business , charity, or any other site where you’re probably going to be receiving money, you should provide at least one phone number, if not more. This adds to your credibility and provides people with a place to quickly voice concerns without the fear of your spam folder accidentally eating the email. However, it is crucial that you still do provide an email (or emails). If your business is still actively faxing things, you’d better include your fax number here as well! Here’s an example of what your business’ contact page might look like:
Please realize that we will do everything in our power to answer your emails within 1-3 business days. If you would like a faster response, do not hesitate to call or fax us at the numbers provided below! Follow us on Twitter and Facebook for information on special sales and promotions that you won’t find elsewhere!
Email & Social Networking
Email: OurBusiness[at]domain[dot]com
Twitter: @OurBusiness
Facebook: OurBusiness
Phone Numbers & Faxes:
Sales & Shipping: 555-123-4567
Returns: 555-765-4321
Questions & Comments: 555-555-1212
Fax: 555-555-5555
Including Physical Addresses & Maps
Does your business have a storefront? Including a map with your address clearly marked, as well as a mailing address and the location of your storefront is not only a smart idea, but can help draw in new traffic! I frequently find new and exciting stores to visit via their websites, so this is something you may want to think about! Here’s a quick tutorial on how to embed a Google map within a Dreamweaver page:
Enter your address within Google Maps toolbar and zoom in by using the zoom bar on the left side. (Here I’m using Apple Inc as an example!)

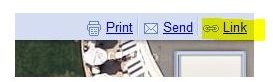
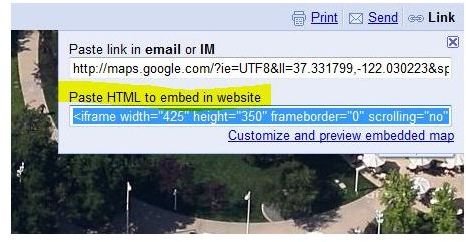
On the top right corner of the map, you will see a link button. Click it!
Copy the embed code to your clipboard and go back to Dreamweaver.
In the CODE section of Dreamweaver, Find the place you would like your map to display and insert the code there.

Switch back to your DESIGN view and preview your page to see your new map!


