Seamless Tile Tutorial Using Adobe Photoshop

How to Create Images that Seamlessly Tile
This seamless tile tutorial for Photoshop may be needed for several reasons. When graphics don’t tile seamlessly, it just looks terrible. You can see the seams where the image ends and begins. But when an image tiles seamlessly, it can lend interesting effects to the background of websites or even your computer’s wallpaper. This effect can be achieved with many different images, but those that are fairly homogeneous like sand, gravel, and white noise, or those that are simplistic, very simple designs, are very easy to tile. For this tutorial, I’ll be using Adobe Photoshop CS4, but it should work for CS5 and everything down to Photoshop 7. This tutorial is written for people who have a basic knowledge of Photoshop tools and where they are located.
Selecting Your Image
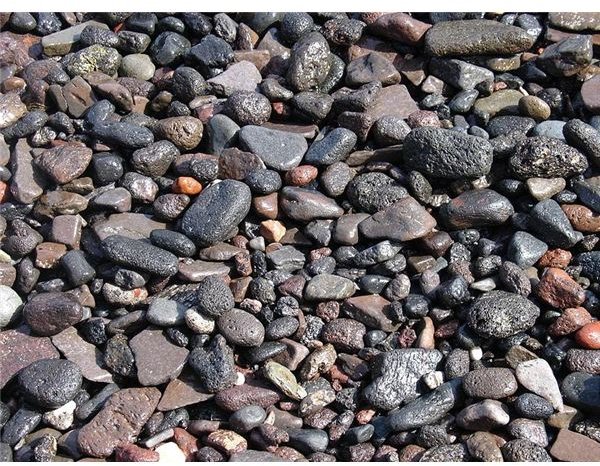
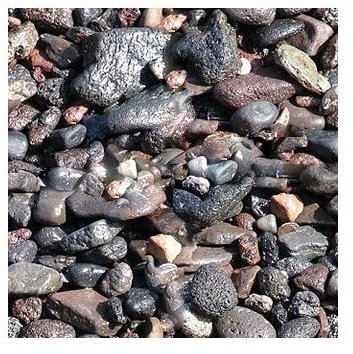
Pick your image. For this demo, I’ll be using a stock gravel image. As you can see, the texture of the gravel is already fairly homogeneous, which means that the pieces of gravel all look alike as is. This will help to make it harder to distinguish tell-tale patterns in the end product. You can use more complex patterns such as a bunch of flowers or a sky full of clouds, but these will be harder to airbrush out later on. Also, you will not be able to use images such as landscape scenes or anything that has a sizable amount of distance or depth.
Cropping your Image
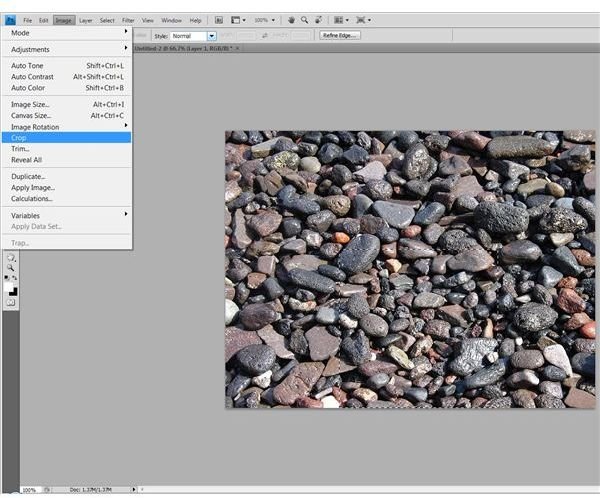
Crop the image to whatever size you would like, provided that it is an even number. I’ve found that squares seem to work the best. Thus, I’ve gone with the dimensions 330px by 330px. Simply select your square marquee tool, hold down shift, and drag a square into the portion of the image you would like to crop. From there, select Image in the file menu, and select crop.
Preparing to Offset Your Image
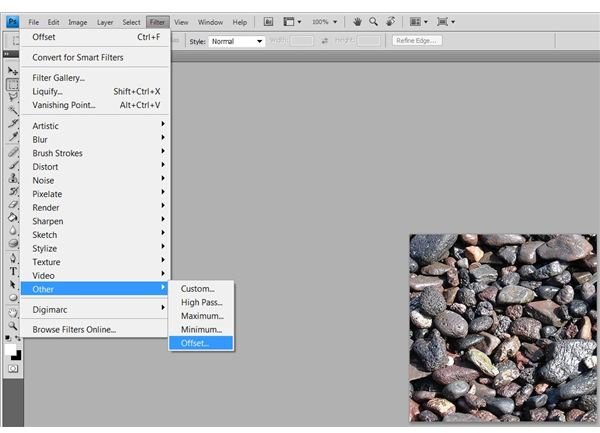
Now we have to flip the image “inside out.” The purpose of this is to make every edge repeat seamlessly by matching the natural edge of the insides with the edges. Do this by selecting the Offset filter in the filter menu. It is inside the “Other” menu.
Calculate Your Offset Dimensions
Divide your images height and width by two. For my image, it would be 330 / 2 = 165. If you were using something like an 800 by 600 picture, it would be 400 and 300 respectively. Enter the calculations for the width into the horizontal box, and the calculations for the height into the vertical box. Make sure you select wrap around in the “Undefined Areas” box as well. Click OK once you have finished.

Preparing to Fix Seams
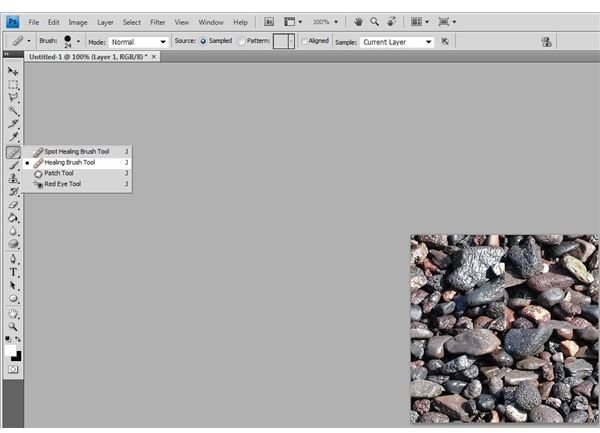
To make it seamless tiled, you’ve got to get rid of the new seams that have appeared in the center of the image. Not to worry, it is a very easy process with just such an image. Use the clone, heal, and patch tools to remove noticeable seams. I will show you a quick way to achieve the desired look.
Airbrushing Out the Seams
Here, I have selected the heal tool and have selected an area (Alt+Click) where there are no seams. Using short movements, brush over the seams. Photoshop will sample the image and try to blend the image into something more uniform. Continue doing this until the seams disappear. Avoid airbrushing the edges of the image or you will disrupt the seamless tile we worked to create. Darker areas may give you a little more trouble than lighter areas, but if you work slowly and carefully, you should be able to achieve a nice effect. I’ve not done it perfectly, but you can see the effect looks much better than the large seams running down the center of the image.
Using Your Tile as a Pattern
Here is the finished pattern tiling of a 1000x1000 image! That’s all there is to it. Hopefully, you have enjoyed this seamless tile tutorial for Photoshop.
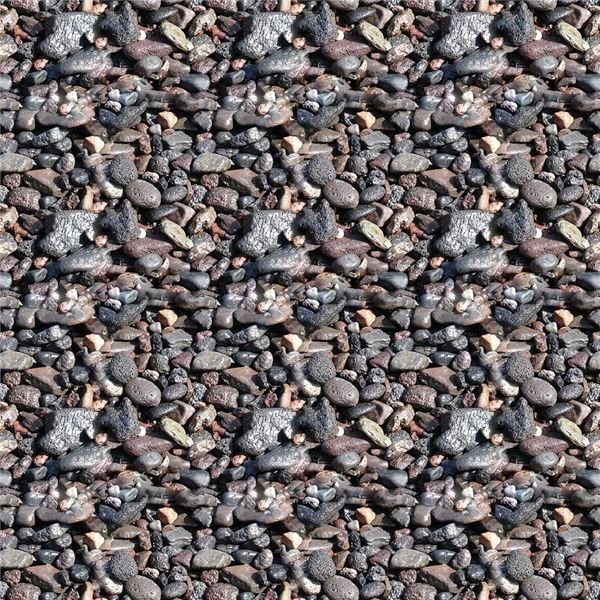
Image Credits
All images and screenshots used in this article are courtesy of author.