You can’t play your Zune media player until you set it up. This process can take a while, but it’s actually not that hard to do. Learn more in this Zune tutorial.
Using a Zune Player
The Microsoft Zune is a portable media player similar to the Apple iPod. These players allow you to listen to music and podcasts or watch your favorite videos or movies. Before you can use your Zune media player, however, you need to set it up. The steps for Zune setup steps are fairly easy to follow. If you have trouble setting up your player, contact Zune for assistance. If the player is defective, return it to the store.
Setting Up Your Zune
The first thing that you need to do is install the Zune software on your home computer. You must connect your Zune to your computer to upload files to it. When the Zune software is completely installed, you may still be wondering how do I setup my Zune.
Connect your Zune player to your computer via the USB cord that came with it. If you bought the player secondhand, then you need to purchase a USB cord that fits this player. Plug the Zune into the computer, and turn it on.
You should see a welcome screen that says something similar to “To start, visit www.zune.net/setup ”. You should also see “OK” at the bottom of the screen. Press OK to continue on.
Adding the Device
Now, go to your computer, and see if you see the “Found New Hardware Wizard”. This wizard usually automatically appears as soon as you plug your Zune player into any Microsoft-based computers. You may see an option like the following: “Can Windows connect to Windows Update to search for software?” You have your choice of just allowing this action for this device or all devices. Select the option, and press “Next”.
If you want to manually install your Zune, press the “No, not this time” option. You must insert a setup software CD, or go to Microsoft’s website to download the drivers.
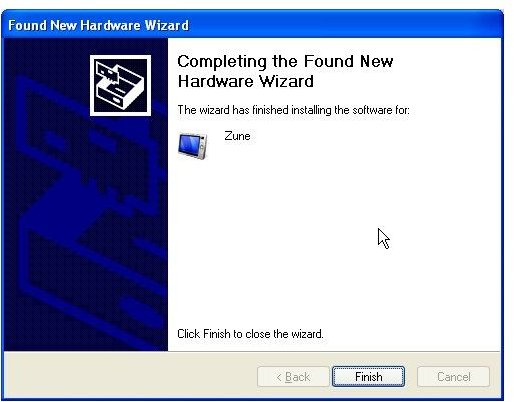
Let the Wizard search for your hardware. Once it’s done searching, you’ll see “Completing the Found New Hardware Wizard” message. The program should also say that it’s installing software for your Zune.
Updating the Firmware
Generally, if it’s a new Zune media player , you have to update the firmware. But, your player usually does this automatically. Let the player install
the update, and don’t press “Cancel”. Once done, you’ll see a message like the “Device is up to date”. Name your device if you want to. If you do decide to name your device, give it something descriptive so you can distinguish it from other devices. This is especially important if you have multiple players.
Syncing Your Player
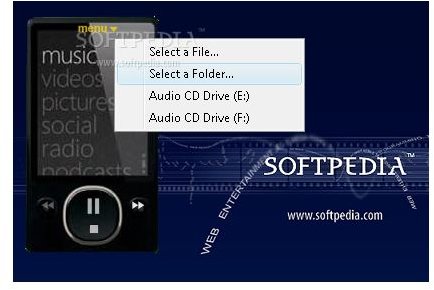
In the main settings screen, you have the option to sync all of your media with your Zune player or only selected songs, photos or videos. If you have a large library or have items on your computer that you don’t want on your player, don’t choose the sync all option.
Your player may take a few minutes to sync all of your items. You can see how many items were added under the “Just Added” heading. You can also see how many items are left to sync under the “Now Syncing” heading. Depending on the device, you can also see how much space these items used. When done, you can disconnect your Zune from your computer.
References
Zunerama, https://www.zunerama.com/zune-player-setup-and-sync.php
Image Reference
Softpedia, https://www.softpedia.com/progScreenshots/Jashsoft-Zune-Player-Screenshot-85736.html


