Microsoft Word has many built-in borders that you can apply to a paragraph, a page or an entire document. If these borders simply don’t suit your fancy, though, you can find and download others. Following are ten free resources for downloading borders for Microsoft Word.
Overview
There are many built-in borders for Microsoft Word documents , which you can access from Borders and Shading in the Format menu in Word 2003 or the Page Background group of the Page Setup tab in Word 2007 or 2010. If those do not suit your needs, though, downloading borders for Microsoft Word is an option. Some borders can be downloaded as clip art to use directly in Word while you will need to save others as images. The latter must be inserted into a document and formatted as a picture.
Clip Art and Crafts
Clip Art and Crafts offers all sorts of different clip art images, including a couple of pages of picture frame-style borders and single-sided borders. These borders are in PDF format, which you can insert as an object into a Word document and then insert a text box with no background over it. You can also right-click one of the borders and save it as a picture.
Clipart for Free
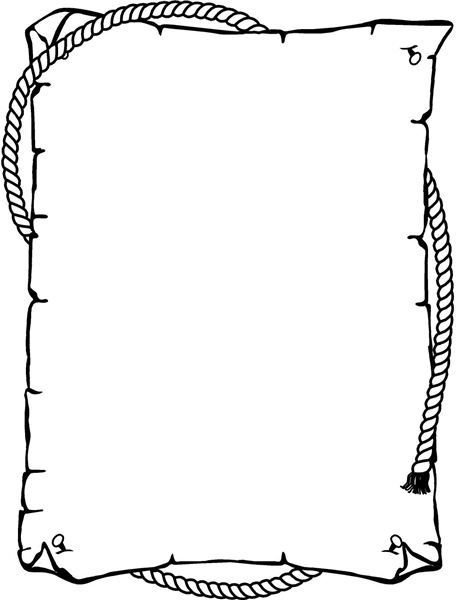
Another site offering several types of clip art, including borders, is Clipart for Free . All of the borders available here frame an entire page and are in JPG file format. Right-click and save any of the borders to your computer and then insert it as an image into your document.
Karen’s Whimsy
Artist Karen Hatzigeorgiou is a contemporary artist whose primary work is creating collages and art from altered books. She also provides free clip art via Karen’s Whimsy , which includes pages upon pages of borders that you can download and use in Word. These horizontal borders are a striking black and white with interesting lines and angles. To use one, right-click and save the image to your computer. Insert it as an image in Word and format it to suit your purpose.

Lee Hansen
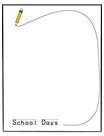
Lee Hansen is an artist who creates and offers to the public a wide array of graphics, including printable coloring pages , paper crafts and clip art. Among the clip art pages is a variety of whimsical borders, with subjects such as candy corn, cupcakes and rubber duckies. These borders are in GIF format, so they must be downloaded to your computer and inserted into a document as images. Most of them are available in vertical as well as horizontal borders and in two different sizes, as well.

Microsoft

Perhaps one of the best resources for finding and downloading borders for Microsoft Word is the Microsoft website. The Microsoft Clip Art Gallery is a treasure trove of images. You can select what you want to use and download the graphics directly to your Microsoft Office Clip Organizer so that it is accessible from within Word. Search for “borders” and you will find 10 pages of results in every style imaginable.
Using Downloaded Borders in Word
Perhaps the best way to use a clip art image after downloading borders for Microsoft Word is to insert them into the header or footer . Doing so will enable you to type directly onto the document without worrying about formatting or hiding the image. Otherwise, insert the image into your document first and drag it to the size you want.
You may wish to change your page margins as well, so that the image can border the outer area of the page. Once you have formatted your desired border, insert a text box from the Insert menu or tab. If you can no longer see the border after doing so, right-click the text box and select Format. Change the background color to No Fill, making the box is transparent so that you can see and enjoy your new Microsoft Word border.
Adding Images to your Clip Organizer
Editor’s Note: The original article was published in 2010, with the following directions added by the author in January, 2014.
Microsoft did away with the Clip Organizer in Office 2013, but you can add a clip to the Organizer in earlier versions of MS Office.
In Word 2003, save the clip you want to add to the Organizer where you can easily find it, such as your Desktop. In Word, select the Insert menu, point to Picture and choose Clip Art to access the Clip Art task pane. Click Organize Clips.
Select the File menu on the Clip Organizer window, choose Add Clips to Organizer and click On My Own. The Add Clips to Organizer dialog box appears. Navigate to the clip you saved on your computer, click Add To and choose the collection to which you want to add the clip. Click OK and click Add.
In Word 2007, save the clip you want to add to the Organizer where you can easily find it, such as your Desktop. In Word, select the Insert tab and select Clip Art in the Illustrations group. Click Organize Clips at the bottom of the task pane.
Select the File menu on the Clip Organizer window, choose Add Clips to Organizer and click On My Own. The Add Clips to Organizer dialog box appears. Navigate to the clip you saved on your computer, click Add To and choose the collection to which you want to add the clip. Click OK and click Add.
In Word 2010, save the clip you want to add to the Organizer where you can easily find it, such as your Desktop. Click Start and type clip organizer into the Start Search box. Choose Microsoft Clip Organizer in the list of results.
Select the File menu on the Clip Organizer window, choose Add Clips to Organizer and click On My Own. The Add Clips to Organizer dialog box appears. Navigate to the clip you saved on your computer, click Add To and choose the collection to which you want to add the clip. Click OK and click Add.


