Windows Live is available in many different languages, either on the homepage, as part of the Essentials software suite, and even in Office Live. This guide will help in changing languages for all of the available options.
Windows Live Essentials
Various screenshots are placed throughout this article. To see them in greater detail, click on them.
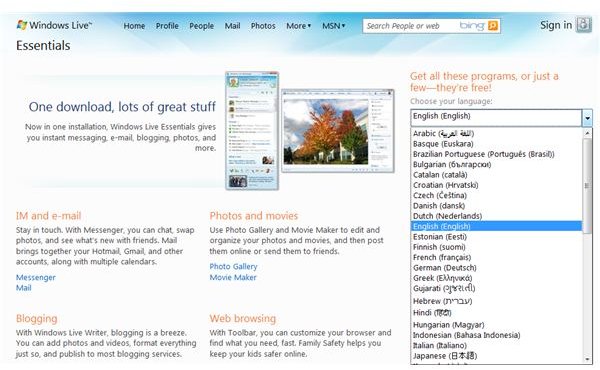
Whenever you visit the Windows Live Essentials website, right away you will be able to choose the language of preference in a drop-down list to the right of the site. From there, you can choose from 48 different languages in which to install your programs. To view the complete list of languages, you can see them in the drop-down menu while visiting the official Windows Live Essentials website: https://download.live.com/ . Many European, Asian and South American languages are included.
Alas, you won’t be able to configure languages once you have installed your Windows Live programs. The only way to change languages is to uninstall Windows Live Essentials, then reinstall it with the language of your choice.
The language of your Windows Live Essentials software will be separate from the language you choose for the Windows Live Homepage. If you wish to change the language in Windows Live, it must be done separately. The steps below will show you how to change that.
There are also various articles about certain Windows Live applications, such as Movie Maker , and a review of Windows Live as a whole .
Windows Live Homepage
If you use services like Hotmail, SkyDrive, or any Windows Live feature not included in the Windows Live Essentials software suite, you can change languages right at the homepage. If you do not have a Hotmail account and would like to create one, here is how to get started .
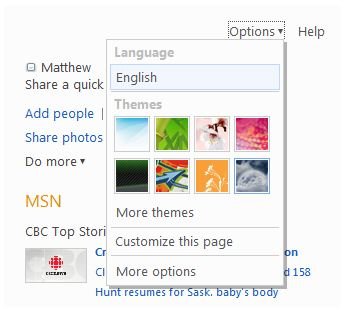
Once you’ve logged in, towards the top-right of the screen (not the top-most right, but close to it) you will see an Options menu. Clicking on that will open a drop-down list. The top-most language after selecting that will be Language, and the language you are currently using. To change the language, click on the current language setting you have (for this screen cap, it is in English, so that is what you will want to click on).
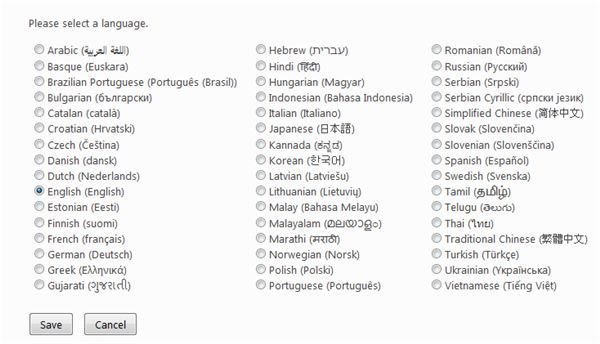
The next page will show the 48 different languages with which you can use Windows Live. Click on the language that you want, and choose Save. Windows Live will now be shown in the language that you have chosen! These steps apply to any time you wish to change languages. Note that this is connected to all of your Windows Live features, such as your Hotmail, SkyDrive, Spaces, Calendar, etc.
If you use Microsoft Office Live, the language changes that you make in Windows Live will not affect it. To find out how to change the language in Office Live, the section below will help you with that.
As an aside, if you have an iPhone and would like to use it to connect to your Hotmail account, read about it right here .
Microsoft Office Live
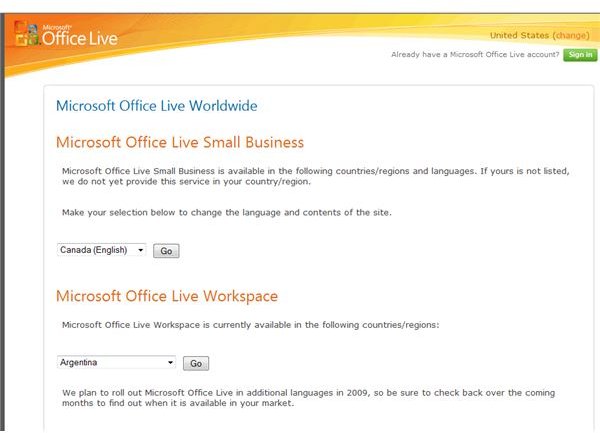
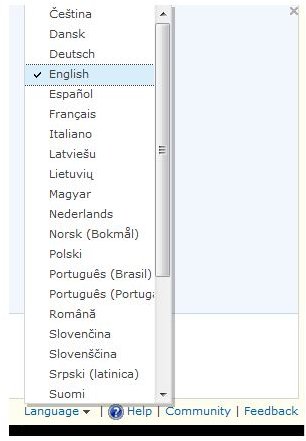
Although you can use your Windows Live login information in order to access Office Live, you will also have to change languages individually for this website, too. You can either change languages before logging in (it will be displayed on the top-right of the screen on the homepage) – or after logging in. If you’re already logged in, look for the status bar at the bottom of the page. The left-most option on the right of the page will show a drop-down menu stating Languages. Click on that, and scroll down to the language to which you would like to change.
For troubleshooting with Office Live, particularly with how to save files, read all about it here . If you’re interested in how Office Live works, there’s an article about that here as well .