Can Windows 7 Print Server be used instead of a Windows 2003 / 2008 Print Server? The answer is YES.
Setting up the Prerequisites
As more and more users will upgrade their operating systems to from Windows XP to Windows 7 and personal computers become cheaper and cheaper, many families will have more than one computer in the house and sometimes more than one printer, depending on the needs of each individual user. When I say user, I am thinking of the family members. Someone will need to print on a Laser Printer, someone else will need to print on an Ink Jet Printer, some other user would need to print on a Photo Printer, and therefore many times you will need to have more than one printer in your house. If you have more than one printer in your home, it is a good practice to install them all on one machine, and then share them so everyone in the house can print on all the printers based on their needs.
In our scenario, we have a Windows 7 installed on a stationary machine and two or more printers connected to it so everyone can use this PC as a Windows 7 print server. Normally, in a small environment like a home network, all the machines will be members of the same workgroup, usually named WORKGROUP . The first thing you need to do on the Windows 7 machine is to “Turn on file and Printer Sharing”.
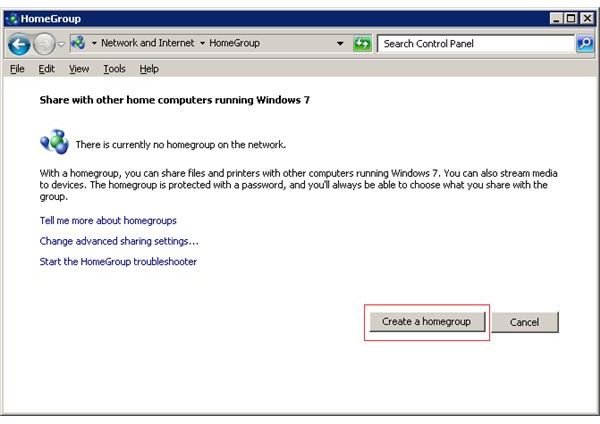
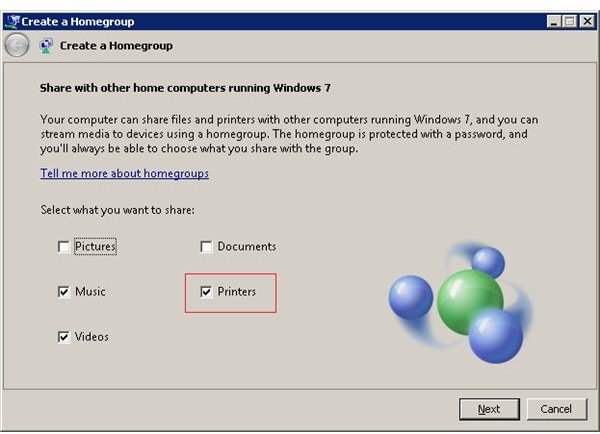
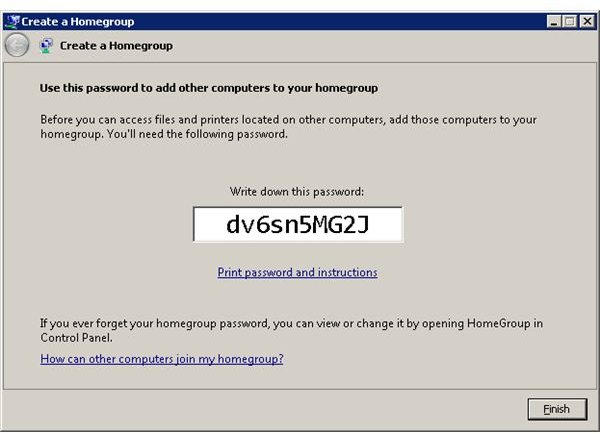
Go to Start > Control Panel , click “Network and Internet” and then click “Home Group” then click “Create a homegroup”. (You can read more about the Homegroup here ) A dialog new dialog window will come up and will ask you what are you planing to share in this Homegroup. Select the items you want to share (for our scenario don’t forget to add the printers) and click Next. Windows will configure everything for you and a new page will come where you will be presented with a random generated password to be used by the other machines in your environment when they want to access the resources shared on this machine. Write down this password and click “Finish”.
Configure The Homegroup
Configure The Windows 7 Environment
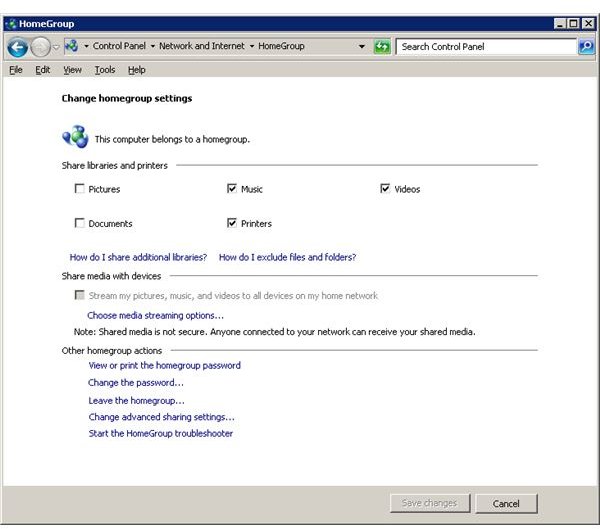
Now that we have set up the perquisites for the file printing and sharing it is time to configure some other options. Click the “Change advanced sharing settings…” and expand the “Home or Work Network”.
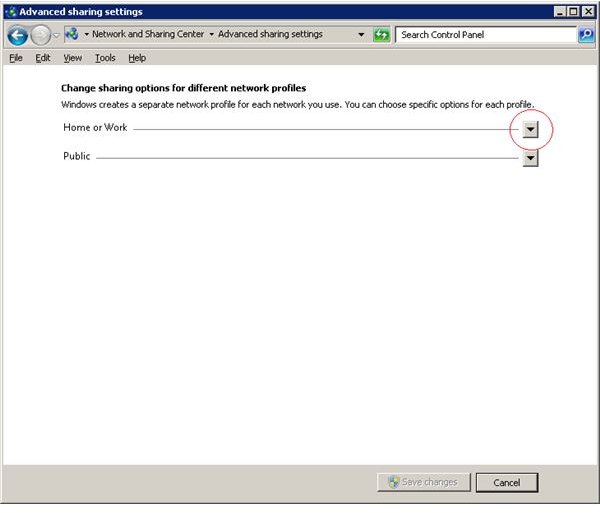
In this section make sure the following options are selected: “Turn on network discovery”, “Turn on file and printer sharing”. Just to make sure the other users can connect to our printers, we will take a look at the settings of the Windows Firewall. Go to “Control Panel” and type on the upper right search field “Firewall”. Windows Firewall will appear in the Control Panel, then click it. Then on the left side click “Allow a Program or feature trough Windows Firewall”. On the next screen, scroll down until you find “File and Printer Sharing”. Make sure it is marked.
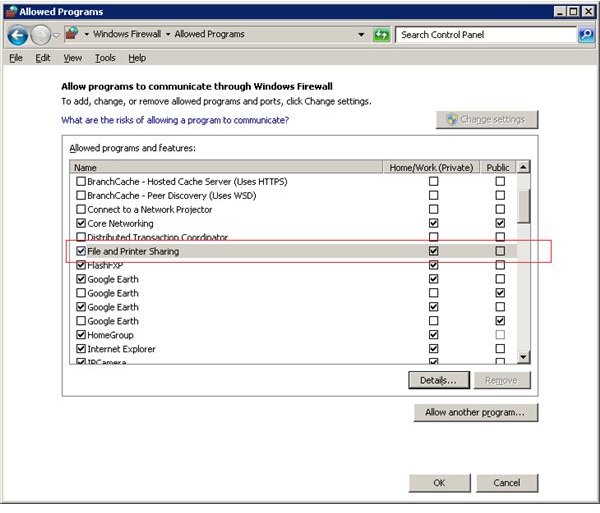
Why do we need to do this ? Because the “Homegroup” feature is fully compatible only with Windows 7 and partially compatible with Windows Vista, so if you have other computers running Windows XP, we must make sure they will also be able to use your printers. Now that everything is set up, we can start installing and sharing the printers so we can use the Windows 7 computer as a Print Server.
Adding the Printers to Windows 7 Print Server.
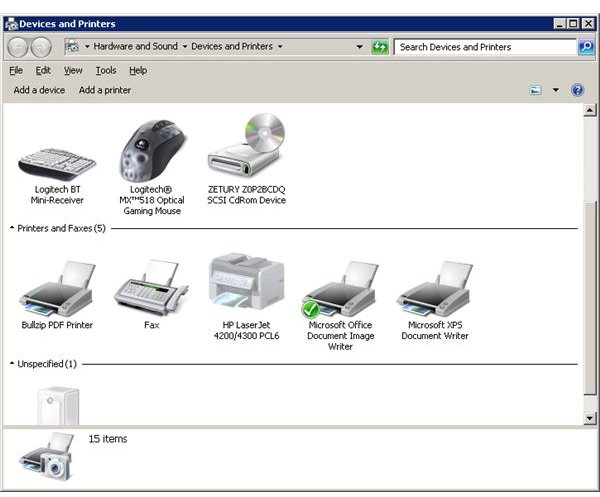
We will now need to add the printers and the printer drivers. Go to “Start” and click “Devices and Printers”. In this new window we are able to see all the Plug and Play devices and the Printers available on our system. On the machine that I have performed the operation, I had installed Microsoft Office and a PDF Printer plus my standard HP Laserjet Printer. As you can see, you will also be able to control and configure other devices on the system but this is not our goal for now so we will discuss this in another article.
Next Page > Continued : Adding the Printers to Windows 7
Adding the Printers to Windows 7 Print Server
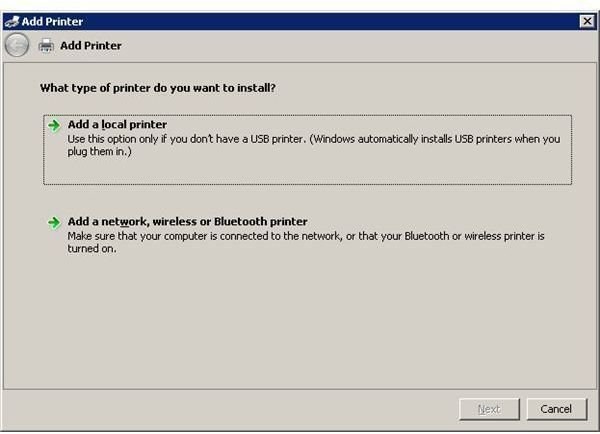
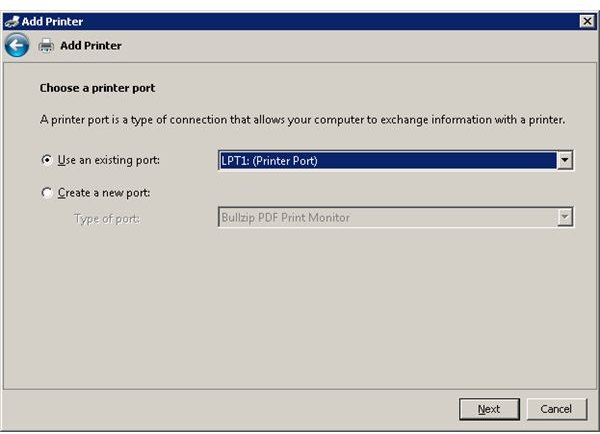
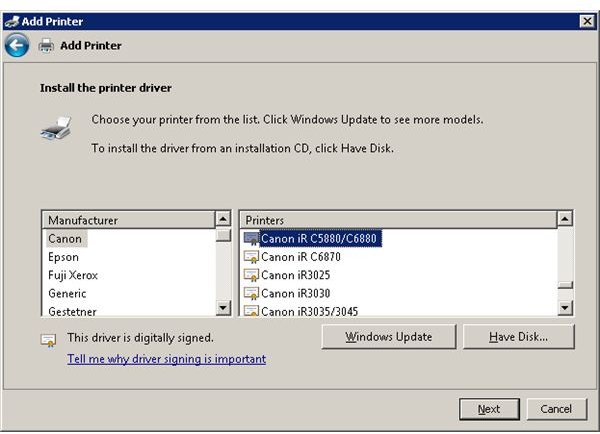
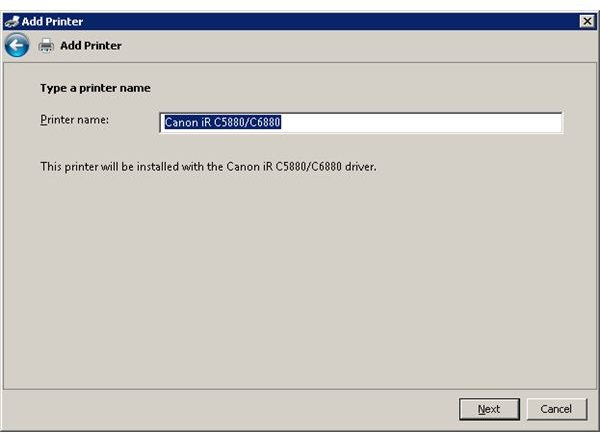
If you have any USB printer connected to the machine, it will be present here but in our case let’s presume we do not have any printer installed yet and we wish to install our first printer. On the top menu click “Add a Printer”. We will be presented with a new dialog window where we are asked what kind of printer we need to install, a Local Printer or a Network Printer. For the first example we will presume you have a Canon Printer connected to your machine on the parallel port LPT1, so we will select “Add a local Printer” on the dialog. We will then need to choose the port that in our case it’s LPT1. Click “Next” and you will be presented with a list of printer manufacturers and printer models. Search for the printer manufacturer on the left side and choose the corresponding model on the list of available models from the right side. Click “Next” and “Next” again.
There can be the case that Windows 7 does not have the model of your printer listed among the models listed here, then you will need to use the Drivers CD provided by your manufacturer or download it from the internet. If your printer it is not listed, at the point where you have to choose the printer model from the list, you have the option to choose the driver from the CD and instead of clicking “Next”, select “Have Disk”, and point the driver installation wizard to the location of the driver on the CD.
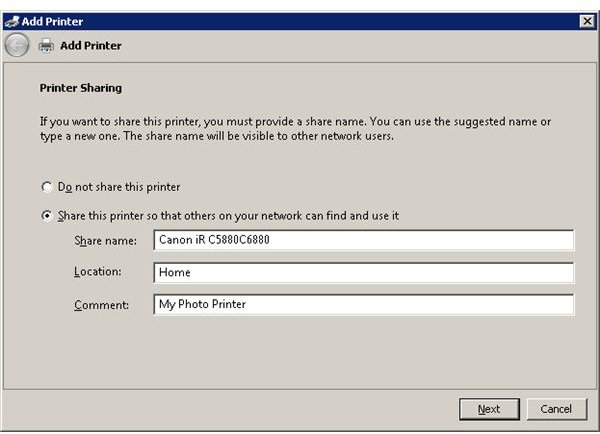
Now you will be presented with the dialog where you are asked if you want to share this printer. Select “Share this Printer so that others on your network can find and use it”, write a description and a location of you want and click “Next” then “Finish”. You have now added and shared your first printer.
Adding and Sharing a Printer
Adding More Printers as Network Printers
In the same way you can add more printers. You can also add the printer by using the manufacturer installation CD provided with your printer. If your printer is not an older one, your installation CD should also provide the drivers for Windows 7 and all the other operating systems. If you install the printer driver directly from the installation CD, the only thing you need to configure is the printer sharing.
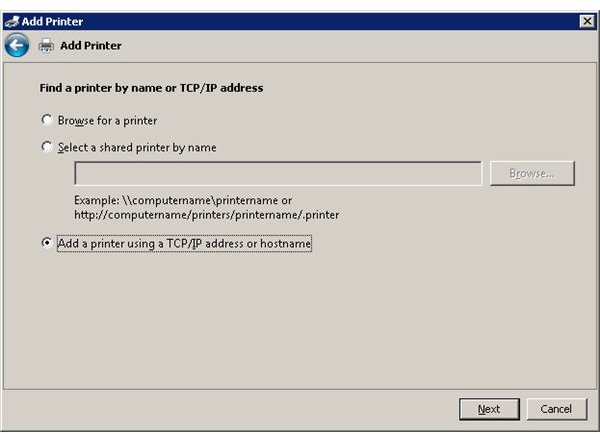
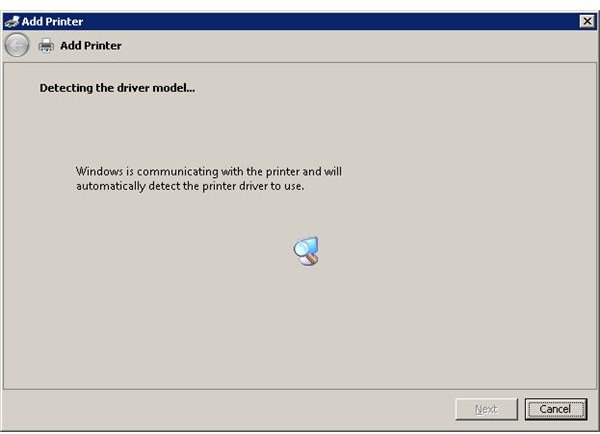
Adding a “Network Printer” operation it is similar to the “Local Printer” operation, and Windows 7 will try to automatically detect the existing network printers and install them automatically. You can click the “Add a Printer” button again, select “Network Printer” and let Windows search for all the network printers. If the printer you want to install it is not present simply click the “The Printer that I want isn’t listed” button on the dialog window and click Next. Then select “Add a Printer using a TCP/IP address or host name” then click “Next”.
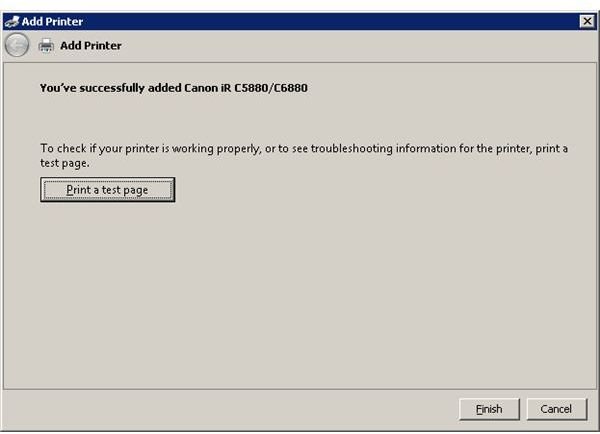
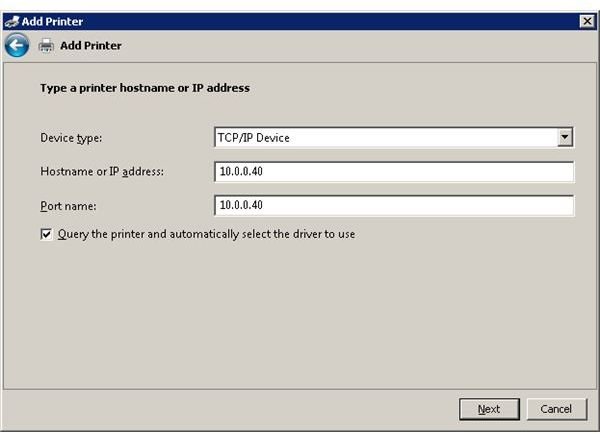
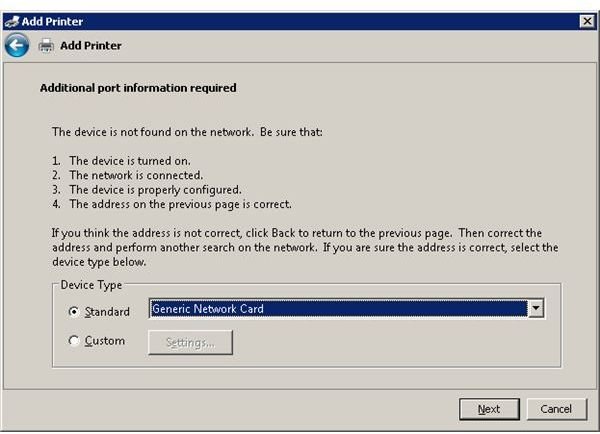
On the next screen select “TCP/IP Device” as Device type and put the printers IP address in the “Hostname or IP Address” field. Windows will try to automatically detect the printer port type type and install the appropriate driver. If your settings are not detected you will be asked for some additional port information. If you know the specifics of the port you can select it from the available list, if not you can always safely select “Generic Network Card” and click Next. Windows will now try to detect the printer model and if detected it will be automatically installed, if not you will be presented again with a list of printers. Select your model and finish the installation. In my case I choose a “HP Color LaserJet CP3525 PCL6”.
Adding a Network Printer

Windows 7 Printers Sharing Options
After we added our printers its time to take a look at the sharing options. Select one of the installed printers, right click and select “Printer Properties”. Go to the “Sharing” tab and make sure the “Share this Printer” is selected and you have also a printer name. This name is the name the other users in your network will see when they are searching for shared printers.
Next Page > Windows 7 Printers Sharing Options Continued
Windows 7 Printers Sharing Options Continued
You will also see an option called “Render Print Jobs on Client Computers”. If selected, all the print jobs coming from client computers will be rendered on the client machine before they are sent to the printer. This option is useful if your Windows 7 Print Server does not have to render the print jobs locally but instead let the clients to this job. As today the personal computers are getting more and more powerful it should not be a problem, but if your other machines in the house are older computers with lower memory and CPU power, you should DISABLE this option, or else you can just let it on.
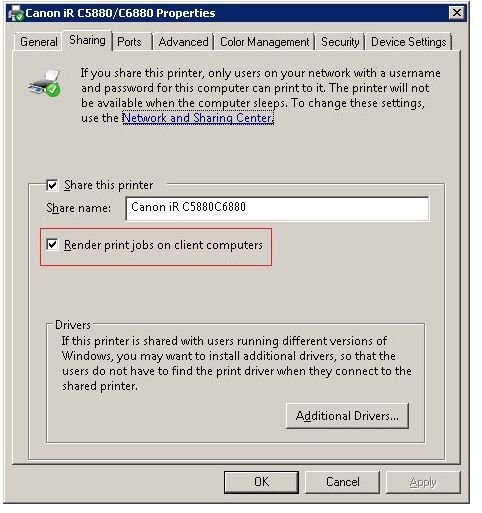
However, this feature is important for your clients when they are trying to print to a shared printer on your machine, the job is spooled on the client machine, and if the print server is offline at the moment, the rendered print job is automatically printed when the print server comes back online.
Now go to the “Security” tab and make sure the “Everyone” group has the right to “Print”.
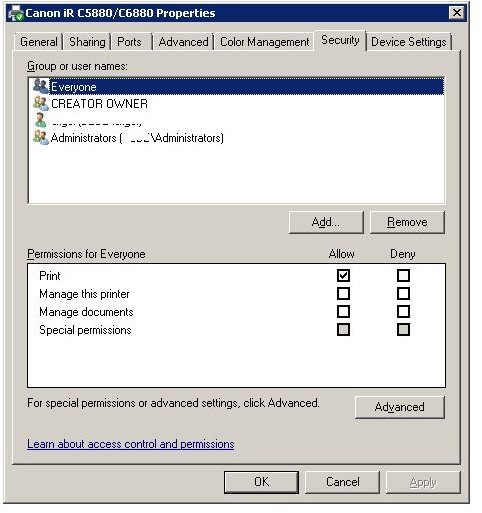
Check this settings to all the printers you want shared.
Windows 7 Print Spooler
In some cases, the Printer Spooler service that handles all the print jobs on the machine will crash. This is a fact and this happens often, so we will have to take a look at this service and make sure it is up and running all the time, else our clients will not be able to print. Go to “Start” and type “services.msc” in the search box and hit Enter. Windows Services window will pop up and we will need to find the “Print Spooler” service. Select it, right click and select “Properties”. Go to the “Recovery” tab and change the computers response in case of failure. Change the action to “Restart the Service” for First, Second and Subsequential Failures.

This will ensure the Printer Spooler will recover from any failure by restarting the service. If your Print Spooler service crashes all the time, you will have to start investigating why it’s crashing by monitoring the event viewer to see when is this happening and try to troubleshoot the cause. You can also monitor for printing errors for documents coming from the client computers. Go back to “Devices and Printers” in Control Panel, select one of the printers and then on the top menu select “Print Server Properties”. Go to the “Advanced” tab and select “Beep on errors of remote documents” so you will have an audio notification when some documents will generate an error while printed.

Adding the Shared Printers to Client Computers
We have added the printers, shared them, we can now add them to the other computers in the home. Let’s say your Windows 7 Print Server it’s named “Server” and it has 10.0.0.14 as IP address. On a client computer, go to Start > Run and type “\\Server\” and hit Enter. (We presume all the machines in the house are on the same workgroup). If a new window does not pop up with the shared content of the “Server” computer, you can try accessing it by the IP address. Go again to Start > Run and type “\\10.0.0.14\” then hit Enter. A new window will open showing you the shared content on the computer with the IP address of 10.0.0.14.
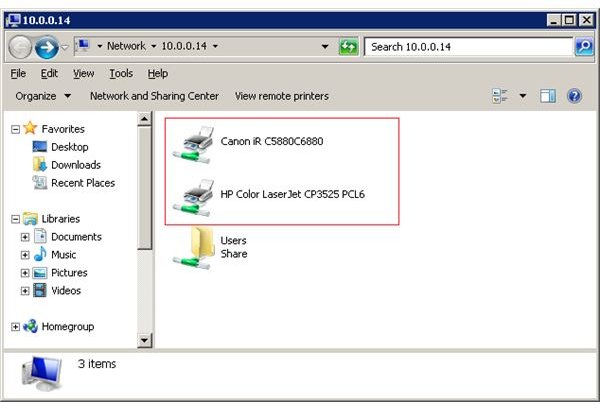
You will see the two shared printers, select the printers you want to connect, right click it and select “Connect”. The printer will now be connected to your computer and you can start printing on it.
Happy printing with your Windows 7 Print Server.


