How to Slipstream Windows Vista SP1 and SP2
Overview
For the Windows XP version of this article, see part 1: Using nLite to Slipstream the latest Windows XP Service Pack
vLite is a free tool to help you create a customized Windows Vista installation DVD by allowing you to apply service packs and patches to the DVD, remove Windows components and other general customizations. We’ll use vLite in this article to slipstream the latest Windows Vista Service pack.
What you’ll need:
- Windows Vista installation disc
- vLite (available here)
- Vista SP1 (available here)
- Vista SP2 (available here)
- .NET Framework 2.0 (available here)
- Windows Automated Installation Kit – WAIK (available here)
Note that Windows Vista needs to have Service Pack 1 installed before installing Service Pack 2 – Service Pack 2 is not cumulative like Windows XP’s service packs. When running the WAIK install on a 32 bit machine, vLite may ask that you install WAIK again – there is a simple solution – refer to this site for more assistance.
Installing and Using vLite
After you’ve downloaded vLite and the other necessary components, start off by installing the .NET Framework and WAIK. You can follow the default prompts and do a reboot after the installs complete. After the reboot, start the vLite installer keeping all of the defaults.
- Start vLite by going to Start, Programs, vLite, vLite
-
Click the “I Agree” button when presented with the license agreement.
-
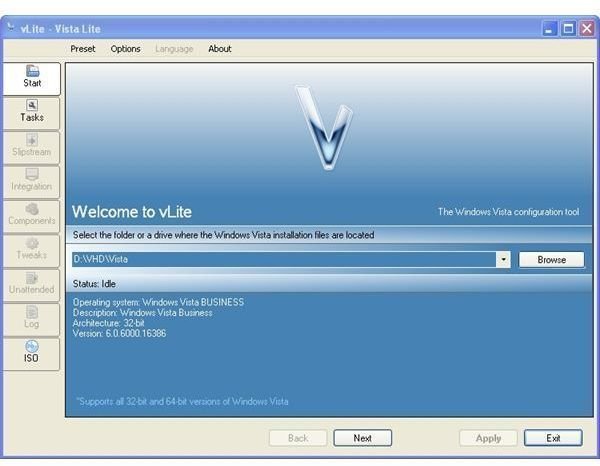
You will now need to insert your Windows Vista DVD or point to a location where your installation files are located. Click Browse and select the location of your installation files. If you do use a DVD, vLite will first copy the files to your hard drive before continuing (Figure 1). Click Next.
-
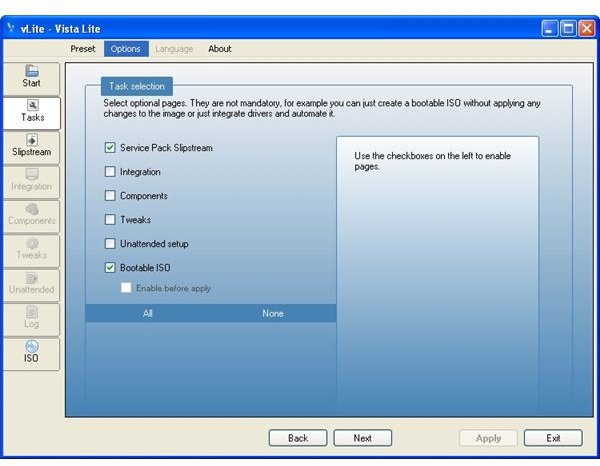
On the Task selection page, select the Slipstream option and Bootable ISO (Figure 2). Click Next.
-
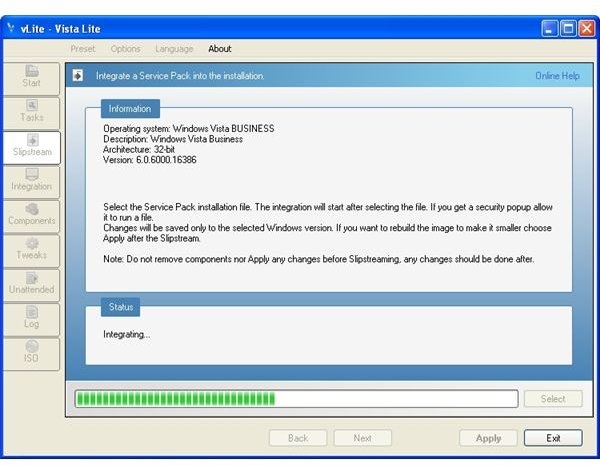
On the Slipstream tab, press the Select button and browse to the first service pack. Note that vLite will give you a warning if you are trying to do the integration on a Windows XP box – the slipstream did work for me on my XP box, but be warned that you may need to do the slipstream on a Vista of 2008 Server box.
-
After the first service pack was integrated, repeat the process with the second service pack.
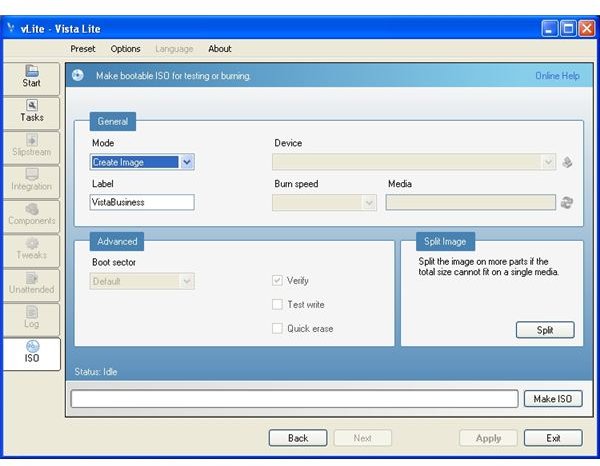
- Once the service packs have been integrated, move on to the Bootable ISO tab. You can either burn directly to a DVD or create an ISO image. Click the “Make ISO” or “Burn” button.
After a short while, you will now have a Bootable image (or DVD) with the latest service pack integrated. Keep in mind vLite can do much more than just integrate service packs!
Images
This post is part of the series: How to Slipstream Windows Service Packs
This series of articles will show you how to use free utilities - nLite and vLite - to install the latest Windows service packs into both Windows XP and Vista base images.