Exporting Photos from iPhoto to CD in Non-iPhoto Format
The Steps
What is iPhoto format? When you burn a disc in iPhoto you get a disc organized in albums with many folders. This works great when you are taking that disc and sticking it into another computer with iPhoto. What if you aren’t going to another computer with iPhoto? What if you want to use a developing Kiosk in your local “insert name of store here?” These discs in iPhoto format will not work in those machines.
Making a disc that will work in those machines is easy, but a little more involved than just inserting a disc and pushing Burn. Here’s how it is done.
First, insert a blank CD or DVD into the computer and give it a chance for the computer to read it. You might be asked what to do with the disc. The default option will be to open it in the Finder. That is fine.
Next, open iPhoto and select the photos you want to export. If they are all in an event or an album you can just select that event/album. If not, you have to individually select the photos by holding the command key as you select them; or make an album for them (probably the easiest option).
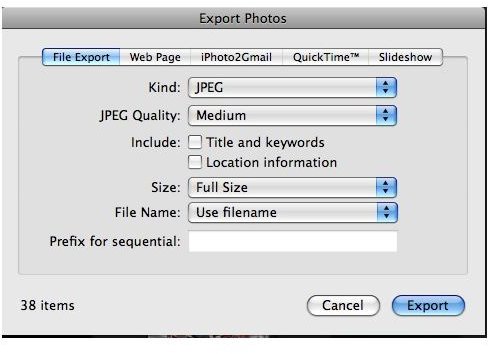
Once the files are selected go to the “File” menu and choose “Export.” A window will appear with various options. You want to be on the “File Export” tab. I always make the “Kind” jpg format for the best compatibility. If you are planning on printing these files set the quality to “Maximum” and keep the file size the “Full.” You want the files to be the best quality and these two options will help with that. The other options are self explanatory, and up to you if you want to select them. (image 1)
*****Important****** The “Export” command has different homes in different versions of iPhoto. Currently, it is in the “File” menu. If you cannot find it there check the “Share” menu.
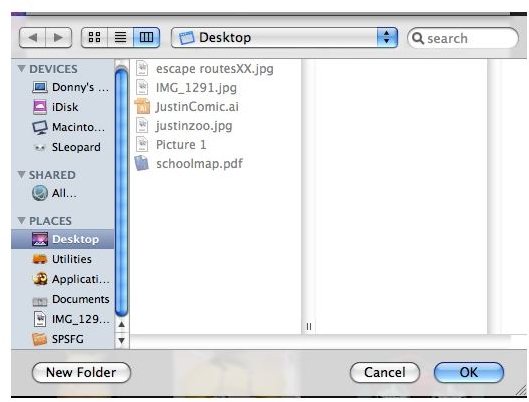
When the Save window appears choose the “Untitled Disc” from the list on the left. Click OK. All of the chosen files will be exported to the disc.
Quit iPhoto.
On your desktop click the untitled disc and choose “Burn” from the “File” menu. You can also click the yellow and black “radioactive” icon next the the disc in the list. After clicking Burn, choose your options on the window that opens and say OK. The CD will now burn. (image 2)
The more files you burn the longer the burn will take. Once it is finished burning the CD can be ejected (if it doesn’t eject itself) and you are ready to go!
Images
This post is part of the series: Using Your Photos Outside of iPhoto
iPhoto is great for editing and storing your photos. However, what if you need to use a photo file outside of iPhoto? Maybe you want to upload it to a website or burn it to a CD for a photo kiosk. This series will cover many ways to use your photos outside of iPhoto.