
Are you wondering, “How do I run a diagnostic on my computer?” If your computer seems to be running slow, has started freezing up or shutting down unexpectedly, or is having other problems, use a built-in diagnostic program to evaluate and possibly repair the issue.
Scandisk
If you want to know how to run computer diagnostics, you can begin with Scandisk. This diagnostic program is included in Windows. This utility will scan the computer’s hard disk, check for errors and correct problems it finds, if possible.
To run computer diagnostics on Windows XP, click the Start button and open My Computer. To run computer diagnostics on Windows Vista or Windows 7 (on which this PC diagnostic tool is called Check Disk), click Start and open Computer. Right click the disk you want to scan, which will likely be “Local Disk (C:),” and select Properties from the right-click menu. Go to the Tools tab of the Properties dialog box and click the Check Now button under Error Checking. Select the check boxes for Automatically Fix File Errors and Scan for and Attempt Recovery of Bad Sectors. Click the Start button.
If you selected to run a diagnostic scan on your primary computer drive, which is usually C, the utility will schedule a scan the next time you start your computer. For your convenience, set up Scandisk just before you turn off the computer at the end of the day. Then, rather than just shutting it down, restart the computer so Scandisk can run its diagnostic scan, which can take quite a bit of time.
Network Diagnostic Tool
If you want to know how to run a diagnostic on my computer because your computer is experiencing problems connecting to the network, you can use the Windows Network Diagnostic Tool to determine and possibly repair the problem. If you are using Windows Vista or Windows 7, the tool is readily available to you. If you are using Windows XP, you may need to download the tool from the Microsoft website. Click here to download the tool.
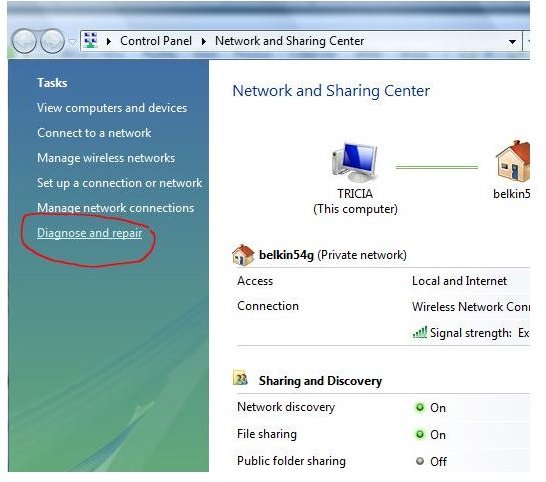
To access the Network Diagnostic Tool in Windows XP or Vista and run a diagnostic on your computer, go to the Start menu and select My Network Connections or simply Network. Click on Network and Sharing Center and select Diagnose Connection Problems or Diagnose and Repair from the left task pane.
In Windows 7, click Start and type network diagnostic into the search box. Click Identify and Repair Network Problems in the list of results.
The Network Diagnostic Tool will run and try to identify the connection problem. It will then present possible options to correct or repair the problem with your Internet or local network connection.

Device Manager Diagnostics
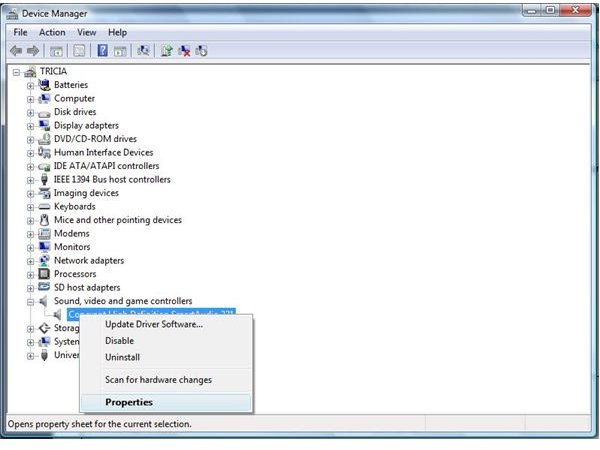
If you are experiencing problems with a device, such as your computer’s speakers or mouse, you can run computer diagnostics from Windows Device Manager. To open Device Manager , go to the Start menu and open Control Panel. Make sure the Control Panel is set to “Classic View,” and then double click System. In the System window, select Device Manger, which will open the Device Manager in a separate window. In Windows 7, simply type device manager into the search box on the Start menu and open it from the list of results.
Click the plus sign (+) to the left of the type of device on which you want to run a diagnostic. Right click the actual name of the device from the submenu that appears and select Properties.
On the General tab of the Properties window, you can check the status of the device to see if it is working properly. Some device properties windows will have a Diagnostic tab. Go to the tab and click the button available to run a diagnostic on this device. Other devices will have a Troubleshooting button on the General tab of the properties window that you can click if the device is not working properly. Click this and the diagnostic will run and offer possible solutions for the problem.

For more help and how-to’s regarding running diagnostics on your computer, check out Vista’s Diagnostics and Sleep and Optimizing the Windows Registry - The Best Windows PC Cleaning Software for the Registry Editor


