Is there a particular constant number, such as a sales or commission rate, that you use in Excel formulas on a regular basis? Mr. Excel explains how you can give a name to that constant so that it is stored in the workbook.
Named Constants in Excel
**
Problem: You’ve seen how you can assign a name to a cell in Excel in Create Easier-to-Understand Formulas with Named Ranges by using the Insert Name feature.
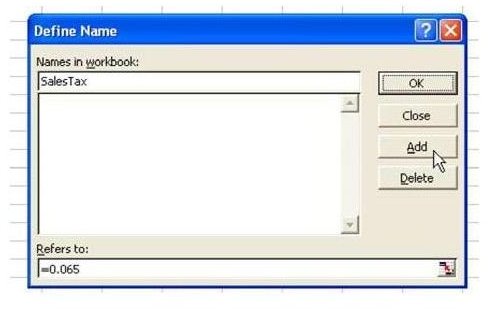
It is also possible to assign a name to a constant. This could be useful if you have a number, such as a local sales tax rate, that changes once a year. An example is shown in Fig. 212. (Click any image for a larger view.)
Using the Named Constant in a Formula
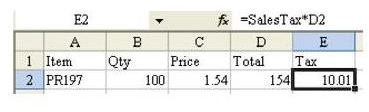
Once assigning the name to the constant, you can now use a formula such as =SalesTax*D2, as shown in Fig. 213.
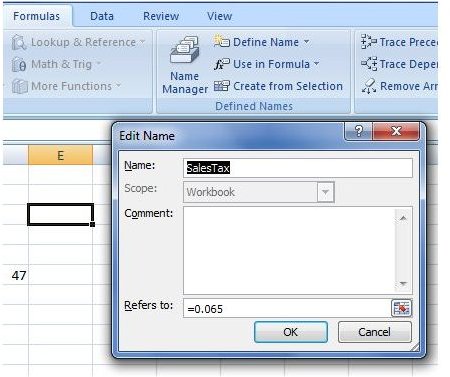
If the tax rate changes later use Insert – Name – Define to change the constant assigned to the name. You can also use this tool to delete the name if you decide that you don’t want to use it in the spreadsheet after all.
Note: In Excel 2007 and later, the Define Name tool is found on the Formulas tab.
Summary: To name a constant in a workbook, use Insert – Name – Define, type in the name of the constant, and then define the constant in the Refers to: box.
Commands Discussed: Insert – Name – Define
More Excel Tips
If you’re interested in more tips and tutorials, be sure to check out the other Microsoft Excel user guides available at Bright Hub that cover all facets of the spreadsheet application’s capabilities. In particular, you may want to take a look at the following collections of tips.
91 Tips for Calculating with Microsoft Excel – Taken from the book Learn Excel from Mr. Excel, written by Bill Jelen, this set of 91 Excel calculating tips features shortcuts and easy-to-understand explanations related to formulas, functions, and computations.
Excel Formatting Tips from Mr. Excel – This collection of Excel formatting tips gives advice and step by step instructions on how to better organize, analyze, and present data in Excel.


