Here’s a wiki, there’s a wiki, just about everyone has a wiki. But what is a wiki? And can you and your group get started with a wiki? In this article, we’ll look at how to create a wiki using Wikispaces.
Introduction
You’re collaborating with a group for a project for work or even school, and someone suggest that you all sign up for Wikispaces to make things easier. You of course say yes, but deep inside you’re going ‘huh’?
Wikis seem to be everywhere right now, and everyone seems to either know about some portion of a wiki, or they found information from a wiki. But what is a wiki? And what the heck is this Wikispaces place?
In this article, we’ll go over what a wiki is, what Wikispaces is, and most importantly, how to create a wiki using Wikispaces.
What the Heck is a Wiki?
So you’ve been hearing a lot about this thing called ‘wiki’ lately; everything from this national issue with WikiLeaks, to that thing some
people use called Wikipedia. You’d like to get started on something called ‘Wikispaces’, but you don’t even know what the heck a ‘wiki’ is.
To go from the beginning, ‘wiki’ is an Hawaiian word that means ‘very quickly’. This is the basis for the term wiki, as we may now know it. A wiki is a website that allows for easy creation and editing of a number of websites that are linked together. A good representation of this is the wiki site, Wikipedia . Wikipedia has ended up spawning some of its own fan sites, devoted to a host of different followings, such as Wookiepedia (for Star Wars fans), Charmed Wikia (for fans of the show Charmed), and Memory Alpha (for Star Trek fans).
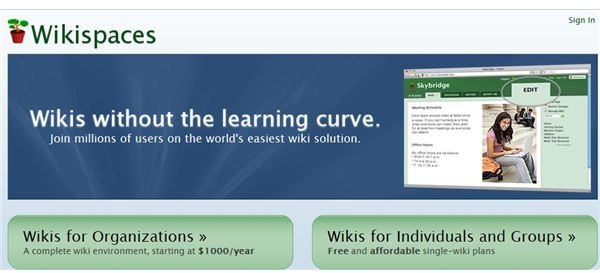
Wikispaces is a bit like Wikipedia and other wikis, in that you and others can create or edit pages. With Wikispaces, you have a choice at what type of organization you sign up for - either of a organization, or that of an individual or a small group. The individual/small group option is free, though some additional add ons do require a small fee.
How to Create a Wiki Using Wikispaces
So now that you know a little more about what wikis are and what Wikispaces is, it’s time to learn how to create a wiki using Wikispaces. Creating a wiki is actually a very simple and easy process.
- First, go to the main page of Wikispaces, then choose the group you’d like - organization or individual/small group.
- The next page will ask you to sign up, while telling you the features of the option you chose. Enter in the username you want to use, a password, and your email address. Then click ‘join’. You will receive a confirmation and instructional email after you have done so.
- Your wiki is automatically created and you may be asked to name your space (if you hadn’t already). Depending on what you are using the space for, name it after that. For instance, if you have a group that will be working on a project, name it ‘The Kardon Project’ (for the company).
- You should first start by going over the wiki information pages before starting your own. When you feel that you understand everything, go ahead and start your first wiki by clicking ’edit this page’.
- The page then turns into an word processor type editor, where you can thus begin your new page.
Utilizing Wikispaces for collaboration , or even school projects, is a great way to combine ideas with each other, or editing a person’s page helps projects stay on track, and allows others to explore your wikis.
Image content @ Wikispaces


