Learn how to print and export templates for your Celtx file.
Best of the Free Screenwriting Programs
Celtx is much celebrated as one of the best free screenwriting programs, and it still stands up against high cost top screenwriting software packages. With Celtx, however, it is not as easy to transfer documents and export as with other top screenwriting software. You are not able to transfer between this free screenwriting program and other programs, like you can with top screenwriting software like Final Draft. Here is a tutorial for trying to get around this and identify your options to transfer and print in Celtx.
Printing
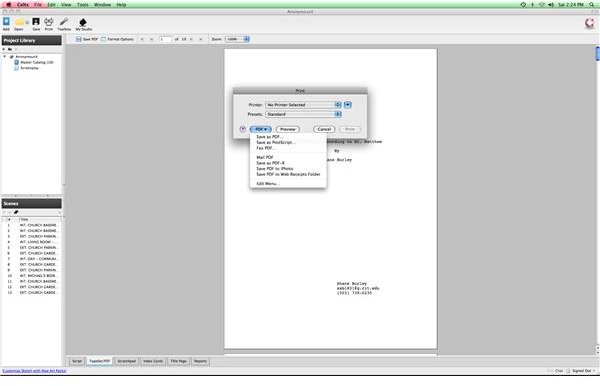
Celtx is often printed in a couple different ways depending on the situation you are printing in. You can go to the standard print option by going above the Script area and selecting Print, which is in between Save and Toolbox. The problem with this is that it will only print what is in the Script page, which does not include things like the Title Page . If you go into Typeset you will find the script in its complete form, but the margins will be somewhat altered and the script may appear a little longer. You can print out of here if you want to include the title page and take the hit on the formatting issue. You cannot just transfer a Celtx document to another top screenwriting software package or another text program, so if you want to print off of a computer that does not have Celtx you should start by transferring it into a PDF file.
When you bring up the Print options you can choose to view the Celtx project as a PDF file. You then simply choose to save that PDF file, then you can bring it over to a non-Celtx computer and perform the printing actions. If at all possible you should just choose to download Celtx on that computer since it is a free screenwriting program and the PDF will alter some of the margins.
Before you are doing a regular print you may want to alter page attributes first. Here you can select the type of printer you are preparing it for, how you want the paper size to be, what the orientation should be, and what the scale is to be set at. You can just do this by going to File and Page Setup. When you are ready to print the class Mac keyboard shortcut of Command and P will work for automatic printing.
Template
You can also easily export a template from Celtx that you have created in your project file. This formatting template can then be used later
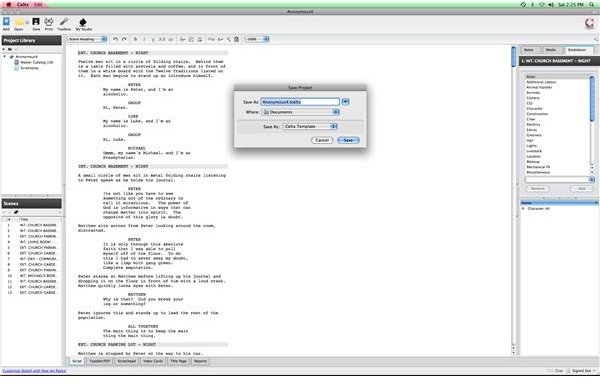
when working on another Celtx file, though you will want to only utilize this template system if you have a significant reason not to start at scratch when writing your screenplay . Simply go to File and choose Create Template, then choose to save it somewhere. This will save it as a “tceltx” file, to indicate a template. This will open up your project that you were working on, but it will be as a separate file. This is going to stand as a good option to save drafts and not in the same file.
This post is part of the series: Celtx Tutorials
Here are articles with Celtx tips, tutorials, and tricks.


