Think that you can never get a still image from your video files? Think again. Learn how to capture snapshots from your favorite video clips.
Capture Pictures from Free Video Editing Software Programs
Capturing every moment with your camera is impossible. But, capturing many, many moments with your digital camcorder is not. If you want to share just a single moment, however, that can be tough with a lot of video clips. Luckily, there is software on the market that allows you to capture individual frames from your video to create wonderful still images.
There are a number of free software downloads that allow you to edit video files in order to capture pictures from them. Video Compiler and IC Capture for Windows are just two of these programs.
The standard procedures for capturing pictures from video files can these types of programs are as follows:
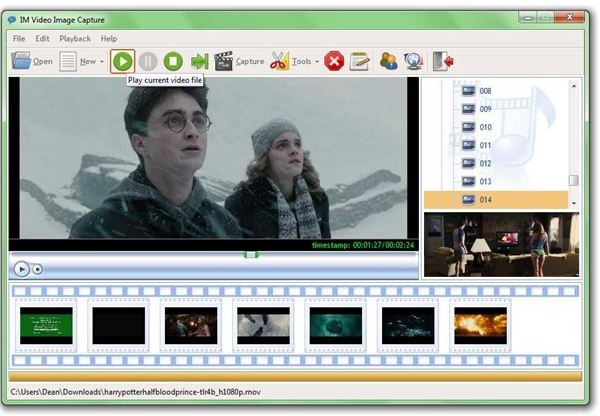
- Open up your video.
- Open up your editing program.
- Click the Capture Snapshot or Capture Still button on the program.
- Save the picture.
Capturing Still Images from Video Clips with Video Edit Magic
While free programs are great, you probably will be able to capture better quality images from a bought program like Sony Vegas Pro and Video Edit Magic. If you’re just planning on creating amateur movies or capturing still, Sony Vegas Pro may be a little pricey, ranging from $80 to $600 bucks depending on which of the features that you want.
But, Video Edit Magic is pretty affordable at $69.95 and will allow you to not only edit your digital video, but create stills as well. Another great thing about creating a still from your video is that you can use a moment from your digital movie for thumbnail or opening or closing title page for your movie.
To create a picture from your video files using Video Edit Magic, follow the below procedures.
- Capture several minutes of video so that you have a wide range of footage to use.
- Import your video to your computer’s hard drive.
- Open Video Edit Magic.
- Go to Tools -> Capture -> Options.
- Once the Options menu is open, go to the Save Options -> General tab.
- Pick the location your computer where you would like your captured video files to be saved.
- Check Output button to ensure that it’s set on AVI.
- Select OK.
Now it’s time to start capturing photographs from your video files.
- Go to the Start Capture button.
- Click on it until you have all the footage that you want to work with.
- Click Stop Capture.
- Open Video Edit Magic.
- Go to File ->Open File in order to open the captured video.
- Go to the Collections window, and drag your video to one of the video tracks on your timeline.
- Place the Seek Slider on the clip that you want to convert to photographs.
- Go to Tools ->Take Snap.
Now, your image has been taken. In the Output Format section, you can change the size and quality of your image. Once you’re done playing around with your image, you simply just have to press OK. And, now you have a bona fide image created by editing your video files.


