Capturing action is a visual process that is open to endless shooting techniques and styles. Before shooting action, follow some of these tips to create an intense, action-packed experience for your viewers.
Recreating a three-dimensional field of action to realistically play out in a two-dimensional frame requires multiple camera angles, different framing types, and dynamic compositions. The possibilities are endless and considering camera placement, there are no rules; except to effectively direct and engage the viewers’ attention.
Framing and Composition
Although there are a variety of framing types, the three most commonly known are close-ups (CU), medium shots (MS), and wide shots/long shots (WS/LS). One convenient tip is to capture your wide or long shots first and then start your medium and close-up shots. Your medium and close-up shots will most likely be the shots used to capture the action taking place and these shots will also take more time to shoot, especially if you’re working on a single-camera production.
If you want to dramatize and heighten the intensity of the action, go in for a tighter shot on the action. For example, if someone is slapped in the face, you may want to shoot a CU of the hand moving in for the slap or the face taking the shot.
Frame composition makes a huge difference when shooting action! You most likely want to shoot dynamic compositions versus symmetrical compositions (balanced frames which appear static, dull and lifeless). Dynamic compositions are unbalanced, asymmetrical frames, with the subject(s) on one side of the frame and perhaps empty space on the other.
These types of asymmetrical frames work best for capturing action sequences, especially if the subject is moving from one side of the room to the other. For example, if you’re shooting close-up action of a tire spinning, you may want to frame it asymmetrically, leaving empty space on the other side of the frame known as lead space or nose room.
Angles
The angles to shoot action are endless! Incorporating different angles to show your action helps by recreating a 3-D space by creating depth in the frame. Angles refer to low angles, high angles, oblique, eye level and more. For action, don’t just shoot from the front. Mix in various angles to cut to, making the action look more fluid while giving options to cover up errors in other angles.
Low angles dramatize the subjects giving them a domineering characteristic. High angles, with the opposite effect, make the subjects appear insignificant or a part of their environment. For a more jarring effect, shoot a few oblique angles (aka Dutch angles and canted angles). An oblique angle is when the camera is tilted along the horizontal axis so that the ground, floor and subject is slanted in the frame. These types of angles give a sense of uneasiness, imbalance and work great on CU shots, especially dramatic ones where there’s lots of movement. They also work well for quick cutaway shots.
Camera movement and zooms are also used to emphasize the action. Tilts, pans, tracking in/tracking out, zooming in/zooming out: these types of shots will require more planning and time since camera movement will be incorporated. (Read about the zolly filming technique .)
Other Tips to Keep in Mind
Remember, what is out of frame is just as important as what’s in it. Instead of shooting the entire action sequence, you may want to use cutaways or reaction shots. Imagine a scene where a car accident takes place. You don’t necessarily have to see the actual accident. Besides, this would be expensive to shoot. Instead, you may cut to witnesses’ reactions, a stop sign or a red light. This is when sound effects will heighten the experience. Or, silence too! Remember, silence is just as important and is still considered sound.
In addition, not seeing the actual car accident but seeing the reactions of the witnesses may even produce an even more dramatic effect emotionally than seeing the vehicles collide on screen.
Remember, shoot to edit! Think of the shots and the order you want to see them play out beforehand. Shoot MS and/or CU shots of the action that will guide the action and narrative forward. Let your creativity run wild. The editor won’t necessarily include all your shots, but it’s always helpful to have them just in case.
Another tip is to look at where most of the movement is in your frame. Is it in the subjects face, hands, feet, eyes? Is it the actual sweat beading from the actor’s temples? Teary eyes? Is it important to show the uneasiness of your character twiddling their hands due to nervous tension? It’s up to how you want to portray what the viewer’s supposed to consciously or unconsciously gather.
What do you want to express and what emotions are you trying to convey? Is it fear, anger, jealousy? Camera placement is also used to draw up different types of emotions, such as low angles and high angles.
Try to place the camera in places where it will capture the greatest impact of the action. Engage your audience by making them feel the action. Think in 3-D and use the space around the action. Don’t be afraid to experiment!
References
Article written based on author’s own experience.
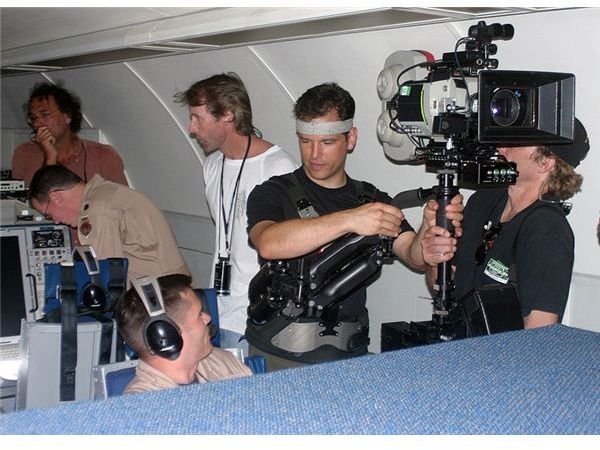
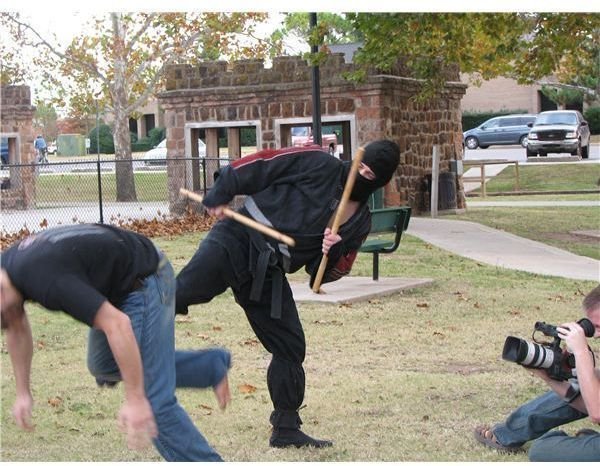
Image credits:
First image courtesy of Wikimedia Commons .
Second image from author’s personal collection.


