One of the most common genres of amateur and professional video-production alike is producing the how-to or instructional video. The process need not be an especially lengthy or complicated one. You too can produce some well-presented instructional video. Here’s how you might go about it.
How to Produce an Instructional Video
Whether or not you produce videos professionally, do you know the key elements of producing a quality instructional video that informs, but holds the viewers interest as well? Use these steps to make producing an instructional video on virtually any topic a smooth, quick, stress-free project that gets the job done and even entertains your captive audience.
Plan Your Video in Stages
Whether you’re filming a digital video for Hollywood with a cast of thousands and a budget of millions or a simple how to prepare a dish of mashed potatoes, your first essential step is to plan the elements of your video. You’ll need a script or plan for filming and organizing your video. Once you have your plan established, it’s not necessary to film the video in chronological order, that is, film the events or stages of the process you’re illustrating in the actual order that they happen. While you can film an entire video scenario straight through, as was done in “What Will Jackie Say? ”, it’s really much harder to do. Good how-to or instructional videos tend to be much better finished productions when filmed and edited as short clips mounted together in steps or stages.
Filming a Series of Simple Step-by-Step Processes
If we want a step-by-step film of a sequential process, like cooking a meal or painting a picture, we need to film in small bites or very short clips which will be easy to assemble and / or edit. For example, go now and watch any television program, a movie or a short, one-minute commercial for that matter and you’ll notice that instead of filming a continuous one-minute spot, that one minute commercial is a series of short, three or five second to eight second clips all strung together. These produce the final one-minute or thirty-second commercial video. You should do the same. You can have a clip of up to 30 seconds if you pan, zoom and change viewing angles or viewpoints during the clip as was done in the video clip “Ceramic Tile Painting ”.
Instructional Video How-to Steps
Briefly, here are the instructional video how-to steps you’ll follow:
· Take digital photographs of each step
· Film the how-to operation in short individual steps
· Use a variety of angles, viewpoints, zooms and pans to hold viewer interest
· Edit the video clips adding in the digital photos
· Overwrite titles, descriptive captions or ingredient lists onto the digital photographs
· Insert titles and end credits
· Don’t forget to overlay your e-mail or website for viewers who want more information
A Sample How-To Script
Let’s say we want a simple, instructional video of how-to cook mashed potatoes. Here is a sequence or video script of how and what to do.
- Digital photographs of a potato and photos of all ingredients to be used
- Wash the potatoes thoroughly
- Pour water in a pan
- Add a little salt to the water
- Boil the water and potatoes
- Test for Doneness
- Pour off the water
- Peel the potatoes
- Cut up the potatoes
- Put the cut up potatoes into a masher
- Mash the potatoes
- Add butter, seasonings and salt to taste
- Serve and garnish the potatoes
- Digital photos of the finished, served and garnished Mashed Potatoes
You can combine a few of the individual steps into video clips together, especially if there’s narration during the filming of the process. You should then film each short process series individually for string together later during the editing process. This is where you’ll add titles, ingredient lists, printed instructions or other written information to the video. An example of a process video using this technique is the video, “Preparing Sobrebarriga al Horno ”. It’s narrated in Spanish but illustrates each step so clearly almost no one would have trouble following the preparation steps.
Combine Digital Photographs and Video Clips
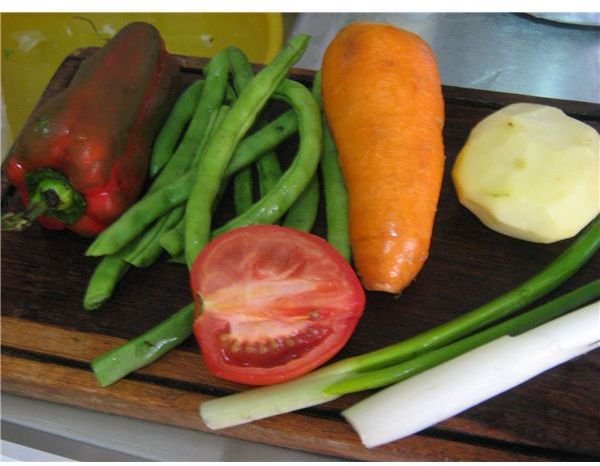
We take a series of still, digital photographs during the process which will be useful for adding titles, captions and lists of ingredients into our finished how-to video. Digital photographs of the collected ingredients are also useful to give viewers a quick overview of what is needed for preparing the dish.
The How-to Video Editing Process
If you’re overwhelmed by the thought of editing a video, fear not. Using many easy-to-use, basic-feature video editing software programs such as Camtasia Studio 3 , Windows Live Movie Maker or Ulead Video Studio 7 SE Basic , editing a video is a fairly simple, straight forward procedure. It’s mostly a matter of dragging and dropping the video clips and still digital photos into their respective positions in a timeline. Video editing software usually comes with a number of transition special effects, which change you from one scene to another, without additional cost. So you’ll simply drag and drop an F/X effect box into your video timeline between the short clips. You then add in written titles, captions, lists, etc. by clicking on the title icon and typing in what you want to write. You can change text colors, styles and other features as easily as using MS Word.
Even if a process you want to illustrate takes several hours, you can film short clips of each step thereby showing the whole process in only a very few minutes. Virtually all the video clips on YouTube and other top video-sharing websites are ten minutes or less. For a good overview of how the whole procedure looks when finished, have a gander at “Cooking Amazon Catfish in Vegetable Sauce ” complete with fade-ins, slides, flips and still digital photo steps inserted into the final how-to video.
Now it’s you turn to give creating a how-to or an instructional video a try. Good luck and have fun.


