Want to learn how to convert VHS to DVD? iMovie makes this fun and easy. Learn more here!
VHS to DVD
VHS has basically gone the way of the Dodo bird. But, that doesn’t mean that there isn’t some good stuff saved on those old VHS tapes. You may have your old home movies or similar important video clips on your VHS tapes. You can convert VHS to DVD. iMovie , Apple’s video editing program, helps you with this task. This is a Mac-only product. If you own a Windows-based system, then you can’t use iMovie for this task.
Needed Equipment
Before you can start converting your VHS tapes into DVD format , you need to create a transfer station. So, you need either a camcorder or VHS
player that supports S-video since this format produces better pictures than standard, composite video. You also need either an analog to DV converter box or a MiniDV camcorder to change your analog signal into a digital one.
You also need enough space to hold your converted footage. On average, about one hour of footage takes up about 12 GB of memory. So, if you don’t have a computer with a large amount of memory, purchase a backup hard drive. You can store all of your converted footage on this so it won’t slow down or use up all the space on your computer.
Next, you must connect your items together. The VCR output A goes to your camcorder/converter box, and the VCR audio outputs connect to the other device’s audio input. Connect either your converter box or camcorder to the FireWire jack on your Mac.
Importing Your VHS Clips
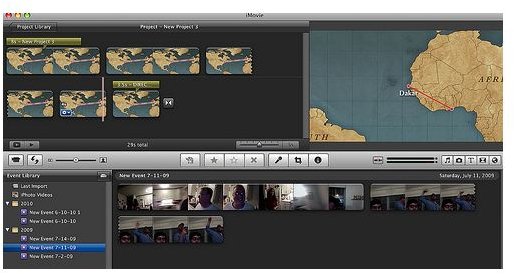
Now, you can start importing your VHS tapes into your iMovie program . You must first create a new project for your VHS clips. If you have an external hard drive, make that the output folder as opposed to the Movies folder.
When you are ready, go to Monitor, and click on the Camera icon. This starts importing your clips. Hit play on your camcorder or VCR. You can choose to capture the whole film or clip, or you can choose to only select a certain part of it. If you want to capture everything, hit the Import button in iMovie as soon as you hit the play button on your VCR/camcorder.
If you only want to capture a certain section of the tape, press play, and then watch the video in the Monitor. Hit the Import button when you get to the section that you want to record. To stop importing your VHS tape footage, hit the Import button again.
Edit and Burn to DVD
You can now edit your video, including removing bad or unwanted clips. You can also split up your clips and add audio and effects. When you are done, you can convert your movie to DVD. Open up iDVD, and import your clips. Add a DVD menu to your video using the predesigned templates. Then, preview your video, and click on the Burn button to start burning your DVD.
You can just keep the DVD. But, you should keep your movie on your external hard drive in case you lose the DVD.
References
Held, Jim. “From VHS to DVD”, https://www.macworld.com/article/30972/2004/05/fromvhstodvd.html
Gallagher.michealsean, https://www.flickr.com/photos/michaelgallagher/5129246310/sizes/m/in/photostream/


