Here is an easy tutorial on how to import pictures into the new iMovie ‘11.
iMovie Still Photos
iMovie ‘11 may have added a lot of different features, but the base way that you import media files for use in your editing process has not changed. iMovie allows you to bring in a series of different media files and, though it is primarily used for video files, this works for still photos as well. There is a very simple method for how to import pictures in iMovie ‘11, and it only takes a quick iMovie tutorial to outline the steps.
How to Import Pictures into iMovie ‘11
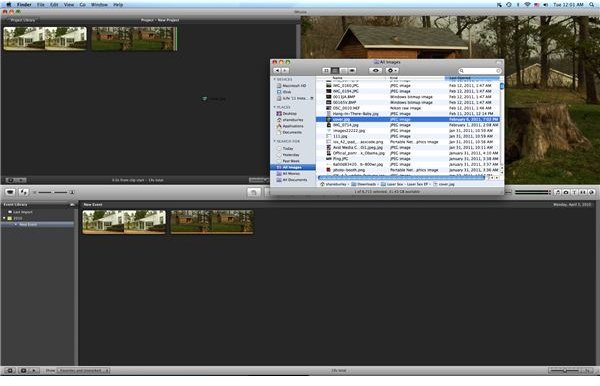
Start by either creating a new iMovie project, or even just going into an existing iMovie project. Open up a Finder window and identify the still photos that you want to import into your iMovie project. The easiest way to import pictures to iMovie ‘11 is to bypass the menu based import process and to simply drag and drop the photo file. You can drag and drop the file into either the Projects window or Events window, but you may encounter some problems if you

try to drag it into the Events window.
What iMovie does is interprets the photo file as a movie where it just remains on the still image over the span of it. What you need to do, then, is edit how long you want it to be. You can drag it shorter or longer depending on how long you want it to appear on screen. If you want it to be part of a full video project, such as a photo segment in a documentary , then you may want to keep it on long enough so that it can be seen but not long enough so that it will overstay its welcome. The standard for this is four seconds, but you can determine the exact length according to the rhythm of your edit. You may also want to apply some photo motion to it, which is easy to do right in the Projects window.
iMovie Photo Slideshow
iMovie ‘11 can easily create a slideshow in the same way that you arrange video clips, and many different iMovie tutorials will outline different ways of doing this that can complicate the issue. The reality is that you have to treat the iMovie photo slideshow process as the logical extension of how to import pictures in iMovie ‘11. Go ahead and find several pictures that you want to create a slideshow for and drag and drop them into the Projects window. From here you can select each clip, which will require you to highlight it and make sure that the yellow border encompasses the whole clip, and then reposition them according to the position that you would want them to be in. Once you do this you can simply go to Share and choose the export option you want so that this slideshow can then be exported as a movie file or to another program, like iDVD for DVD authoring .
References
Source: author’s own experience.


