
Here is a look at how to apply motion to a photo in Adobe After Effects.
Getting it on the Move
Photo motion is a very common effect used in film and television, especially documentary or other types of non-fiction programming. The purpose is often to spice a still image up, add energy, and even use it to tell a linear story by showing different parts at a time. This photo motion effect is possible in many post-production programs, and Final Cut Pro is capable of easy photo motion without much labor. Adobe After Effects, on the other hand, adds a great deal more to photo motion because of its ability to track motion all around the image. Here is an Adobe After Effects tutorial outlining how to apply simple photo motion.
After Effects Photo Motion
Begin the process by making sure that a still photo is imported into your After Effects project, that it is in a Composition, and that you can see it in the timeline. From here you will want to go to it next to the timeline, click on the triangle next to it, do the same at Transform, and this will allow you to see its motion controls around the
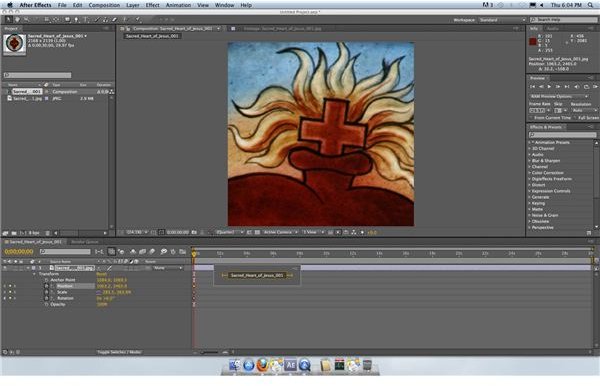
Anchor Points, Position, Scale, Rotation, and Opacity. Each of these options allow you to set keyframes at different points along the timeline on the bar for the photo. On each of these keyframes you can then change the settings around that specific Transform function, such as Position, and if the two keyframes that are marked are different the image will change from one to the other.
To begin this process you will likely want to think about the type of photo motion you want to apply in After Effects. First, make your image larger, focus in on a specific area, and even change the rotation position if you like. What you want is a specified starting location for your image so that you can move around it. Once you have gotten to that place, set keyframes at the very beginning of the clip for all of the
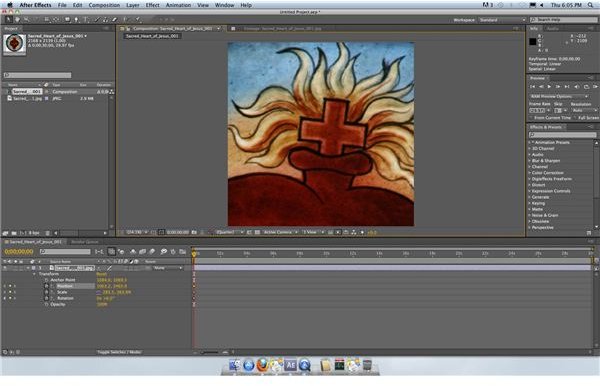
Transform features that you made changes in. This means that if you changed the Position, Scale, and Rotation of the clip then you should set keyframes at the beginning of the clip for all three.
From here you will move to another point along the timeline and set another keyframe for those points, then go up to the image and change the values for them. This can mean moving the Position from where you started, making the image smaller in Scale, and twisting it more off axis in Rotation. Once you did this go ahead and set another
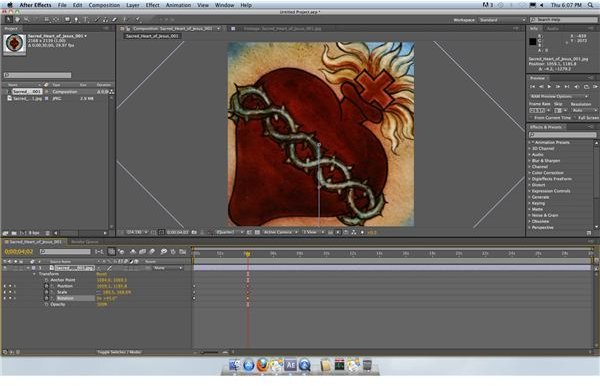
trio of keyframes, change the values in each, and repeat the process. Do this several times according to how much After Effects photo motion you want. What you have done here is marked the changes that you have made over a period of time, and since you have done this to the still photo and added a motion to it you will have proper photo motion.
Correct Photo Motion
Photo motion in general tends to be relatively subtle and does not draw too much attention to itself, so you should try to scale yourself back when you are applying these movements to your photo in After Effects. Try to make it consistent, or have somewhat of a story if you are moving around to different parts of a large image. Once you are done you may want to export it through the Render Queue to then bring into your video editing project.
This post is part of the series: Adobe After Effects Tutorials
Different tutorials outlining features in Adobe After Effects.


