
If you want to send out business holiday cards, but can’t find any you like, you can make your own. This guide will show you how to create your own cards using Microsoft Word.
Business Holiday Cards
One of the easiest ways to create business holiday cards is by using a Word template for your layout. Using a template for your layout will allow the card to print correctly. In this guide, I will provide some templates for you and show you how to edit them to create your own custom business holiday cards.
Free Holiday Card Templates
To get started, you will need to find the template you want to use for your business holiday cards. Make sure you pay attention to the fold of the card, because this is how your greeting card will print. You can load the template page by clicking here . Once the page loads, browse through the cards and find something you want to use. Keep in mind that it does not have to be exactly what you want because I am going to show you how to edit the templates to create your own business holiday cards.
When you have loaded the template page, browse through the templates and find the one you want to use. Click the template and you will see a box open with the download button. Click the button and agree to the terms by clicking Accept. Then scroll to the bottom of the next page and click Download again. When the box opens, click the Save File option and give it a second to download. After it has downloaded, double click it and it will open in Microsoft Word. Now you are ready to begin editing.
Note: If you’d rather use Microsoft Publisher, you can try out some of the templates designed by Tricia Goss that are available here: Free Microsoft Publisher Christmas Card Templates .
Editing Your Business Holiday Card

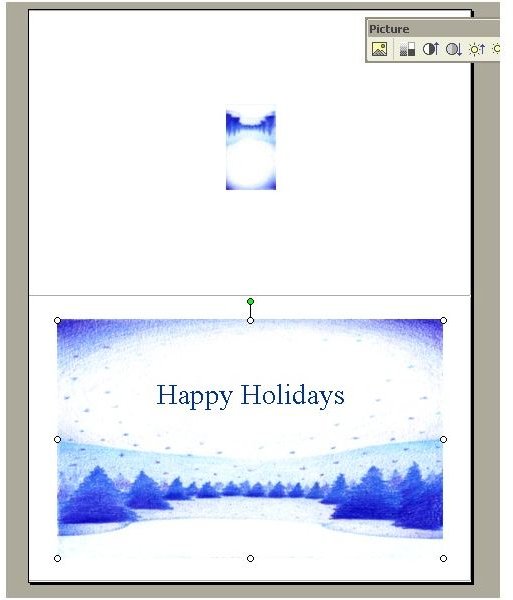
Now that you have your Word template open for your business holiday card, you can begin editing it. To begin with, you may want to type a message on the inside of the card. So, place your mouse on the inside of the card and type what you want. Then you can change the color of the text to match the card. Next, you may want to add your own images to the card, like your business logo for example. Place your mouse on the card, where you want the logo to be inserted. Go to the top of Word and click the Insert menu. Place your mouse on Picture and click from file. Locate your logo and open it.
If you want to add more text and graphics to your card, you can do so. When you have your business card set up the way you want it, print it to see if it comes out correctly. If all is a go, print as many copies as you need. It is probably best to use card stock paper to print your greeting cards on to get that business type look.


