
In this DIY Winter Envelopes guide, I will walk you through the steps of creating your own envelopes in Microsoft Word. I will show you how to create the envelope, add winter graphics, and print your envelope. If you can’t find a winter themed envelope template you like, you can create your own.
In four easy steps, you can be printing your own winter envelopes. Follow this guide to create your winter envelopes and print them from your computer. Feel free to use winter graphics from the internet instead of the clipart in Microsoft Word.
Step 1 - Opening Your Envelope Template in Microsoft Word
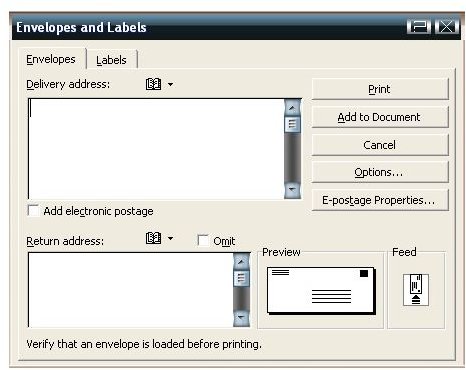
One of the reasons for creating your own winter envelopes in Microsoft Word is because the software provides you with a template to use. Your first step is to open the envelope template in Microsoft Word. At the top of your Microsoft Word document, you can click the Tools menu and find the Labels and Mailings option. If you hover your mouse over that option in the menu, you will see the sub-menu open which will have the Envelope option. Click that option and the envelope template box will open.
Step 2 - Filling in Your Address Information
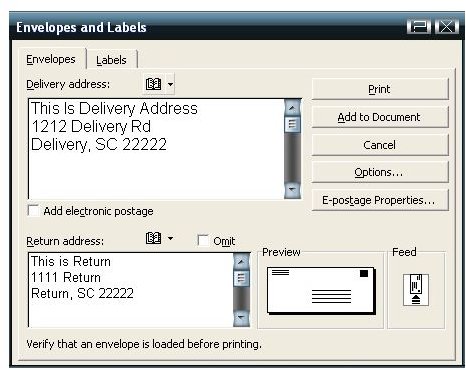
Your next step is to fill in the address information in the box you now have open. You will need to enter the address you are sending this envelope to and the return address. If you are using Microsoft’s address book, you can insert the address using the small icon at the top of your Delivery Address box. Simply click that icon and select the address you want to insert.
Step 3 - Changing Your Envelope Properties
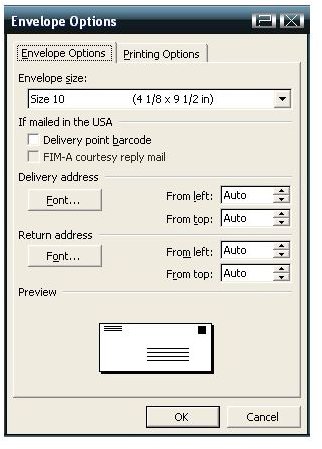
Before closing this box and continuing to create your winter envelope, you will need to change your envelope properties so it will print correctly. To the right of the address fields, you will see the Options button, click this button to load your options.
In this box, you will need to change the size of the envelope to the size envelope you will be using to print on. Then click the Printing tab at the top of the box and select how your printer feeds the paper. You must set this correctly or your envelope will be printed on the wrong side. When you are finished with this section, you can click the OK button. On the other box that is opened, you will need to click the Add to Document button. The box will close and you will now see the envelope in Word.
Step 4 - Adding the Winter Feel to Your Winter Envelope
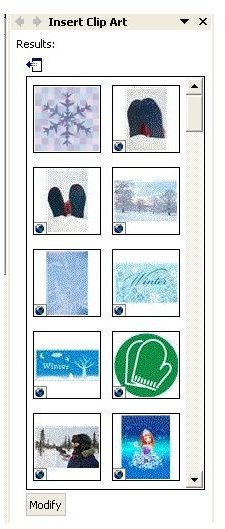
The next step is to add that touch of winter to your envelope. The first thing you might want to do is change the font , size, and color of your text. Change these the same way you would if you were typing a document. Next, you will want to open your clipart gallery. You can open the clipart gallery by clicking Insert > Picture > Clipart. When the clipart panel opens on the right, type “winter” in the search field and search for it. When the results return, you will see quite a few winter graphics. Click something you want to use and it will be inserted into the envelope. You will probably have to resize it. When you insert the clipart, it will probably go to the next page, just resize it and it will fit on the envelope.
To resize the graphic, click it, and drag a corner to the center. To move the graphic, click it and drag it to where you want it. You can insert the graphic anywhere you want on the envelope. Place your mouse in the location where you want to insert it and then click it in the right panel. When you are finished, click File > Print and print your winter envelope.


