Santa Claus needs your help making this holiday season bright and cheerful, so why not spend some time learning to make Christmas wallpaper in Photoshop? Here you will find an illustrated step-by-step process that will help you shift into holiday design mode in a matter of minutes.
Create Your Own Christmas Wallpaper
You can design your own Christmas wallpaper using just you, your computer, and Adobe Photoshop. Within just a short time period, you will have a Christmas wallpaper design that will put you in the Christmas spirit every time you use your machine. Here you will see how to create a simple wallpaper using Adobe Photoshop CS5. You can follow along in this brief tutorial and then continue to create your own Christmas wallpaper in Photoshop.
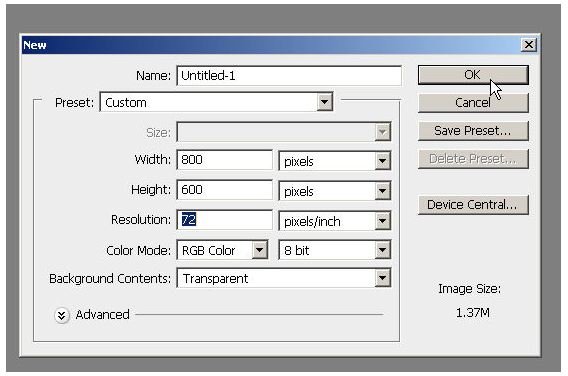
To get started, open Adobe Photoshop and create a new document that measures 800 x 600 pixels with a resolution of 72 dots per inch (dpi). This will be the image that encapsulates your Christmas wallpaper.
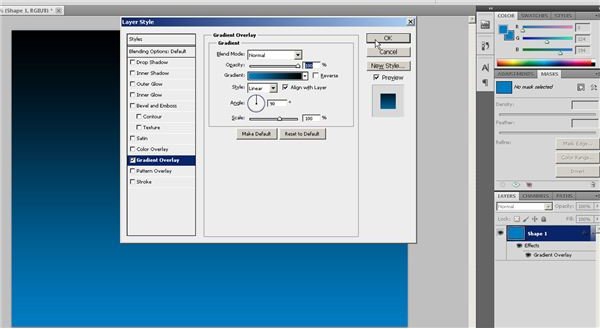
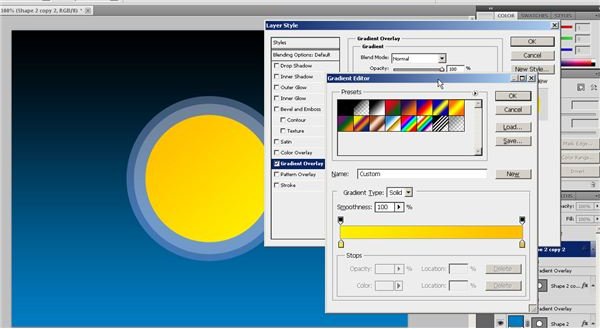
Now, create a rectangle for the background that covers the entire workspace and then set the layer for a gradient overlay from blue to black. You do this by selecting the layer in the “Layers” palette and then clicking the menu icon at the top right of it and then selecting the “Blending Options.” Next, click on the “Gradient Overlay” option in the left column. Finally, click the “Gradient” option in the main panel to set the gradient colors for this layer. Here we use a blue to black gradient, but you can choose whatever colors that please you.
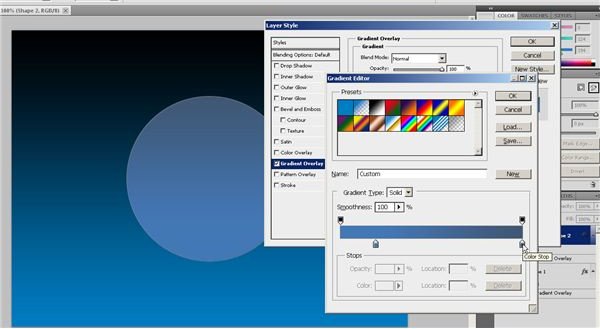
After you create the rectangle for the background, draw a circle using the ellipse tool and fill it with a blue gradient overlay as shown in the image below. You do this by accessing the same menu options as you did for the background you created in the previous step. Together with an inner ring, this circle will frame the holiday image central to this Christmas wallpaper in Photoshop. You will be able to use whatever holiday symbol you like here. Later on, we’ll place a snowman here, but Santa Claus, reindeer, Christmas trees, and other items could go here instead.
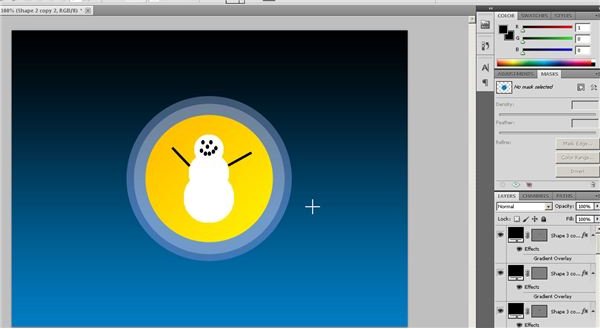
To complete the circular frame, copy the layer with the circle and paste it as a new layer. Use free transform to reduce its size. This will create a bezel that will encompass our central image. You can change the space between the outer and inner rings to create the effect you like best.
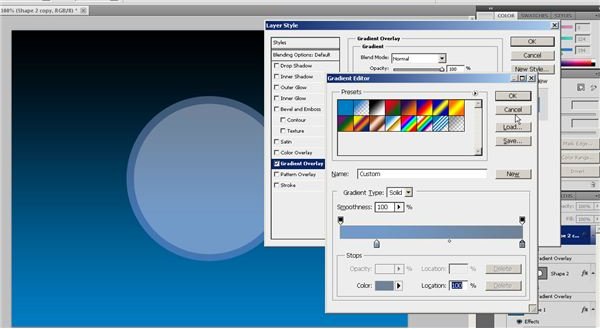
Duplicate the layer again and this time fill it with the inset color gradient as shown in the screen shot. Remember, this is just an illustration, so you can choose the color scheme that fits best for you.
Now, draw your holiday image in the center. Here we’ll use a basic snowman to illustrate. You can choose virtually any holiday symbol you’d like here.
Now you can accent the background of your wallpaper with some holiday stars. You can get creative here.
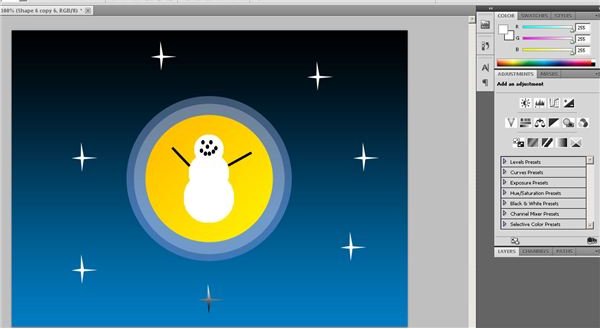
It’s up to you to complete the wallpaper. Once you’re finished, save your work as a JPG file.
Installing Your Wallpaper
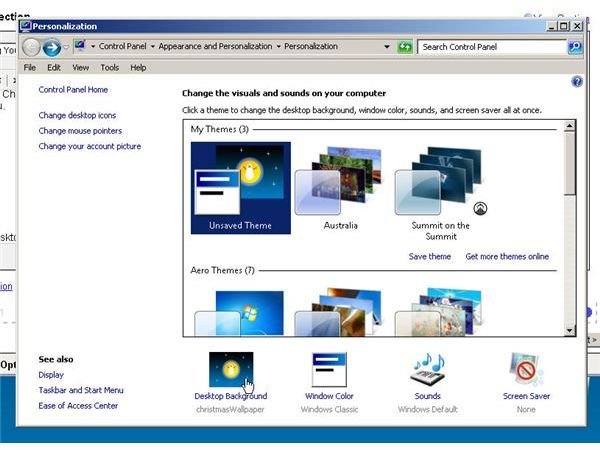
To load your Christmas wallpaper from Photoshop, right click on the desktop and then choose the “Personalize” option from the context menu.
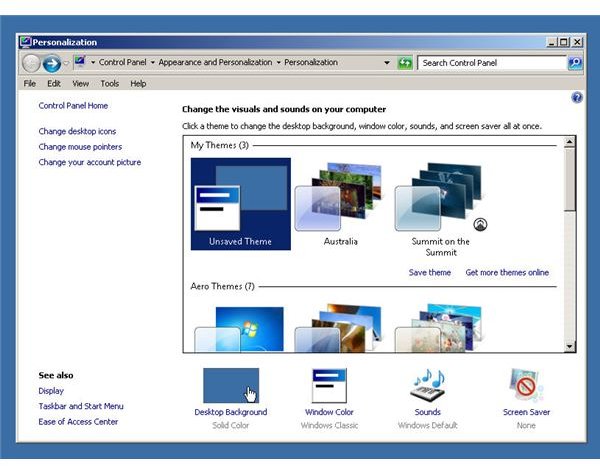
Click the “Desktop Background” option and then browse to where you saved your Christmas wallpaper.
You now know how to make Christmas wallpaper in Photoshop and how to set it as the wallpaper on your computer. Now get started making your own wallpaper and have a Merry Christmas!
Image Credits: Screen shots taken by Bruce Tyson


