Ho Ho Ho, Merry Christmas! It’s the holiday season already so it’s time to fire up Photoshop and start making some distinguished gifts. Here you will find a tutorial that shows you how to make a Christmas gift tag in Photoshop that even Santa would be proud of.
Getting started
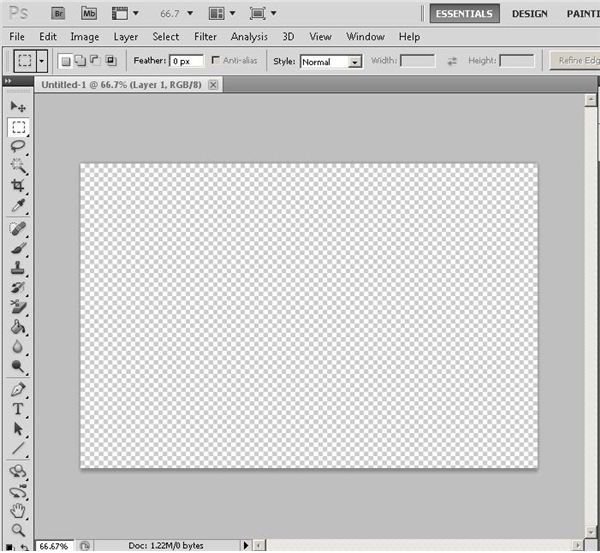
You are about to make a Christmas gift tag in Photoshop so make sure you have the software installed and ready to go on your computer. If you don’t have Photoshop right now, you can get a free trial by visiting Adobe.com.
Now that you’re ready, start up Adobe Photoshop and create a new document.
Choose a color paper pattern for your Christmas gift tag by clicking on “Edit” and then “Fill” to get the fill dialog. Click the fly out button on the right to select “Color Paper” patterns for the fill window.
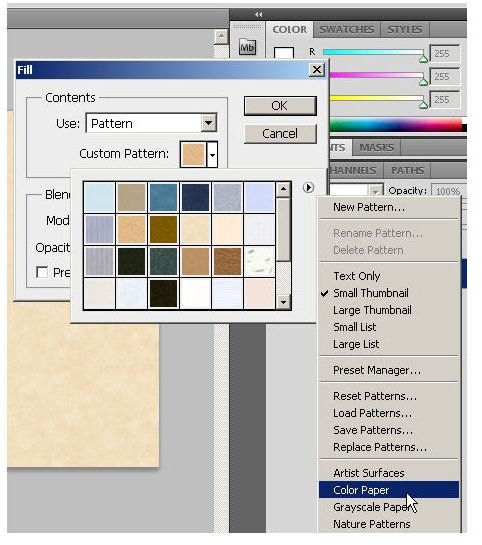
Now, choose a color paper for your gift tag and you’ll be ready for the next step.
Making the Tag
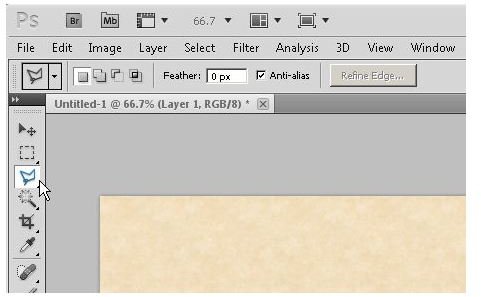
Get started by creating a new layer. Click “Edit” and then “Fill” to set the contents to white. Next, select the Photoshop “Polygonal Lasso Tool” and make sure your feathering is set to “0”.
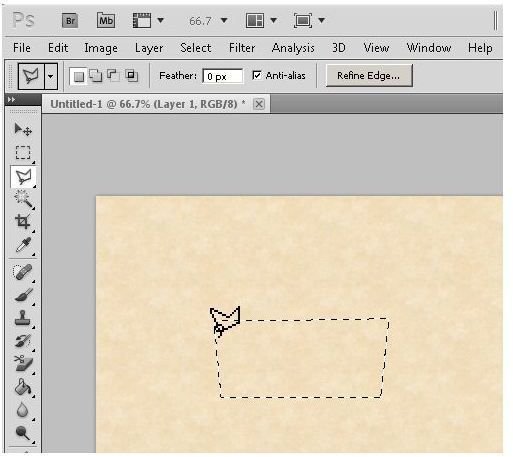
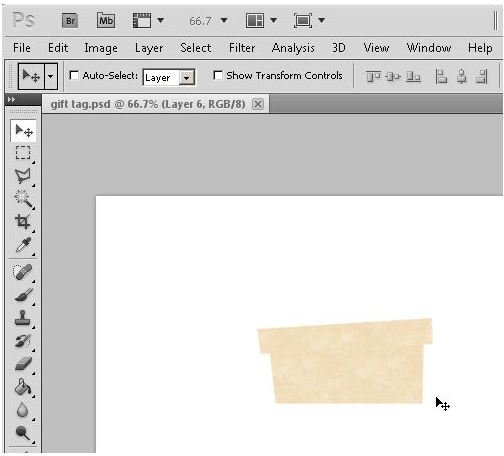
Now, use your polygonal lasso tool to draw a rough outline of the bottom part of a gift box. This is a Christmas present for Pete’s sake, so don’t make it perfectly rectangular!
Next, paste it onto to a transparent layer. Create a lid for your box from your color paper layer and paste it to a transparent layer. Now, view only your white layer and your box layers and you should see something like this.
Now, activate the box lid layer in Photoshop and we will give it a drop shadow. Do this by selecting the layer and then clicking the “Layer Style” option in the “Layers” window. Choose the “Drop shadow” option and then set the shadow distance to “2” and then size to “6” (choose whatever settings you like).
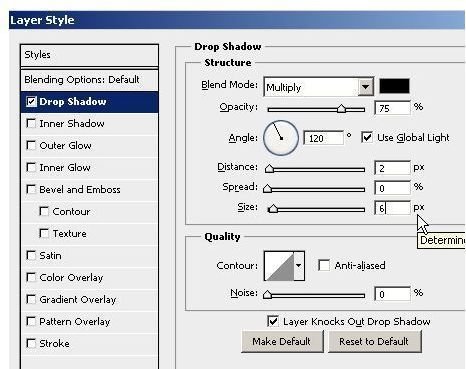
You now have a drop shadow on the lid. Now you can hold down the

Of course, if you want to, you can manually create a separate drop shadow for your box.
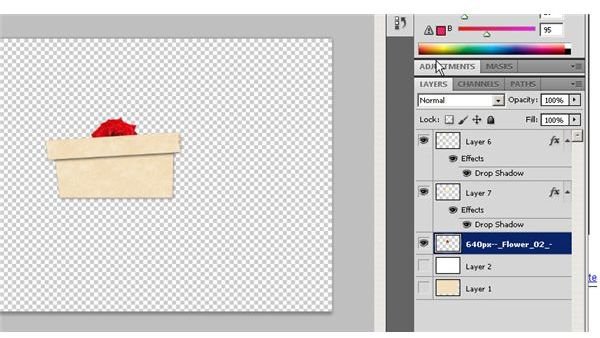
Now you need a ribbon. Since we don’t have a ribbon handy, we’ll just grab a flower from Wikimedia and use it as a ribbon.

Just place the image into your Photoshop document. You can use the “Magic Background Eraser” tool to remove the background and then you can place the flower behind the box layers so it looks like a ribbon.
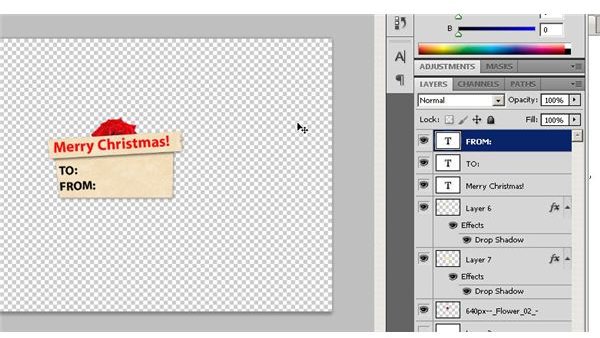
OK. We’re almost done making a Christmas gift tag. Grab the text tool and add some words to your package. Here we use “Merry Christmas,” “To:” and “From.”
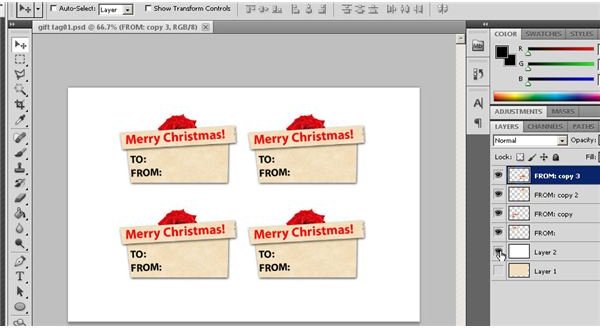
When you are happy with the image you have created, click on “Layers” from the main menu and then choose “Merge Visible.” You might want to save your file with a different name in case you want to change your gift tag later.
Now, activate your white layer and then duplicate your image by pressing
Print out your creation, separate the Christmas gift tags and have a Merry Christmas.
Image Credit: Wikimedia Commons/Nino Barbieri
Image Credits: Screen shots taken by Bruce Tyson


