
Creating Christmas angel invitations can be done fairly quickly using a word processor and free graphics or dingbats. This guide will show you how to create your own Christmas angel invitations using a program like Microsoft Works or Word.
Creating Invitations
Creating Christmas angel Invitations can be done in just about any word processor. You can create the invitations using free angel graphics or free angel dingbats. Either of these two will work just fine and both are free. So, don’t be so quick to run out and buy your invitations, add a personal touch and create your own. In this guide, I will show you the basic steps of creating Christmas angel invitations in Microsoft Word & Works.
What You Will Need
There are certain things you are going to need before getting started with the creating of your Christmas angel invitations. Look below
and make sure you have the things needed for this job.
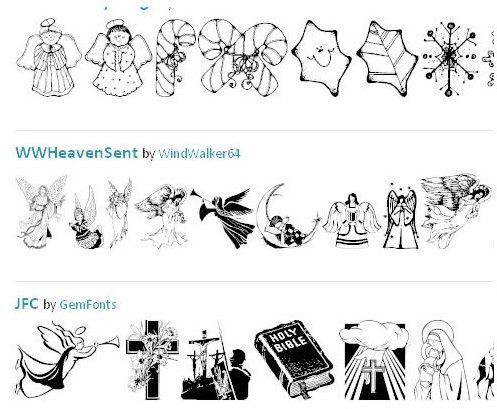
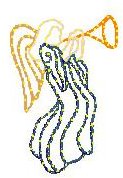
- Angel Graphics or Angel Dingbats
- Microsoft Word or Microsoft Works
- Invitation Information
- Printer
- Printer Paper
Finding and Saving Free Christmas Angel Graphics and Dingbats
Whether you use Angel Dingbats or Angel graphics, you will need to get the ones you want to use before beginning. You can use both
if you would like. If you are going to use the Angel Dingbats, you will need to find the dingbats, download them, and install them on your computer. If you need help with installing dingbats, please see the resource section in the bottom of the guide for a link to a guide that will help with dingbat installation.
If you are using free Angel graphics, search the internet for the graphics. Save the Christmas Angel graphics to your computer. Make sure to save them in a location you will remember.
Please see the Resource section of this guide to find links to some of the best Angel Dingbats and Christmas Angel graphics.
How to Create the Christmas Angel Invitations in Microsoft Word & Works
To begin creating Christmas Angel invitations, you will need to load the word processor you are going to use. This can be Works or
Word. Loading your word processor will load a new page for you to work on.
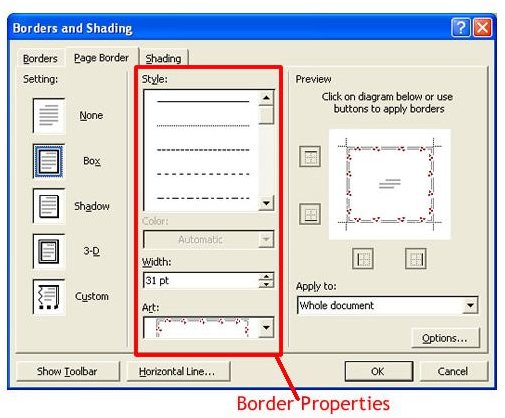
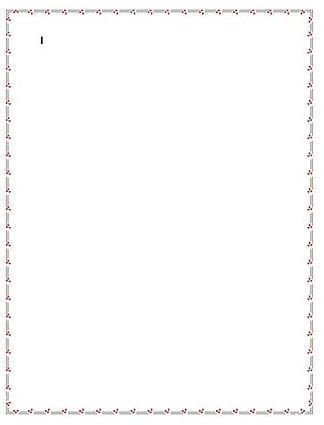
You can then apply a page border to your invitation for decoration. The page borders are found in the Format menu. Next, you can type the text for your invitation and change the text settings to what you want.
When you are ready to insert graphics, you can do so by clicking the Insert > Picture > From File at the top of the window. You can then select the Christmas Angel graphic or graphics you want to use and open them. Drag the graphic with your mouse to where you want it.
If you chose to use Christmas Angel dingbats, you can type all the letters on your keyboard and change the font to the dingbat you installed. You will see the dingbats instead of the letters. Delete the dingbats that you do not want to use. You can also change the dingbat’s color and size.
When you are finished creating your Christmas Angel invitation, you can print the invitation. Only print one invitation to see what it will look like. If everything looks right, print as many as you want.
Resources
Angel Dingbats
-
 Advertisement
 -
Advertisement
Angel Graphics
Learn How to Download and Install Dingbats


