No need in buying Christmas Invitations for your upcoming party. There are many programs that you can create these invitations in. This guide will show you how to use Microsoft Word to create your own Christmas Invitations.
Designing Christmas Invitations
If you own Microsoft Word or you are using the trial version, you can quickly create your own Christmas invitations. In a matter of minutes, you can design personalized invites and print them out right from your home computer and printer. Below are the things you will need to complete this DIY Christmas Invitation project.
What You’ll Need:
- Printer Paper of Your Choice
- Microsoft Word Christmas
- Graphics for Your Invitations
Finding and Saving Christmas Graphics for your DIY Christmas Invitations
First, you will want to get the Christmas graphics together that you wish to use on your invitations. If you already have the graphics you want to use, great, skip this part of the guide. If not, you can find many free Christmas graphics by searching your favorite search engine for them. When you find Christmas graphics you want to use, you can save them to your computer.

It is probably best to create a new folder for these graphics on your desktop. Then you can save all of the graphics to that one folder. That will make the graphics a lot easier to find when you are creating your Christmas Invitations. Most graphics can be saved by right clicking the graphic and selecting Save Image As and save the graphic in the folder you created or wherever you prefer to save it. When you have all of the graphics you wish to use, continue on with the next section of this guide for DIY Christmas invitations.

Creating Your Christmas Invitations in Microsoft Word
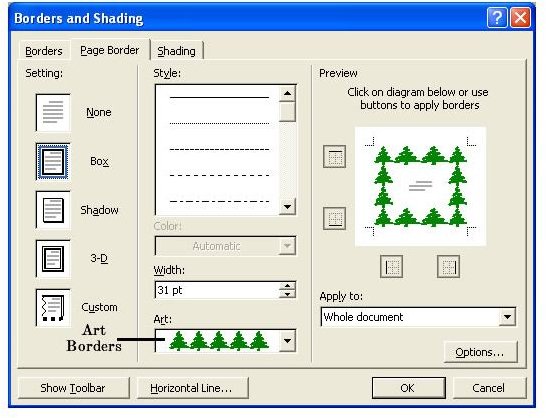
You are now ready to begin your DIY Christmas invitations. You should have a new document open. At the top of the Microsoft Word window, click the Format menu. Select the Borders and Shading option in the Format menu. That will load a box and you can click the Page Border tab in the box to open the page borders.

In this section, you can select a solid color border by browsing through the border box and clicking the border you want to use. Then you can change the border color to red, green, or the color you prefer. Clicking OK on the box will apply the border to your page. If you would prefer to use a graphic border, you can open the Art box in the page border section. In the art box, you will see some Christmas borders you can use. To select one of these borders, you can click the border you want to use. Then you can click the OK button and that border will be applied to your page.
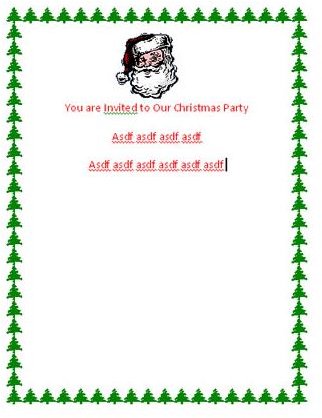
Now you can type your text on the document for your invitation. You can also insert the Christmas graphics any where you want on the document. Changing the text color, font, and size will make your invitations look more Christmas like. You can change the text to red, green, or whatever color you want.
When you are finished with your Christmas Invitations, you can print a copy to see how it looks. You may have to do some adjusting to the invitations. You can let your imagination run wild with these invitations and create some really nice looking themes for your Christmas party.