If you’ve ever wanted to learn to use preset Photoshop layer styles to save some time on a project, as well as create some neat effects that would hard to be create otherwise, read on. This guide will explain how to locate the layer style window, as well as explain how layer styles work.
Intro to Layer Styles
What are Photoshop layer styles? That’s actually a pretty good question! Layer styles are basically a bunch of preset - yet editable effects - that you can use to your advantage to produce consistent effects for your artwork. Not only are there about a dozen styles to choose from, they’re all stackable do they can be used to create some very interesting effects.
Some are subtle, like drop shadows and glows. Some are much more noticeable, like bevels. And then there are some that are meant to make your life easier, such as the color change and stroke features. This tutorial uses Photoshop CS4 , but these features can all be found in Photoshop from 6.0 and up, so you should be able to follow along.
How Do Layer Styles Work? Where Do I Find Layer Styles At?
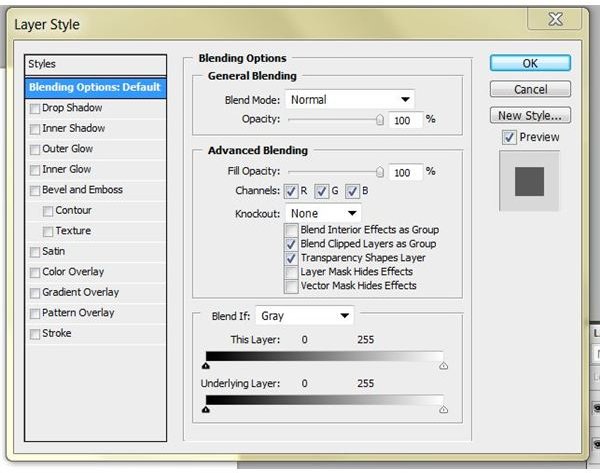
Layer styles apply the predefined effect to - or in some cases around - all the pixels in an active layer in Photoshop. Transparent pixels are always unaffected, which is the key to the success of layer styles. Another bonus to layer styles is that they work completely independent of the object or objects they’re applied to - this means that If you double-click on a layer in Photoshop, you’ll access the layer style panel, which will give you the options of trying different layer styles on your layers.
Adding a Simple Drop Shadow and Glow Effect
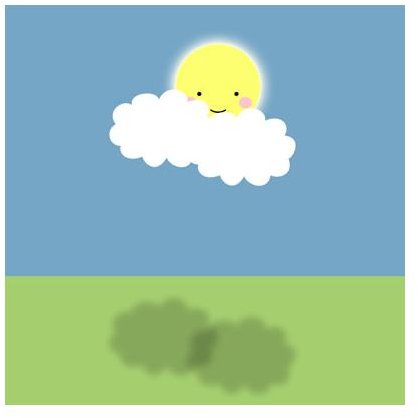
To help you get a feel for layer styles, I’ll walk you through adding a simple drop shadow and glow effect to a project. Start by opening your project in Photoshop. Here I’ll use the graphic of the sunny day that I’ve been using for a while now. My objective is to add two cloud shadows on the ground, and then a soft glow around the outside of the sun.
Here I’ve double clicked on one of the cloud layers and changed the default settings to the following settings in the Drop Shadow settings.
Opacity: 19%
Angle: 90° (Normally it wouldn’t be this extreme, but I’m trying to make it realistic, as the sun is the light source coming from above)
Distance: 516px
Spread: 0%
Size: 21px
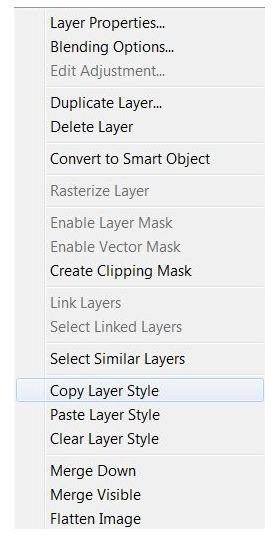
Now, to avoid having to re-enter all those settings manually, the easiest thing to do is copy the layer style and paste it to the other cloud! To do that it is as easy as right clicking on the layer with the style and selecting Copy Layer Style and the immediately clicking on the layer you wish to transfer the effect to and selecting Paste Layer Style.
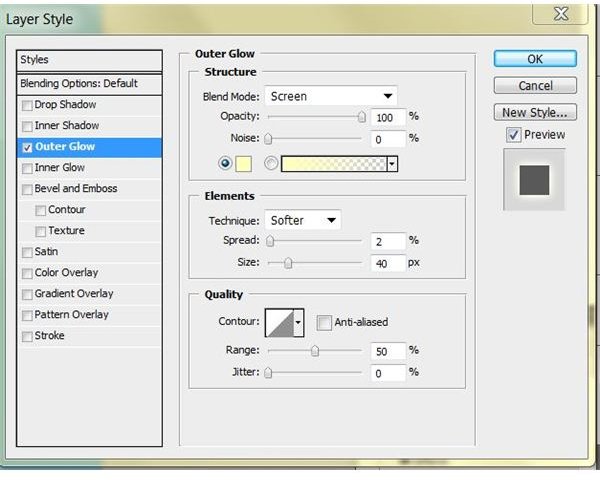
In the Outer Glow settings, I changed only the following settings:
Opacity: 100%
Spread: 2%
Size: 40px
This is the effect I got afterward. Kinda nice, isn’t it?
Beware of the Cheese Factor
Just like the preset Photoshop filters, it is incredibly easy to overdo Photoshop layer styles. These are best used for subtle effects such as drop shadows and pixel strokes. Just because you have the option of adding all twelve layer style effects does not mean you should. When you stack on layer styles, your project will begin to look cheesy, flashy, and all around bad. So, when all else fails, remember the rules of design and KISS - Keep It Simple, Silly!
Image Credits
All screen shots were taken by Amber Neely and are for educational purposes only. Sunny day graphic created by Amber Neely.