In an earlier Paint Shop Pro tutorial, you may have learned how to create new brushes in the program and then use them in your work. This tutorial describes the process of installing brushes in Paint Shop Pro. These brushes could be downloaded online or created using another program.
Getting Started
Installing brushes in Paint Shop Pro is easy and fun. Through a simple process, you can add infinite variety to your creative work. This Paint Shop Pro tutorial uses Corel PaintShop Photo Pro X3 running on Windows 7 Ultimate (32 bit). If you do not have Paint Shop Pro installed on your system, you can download a free trial online that you can use to follow along with this tutorial or purchase as an addition to your creative arsenal. Just make sure that you have a computer that meets the minimum system requirements for the program.
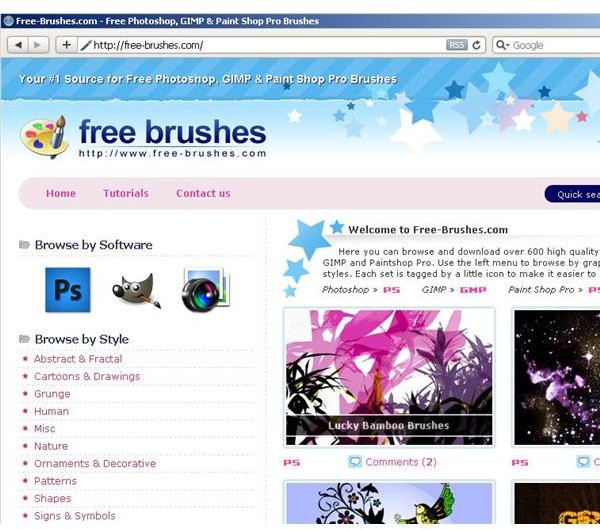
The first step in installing brushes in Paint Shop Pro is to either create or download some brushes to install. For this tutorial, we downloaded brushes from Free-Brushes (this author has no affiliation or interest in the Free-Brushes Web site). A lot of great sites out there have brushes for download, so look around and find ones you like.
Once you are at the Free-Brushes Web site, select a PaintShop brush set to download. Here we chose the first set on the list to demonstrate. It is “Lucky Bamboo Brushes.”
This particular brush set downloads from either Mega Download or RapidShare.
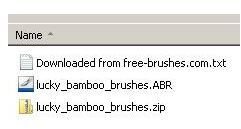
After the file downloads, extract it to its own folder as shown here.
Installing Your Brushes
Installing brushes in Paint Shop Pro is actually a straightforward process. Begin this tutorial by opening your PaintShop pro application.
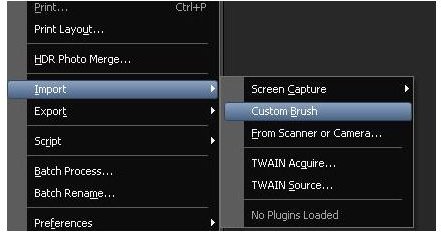
The next thing to do is click “File” on the main menu bar and then choose “Import” and then select “Custom Brush.”
Now browse to the folder where you unzipped your “Lucky Bamboo Brushes.” Select “lucky_bamboo_brushes.ABR” and then click the “Open” button.
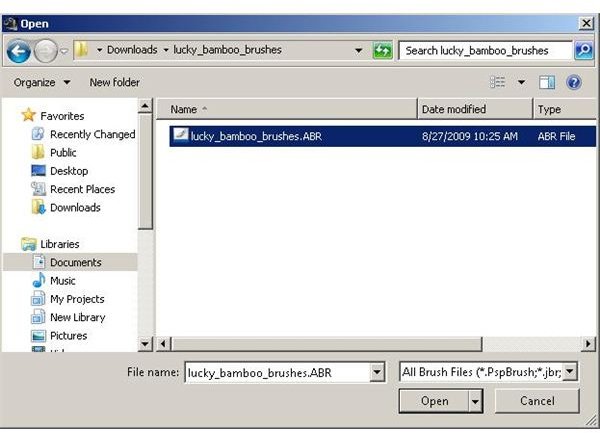
You now have an “Open Custom Brush” window that you can use to choose which brushes in your brush collection you wish to install.
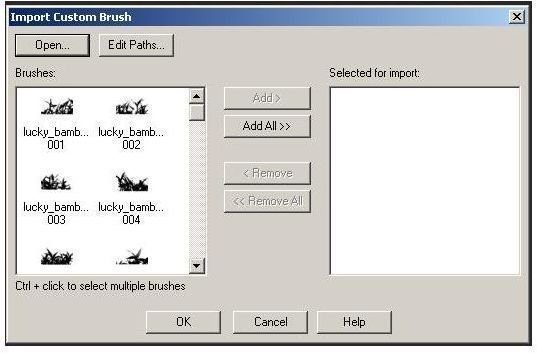
For the purpose of this installing brushes in Paint Shop Pro tutorial, we will add all the brushes in this collection by clicking the “Add All” button. The brushes you have selected now move over to the “Selected for Import” panel of the “Import Custom Brush” window.
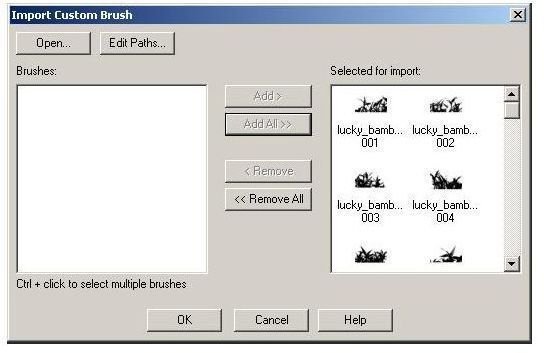
Now, click the “OK” button. If you are importing a lot of brushes into Paint Shop Pro, you will probably have an hourglass for a few seconds while the program works. When the hourglass goes away, you are finished installing brushes in Paint Shop Pro
Trying it Out and Wrapping it Up
To test out your new brushes, create a new image in Paint Shop Pro. To do this, click “File” on the main menu and then select “New.” Select your desired options from the “New Image” window.
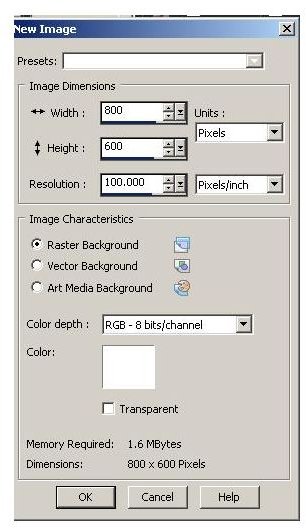
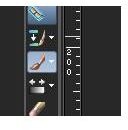
Now select the “Paint Brush” tool from the tool box.
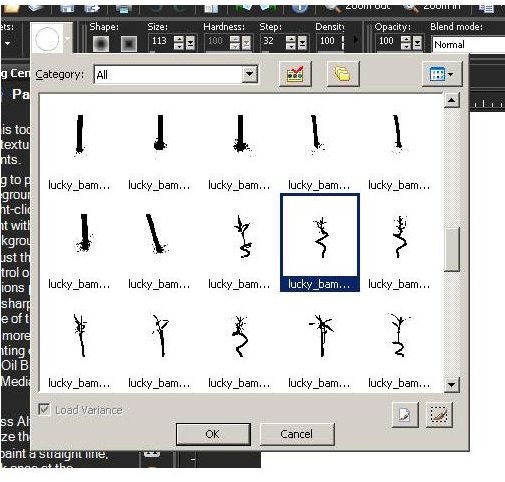
Click the brush selection icon on the “Tool Options” palette and then scroll to find your Lucky Bamboo. Click one of the bamboo brushes to select it.
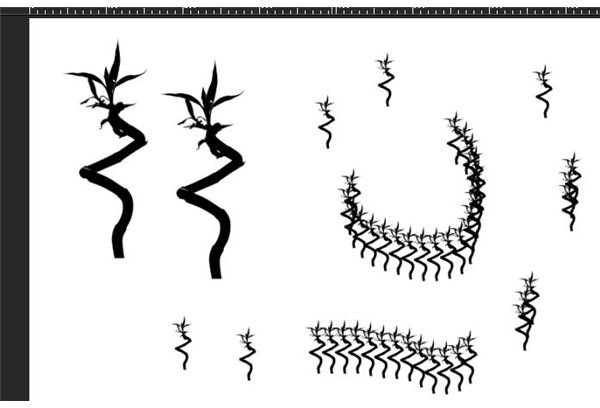
Finally, draw something with your new brush just to make sure it works properly. You may need to adjust the size using the “Tool Options” palette.
In this PaintShop Pro tutorial, you have learned the process for installing brushes in Paint Shop Pro. With this valuable knowledge you can expand the bounds of your creativity to infinity and beyond. You can do even more by using Paint Shop Pro plugins .
Image Credits: Screen shots taken by Bruce Tyson.