
Looking to change color in Photoshop? Great! This article will walk you through three different ways to change colors within your project: using brushes, using the hue/saturation feature, and using layer styles. A great beginner tutorial, or for anyone looking to learn new Photoshop tricks!
Brushes
One of the easiest ways to change color in Photoshop is to grab yourself your favorite brush, set your color mode to “Color” and brush away! This generally gives a pretty good effect on lighter colors, and here’s a quick walk-through on how to do that!
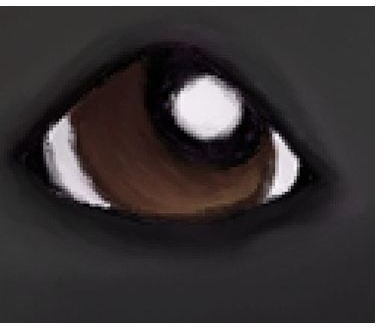
Open your document in Photoshop. Here’s a rough digital painting of a boxer puppy I’d done earlier in the year.
I’m going to change the colors of her eyes, so I’m going to grab a soft edged 13px brush and set the mode to “Color.”

I’ve decided that since I want the change to be fairly noticeable, I’m going to choose a blue color for her eyes, even though it isn’t exactly true to nature.

Here’s where I’ll start brushing on my color. I’m going to make sure that I zoom in to get the best view.
Brush carefully, paying attention to your edges. This is where a graphics tablet would come in very handy, but if you don’t have one, don’t worry about it! I didn’t bother using mine here, and I still got great results.
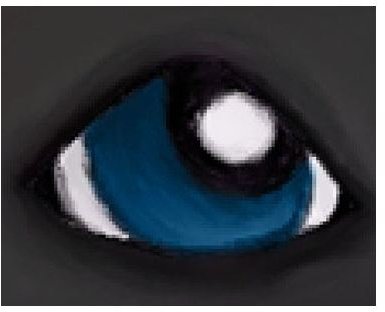
Here’s the after effect!
Hue/Saturation
Using Photoshop’s Hue & Saturation effect is great for changing the overall colors of the whole image, or by masking specific areas or using selection tools , you can change specific areas. This is also a great way for you to cycle around through colors to see which ones you like the most! Here’s how you can do it!
Open your document in Photoshop and using whatever selection tool you’re most comfortable with, select the area you’d like to change.

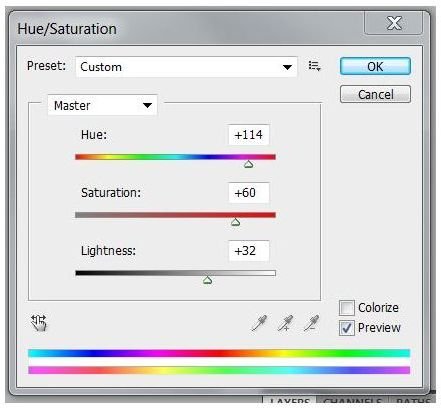
In Image in the top menu, go into the Adjustments subfolder and select Hue/Saturation, or hit CTRL+U (Mac user? Try hitting CMD+U.)

In the Hue/Saturation window, you’ve now got three options to play with. Hue, Saturation, and Lightness. This is where your artistic eye comes into play. Make sure the Preview box is checked and slide your sliders around to achieve the desired effect*!
*A helpful tip: If you get to the point of where you would like to just reset back to normal, hold down the alt button, and it will change your cancel button to a reset button. Most Photoshop feature windows have this ability, so it’s always an easy way to snap right back to the default settings.
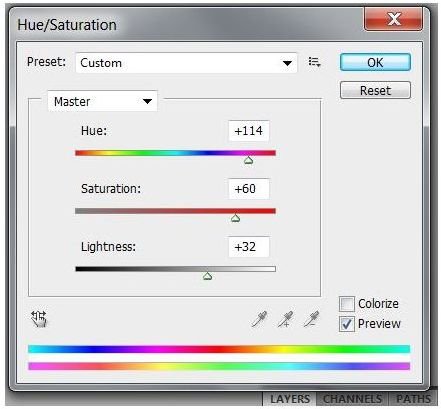
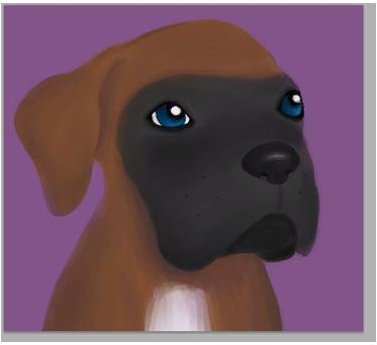
Here’s the effect I achieved:

Layer Style: Color Overlay
Using Photoshop’s built-in layer styles is another way to do a full-color change or alteration, which is incredibly useful if you’re just looking to give a different over all feel to your image. In this walk through, I’ll teach you how to change the feel of your image by using the “Color Overlay” feature in Photoshop.
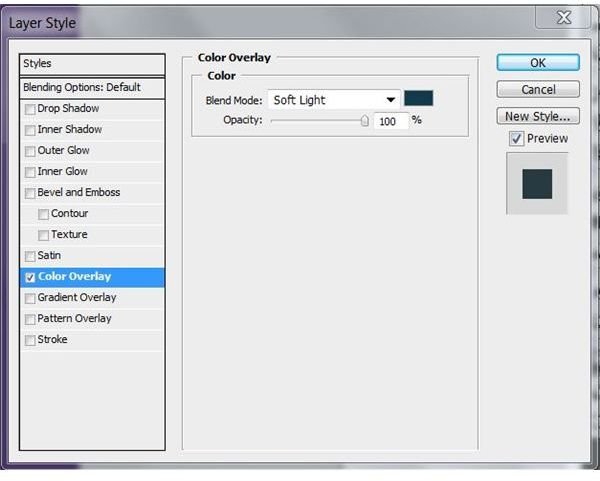
Open your image in Photoshop, and double click your layer in the layer window. It’ll bring up a window that looks just like this one:

In the Color Overlay window, set the blend mode to “Soft Light” and pick whatever color you would like. “Soft Light” is one of my favorite blending modes as it multiplies the dark tones and screens the light ones. “Overlay” however, is also frequently a good choice. Don’t be afraid to work your way through the different blending modes and see what you like!
Here’s my finished effect:
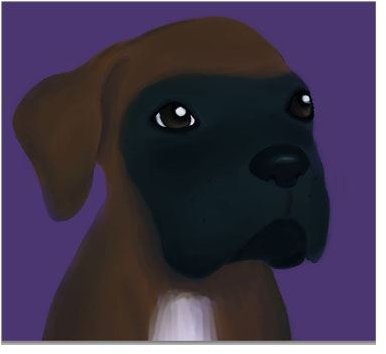
Image Credits:
All images and screen shots were created/taken by Amber Neely and are for educational use only.


