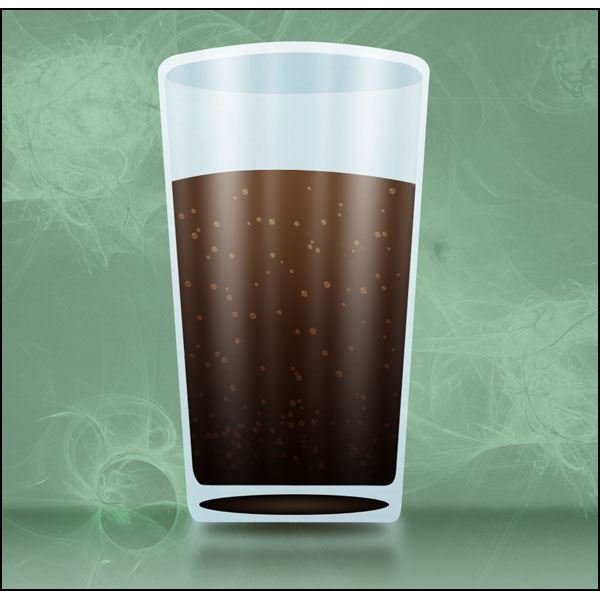
Creating a refreshing carbonated isn’t hard with this Photoshop tutorial! Bubbling liquids aren’t nearly as hard to make as you may think, and using this effect coupled with colas, sodas, beers, or anything else carbonated makes for a really nice effect!
Photoshop Tutorial: Bubbling Liquid
If you’ve been following along with the last tutorial, you probably noticed that the cola in the glass was a little flat. And who on earth wants to drink FLAT cola? Not me! This tutorial will walk you through the process of creating a carbonated liquid, absolutely fantastic for cola, soda (or “pop” if you’re like me!), beer, champagne, and myriad other things. This two-part tutorial will teach you how to create a bubble brush (which has many uses for any bubbling liquid) and how to place the liquid in your glass. This tutorial was written using Photoshop CS4 , but will work easily for anyone using Photoshop 7.0 and up. Beginners shouldn’t have any trouble at all learning how to create the brush.
Placing your Liquid
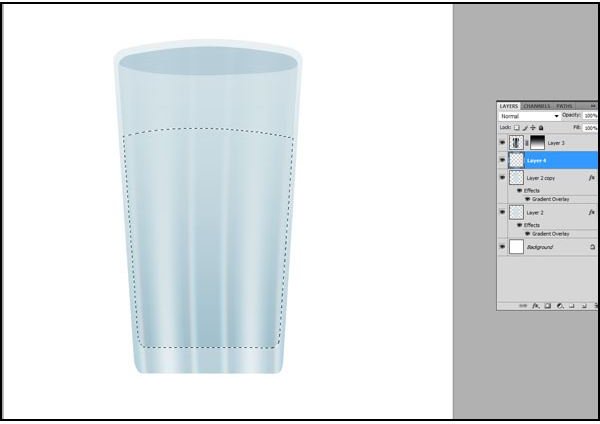
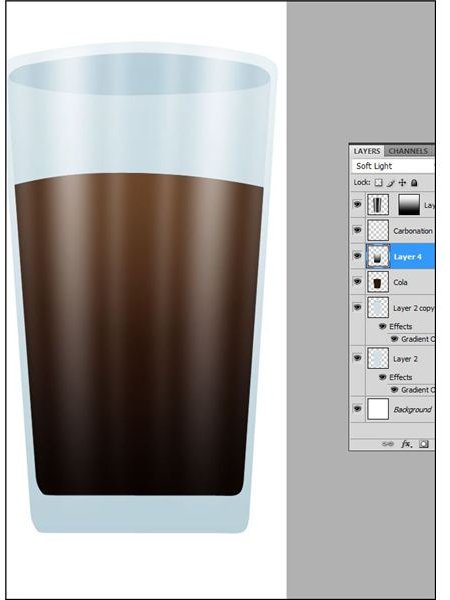
Start with an empty clear drinking glass that you can learn to create by checking out the Clear Drinking Glass tutorial . Make sure that you still have things separated out on layers; otherwise, the effect will not work. Create a new layer above the second glass (the inside of the glass) with the pen tool, the freeform marque tool or anything you like. The goal is to create a selection in the shape of the liquid in the glass. For this tutorial, I’m going with a very straightforward approach. No sloshing, splashing or crazy angles. Just a simple glass of cola. If you do this, make sure the liquid follows along the curve of the glass, because a liquid that goes straight across will look very strange.
Now, fill your selection with the color of your liquid. Be sure you’re filling BEHIND your reflection layer, of course! If you’re following this tutorial to the T, I used #2C170C.
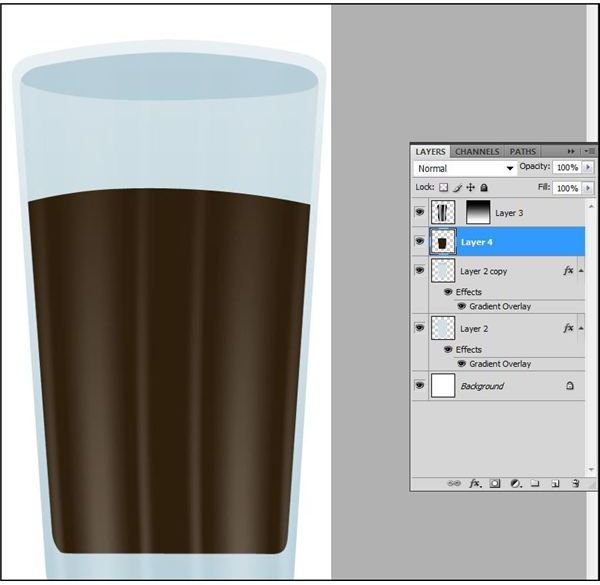
*Note: Don’t mind the inverted reflection on the glass for the first two steps on this tutorial; it just made it easier for me to work with the colors.
Optional: With your liquid still selected, create another new layer on top of your liquid layer and fill it with a white-to-black gradient going from top to bottom. Set the blending mode to soft light. This gives a nice, realistic overhead lighting effect, as though the light were trying to shine down through your liquid. When you’re done, press CTRL+E (Mac: CMD+E) to merge the layers as one.
Create your Bubble Brush
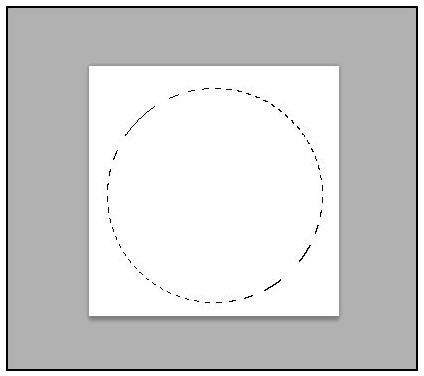
Save your progress and open a new Photoshop document about 250px by 250px. This is the part where we make a new brush! Create a large circle in the center with the circular marque tool.
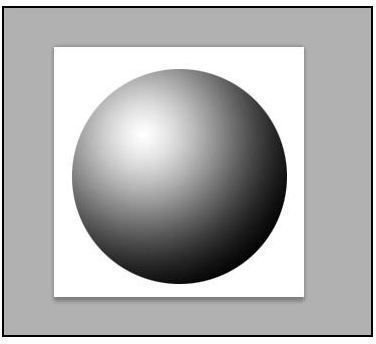
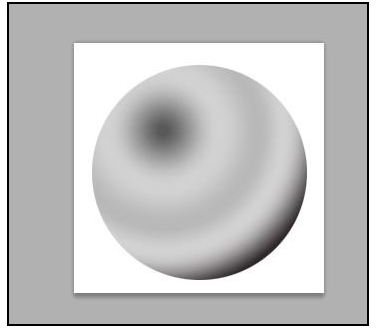
Fill the circle with a white-to-black radial gradient (the circular gradient) to create a sphere just like this:
In Image in the top menu in the Adjustments subfolder, find Curves. Mimic the curves to get a sphere like this. Press OK.
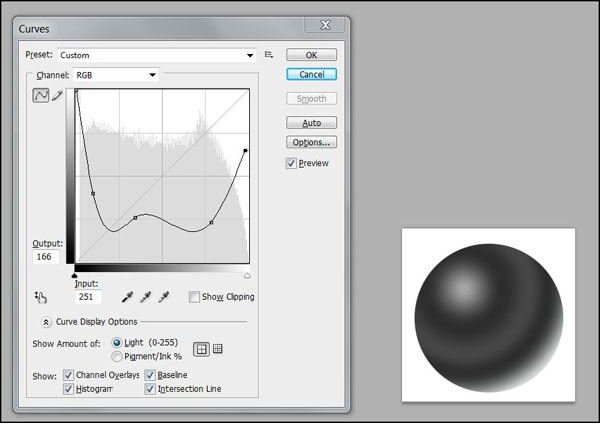
Press CTRL+I (Mac: CMD I) to invert the colors.
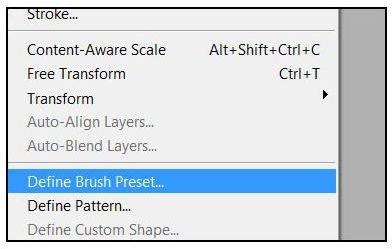
In the Edit menu at the top, select Define Brush Preset and save the brush as “bubble” or “carbonation” or whatever you would like!
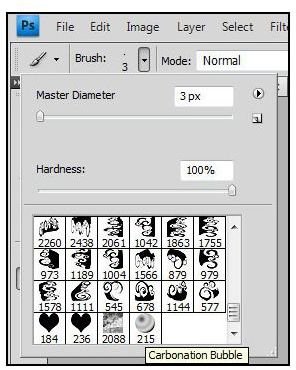
Now, select the brush in your brush menu.
Creatitng a Scattered Brush Effect
Go into your Brushes panel. (F5) And enter these settings:
Brush Tip Shape:
-Size 10px,
-Spacing 470%
Shape Dynamics:
-Size Jitter 70%,
Scatter: 1000%,
-Check the box that says Both Axes,
-Count Jitter: 75%
Creating your Bubbling Liquid
Tab back into your cola glass. Create a new layer called “carbonation” or “bubbles” over your cola layer . Set the mode to Color Dodge* and scribble in some bubbles! Use as many or as few as you would like.
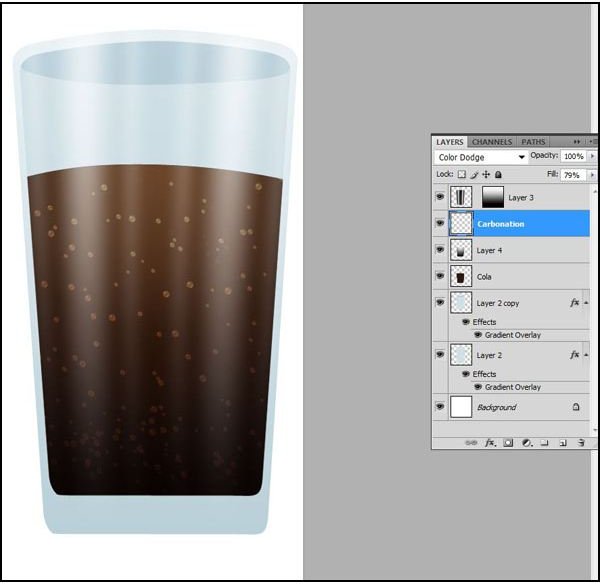
* Some liquids might require you to set it to Soft Light or Overlay. This largely depends on what color your liquid is. Just eyeball what you think looks best.
Here’s a the finished design: