Discover how to make a rainbow the GIMP way by following this step-by-step easy to follow GIMP tutorial. The powerful open-source image manipulation program can create awesome rainbows that will complement your current repertoire of skills.
Getting Started with GIMP Rainbows
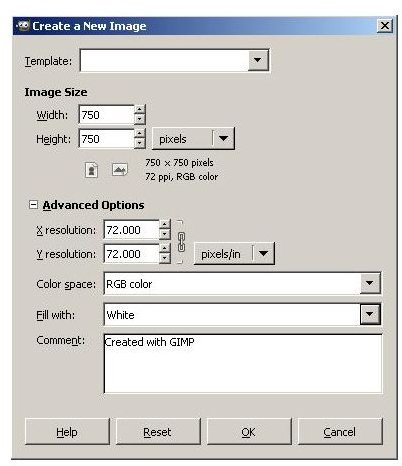
Learning how to make rainbows the GIMP way requires that you have a computer that meets the minimum requirements for GIMP . This tutorial uses GIMP 2.6.8 running on Windows 7, but users with different versions should be able to follow along without much difficulty. Once you have GIMP installed, start the program. Create a new document that measures 750 pixels square. Fill the background with white.
How to Make a Rainbow, the GIMP Way!
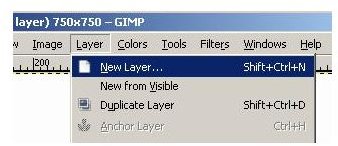
In your new document, create a new transparent layer. Do this by clicking on “Layer” on the main menu and then selecting “New Layer.”
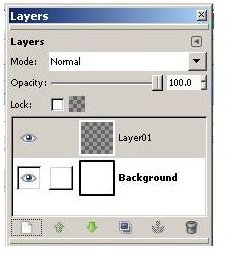
In the “New Layer” dialog window, be sure to click the “Transparency” radio button and then click the “OK” button. If you open the “Layers” window, you will see that you now have two layers in your project.
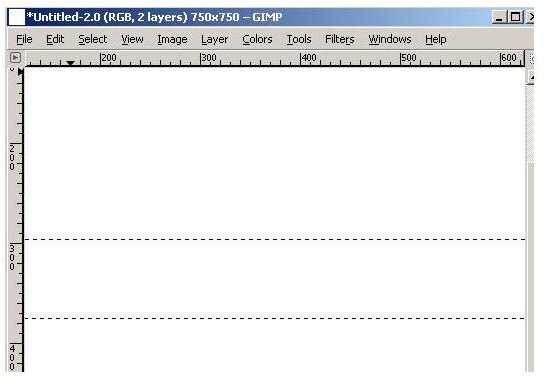
Now, create a rectangle with a width equal to your canvas and maybe 80 pixels high.
Now, grab the “gradient” tool from the Toolbox and then select either the “Full saturation spectrum” or the “Pastel rainbow gradient from the “blend” section of the gradient selection window.
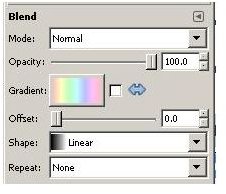
Drag the gradient fill tool from the top of your rectangle to its bottom. If necessary, you can hold the
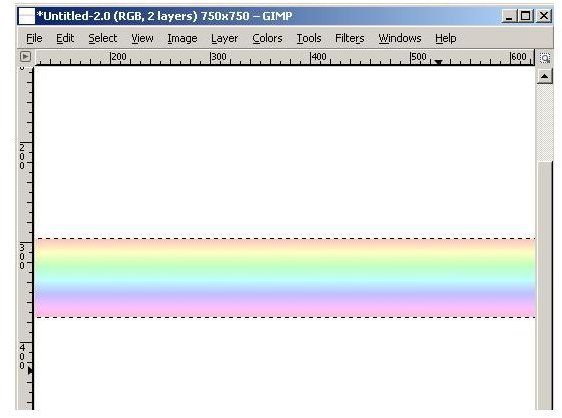
You now have the basis for your GIMP rainbow.
Making the GIMP Rainbow
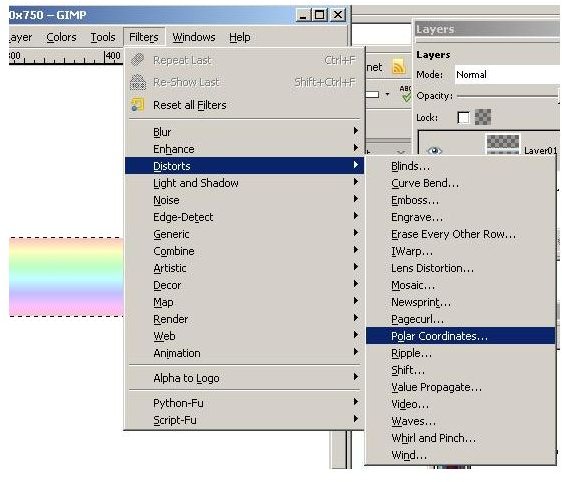
You now have to convert your rectangle into a rainbow. Whoever heard of a rectangle rainbow? To get this done, first make sure you deselect your rectangle. Next, click on “Filters” on the main menu and then click “Distorts” and then choose “Polar Coordinates.”
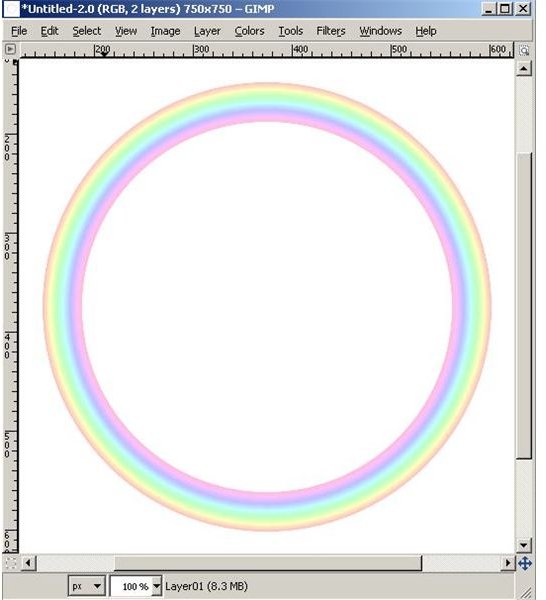
Enter “100” in the “Circle depth in percent” box and “180” in the “Offset angle” box. Check the “Preview” and “To Polar” boxes and then uncheck the “Map backwards” and “Map from top” boxes.

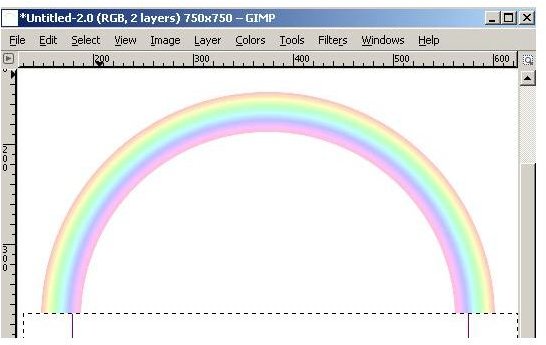
When you click the “OK” button, you will see a circular rainbow on your canvas.
Finishing Touches
You are about finished learning how to make a rainbow the GIMP way. All we have to do now is trim the circle into an arc and then blur the colors for a final touch.
To make the arc, grab the rectangle select tool again and use it to select the lower portion of the circle. Try to cut it off a bit below the center mark to make it look better. Press the key to remove the bottom part of the circle. Wow! It looks more like a rainbow now.
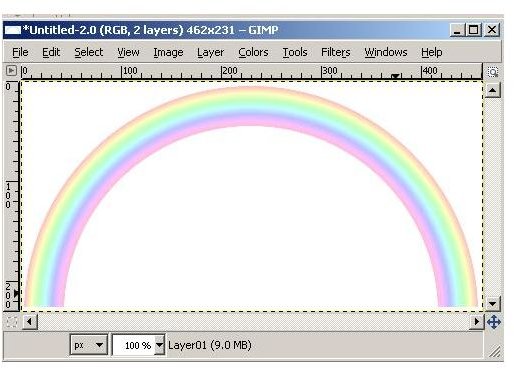
Now, get your GIMP crop tool and crop the image, leaving just a little excess to work with. Press
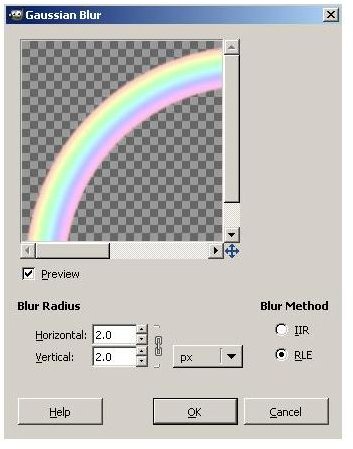
Now, click “Filters” and then “Blur” and then “Gaussian Blur.” Choose setting 2 and save your rainbow.
Now that you have learned how to make your GIMP rainbow, you will be surprised at how many different ways you can adapt it for use.


