
Have you ever found that “almost” perfect piece of clip-art to insert into your desktop publishing project? If the only thing wrong with the image is the background color, Corel Paint Shop Pro Photo X2 can help get rid of that problem.
The Perfect Image
Despite the vast amount of clip-art that you may have at your disposal, sometimes it’s still hard to find the perfect image to use for your project. One of the problems that often arises is a background color of an image just doesn’t mesh well with your planned design. With Paint Shop Pro, this problem is easily remedied with a little image editing.
Begin by opening the image you want to edit in Paint Shop Pro. If you’re working with a small image or piece of clip-art, you may want to zoom in to get a better view.
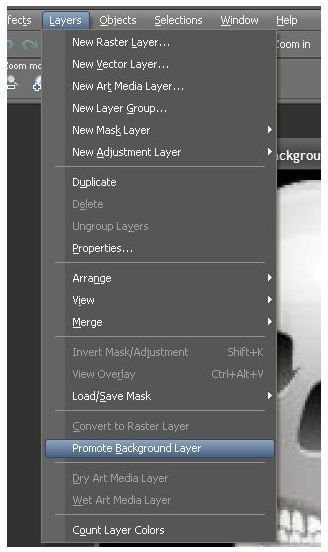
From the Layers menu on the main toolbar of Paint Shop Pro, choose Promote Background Layer in order to convert your image to a raster layer.
Selecting the Background with the Magic Wand
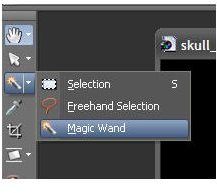

Select the Magic Wand from the tools palette. After doing this, the Magic Wand toolbar will appear in the upper part of your window just under the main toolbar as in the second screenshot above. You can adjust the settings here as needed, but since we’re going to be doing some very precise editing here, we’ll need to make sure our settings reflect this. If you find that you haven’t lowered the Tolerance or Feather settings enough as you’re working, you can always use the Undo option and start over.
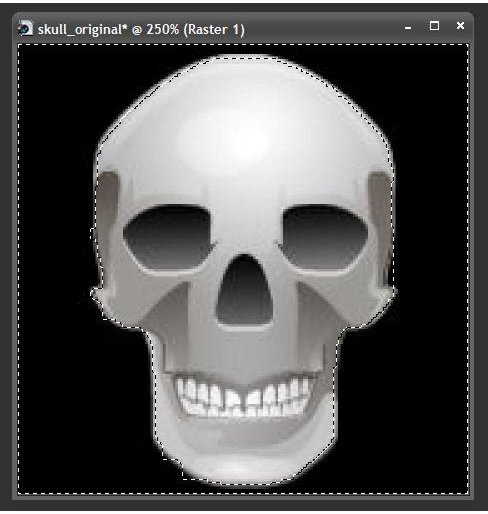
Now, click on the background that you want to get rid of with the Magic Wand. You’ll probably find that this isn’t covering the entire background, but it should be picking up the largest portion of it. If there are large pieces of your background that are not included in the selection, hold down the Shift key and click on those areas to add them to your current selection. We’ll worry about the smaller areas in a moment. Click on the image to the left for a closer look at this selection process.
Erasing the Background
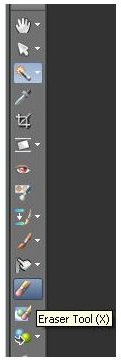
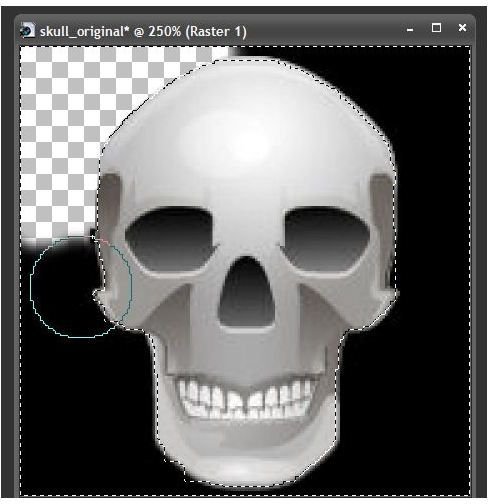
After you’ve selected the largest portion of the background area that you can with the Magic Wand, click on the Eraser tool. You can afford to make the area covered by the Eraser tool as large as you want here since everything we delete will be in the selected area, and the portion of the image that is not included in the selection will remain untouched. Erase the selected area as shown in the second and third screenshots above.
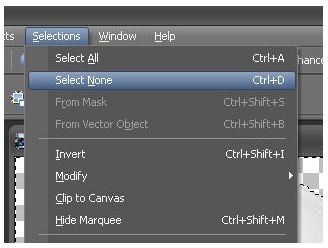
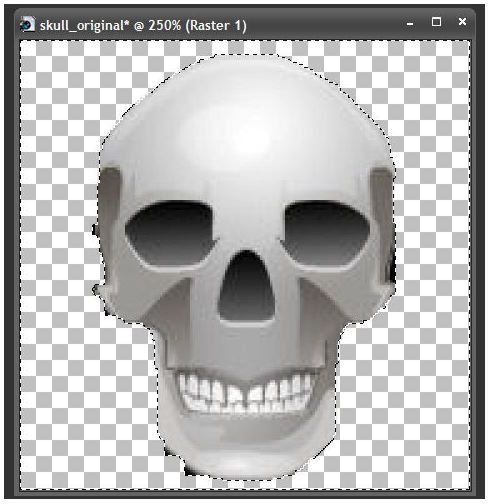
Once this is done, you’ll need to remove the selected area in order to fine tune the rest of the background removal. To do this, choose Select None from the Selections menu.
The next thing to do is to get rid of those lingering small sections of the background left on the image. With the Eraser tool still selected, decrease the size of the area covered by the tool so that you’re only removing a tiny bit at a time. I generally pick a size between 1 and 5, but this could vary depending on how large your image is.
Very carefully, erase the trace elements of the background that still remain. If you were able to get as much as the background into the original selection as possible, this shouldn’t take very long.
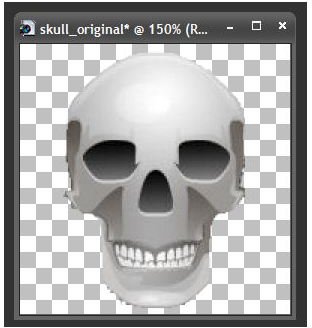
When finished, you’ll need to save the image in a format that supports transparency. The best option for this is normally the GIF format since GIF images are widely supported by most software applications. However, if you plan to use the image in other Paint Shop Pro projects or a software application that supports raw Paint Shop Pro images, you can save it as a PSPIMAGE as well.


