A one-color silhouette is an outline of an image on blank, normally white, background. These can be used for anything from designing graphics and logos, to creating awesome stencil and applique templates. Using Photoshop, we’ll show you how to reduce a graphic to one color very quickly.
Reducing a Graphic to One Color
Have you ever wanted to create a neat effect with a photo? Using Adobe Photoshop, this article will teach you how to reduce a graphic to one color, creating a silhouette. This is a neat effect which saves on file space and has a nice retro feel to it.
This is also a popular way to easily create a template for a stencil or a graphic for t-shirts or appliques. This particular tutorial will use Adobe Photoshop CS4, but you can use any version of Photoshop from 7.0 and up and still achieve the desired results.
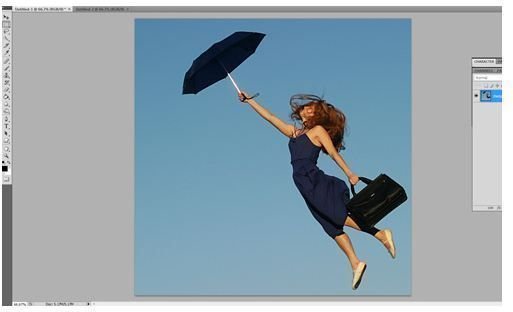
Open your photo or graphic in Photoshop. It’s best to have a photo that has relatively well defined contrast. You definitely want some light and dark differences, otherwise your effect will lose a little something in the transfer to one colors. Here I’m using a stock photo provided by JusticeStock over at deviantART.
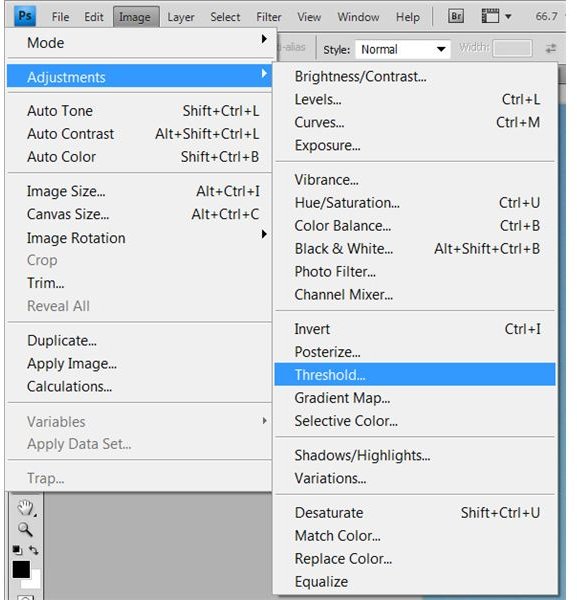
In Image at the top of the screen, head over to Adjustments, and then to Threshold. (Click any image for a larger view.)
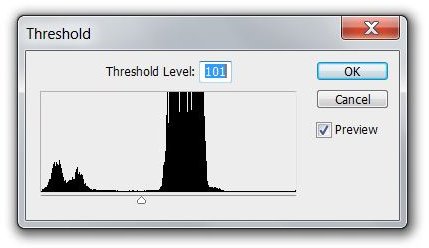
In the Threshold window, drag the slider to adjust the levels. Moving the slider to the left will make the image have a greater content of the color white, to the right will increase the content of the color black. Try to find the best ratio that allows for detail without looking overly “fuzzy.” Click OK when finished. If you notice that you have a lot of little black specs around the outside of your image, you may want to go ahead and clean them up with the brush tool and the color white. Similarly, you can do the same if you have white specs in the black areas of your image.
Here’s the current effect
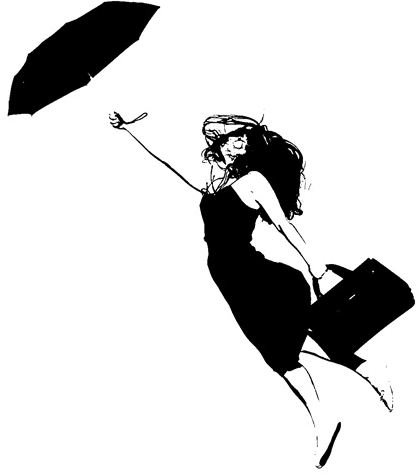
You could stop here if you wanted, leaving a great effect for the front of a t-shirt or a template for a stencil. But why stop here when you could change the color? Continue reading to learn how to change the color of your silhouette.
Changing the Color
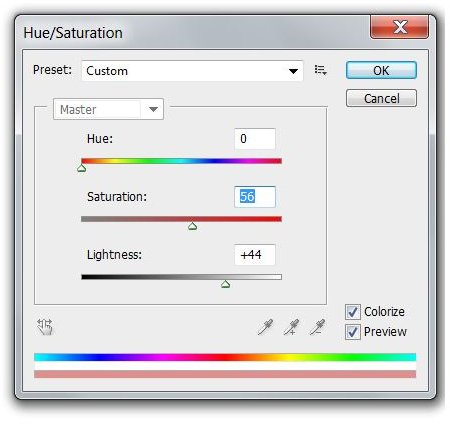
The easiest way to change the color of your content is to edit the Hue & Saturation. Press Ctrl+U (Mac users: CMD+U) to access the huge and saturation panel. Make sure that “colorize” is checked, and slide the Hue slider to change the color. To change how vibrant your color is, slide the Saturation left (for less) or right (for more.) It is worth taking note that the Lightness slider determines which color will be changed - Above 0 it will change the color of the black, below 0 it will change the color of the white.
The Completed Effect!

Image Credits
Image Used: Jumping 19
Provided by: justicestock.deviantart.com
All other images were created by the author of this article and are intended for educational purposes only.


