Polaroid effects for images make stunning graphics for websites, and fortunately aren’t too hard to create. If you’ve ever wanted to learn how to create a Polaroid effect in Photoshop, this tutorial is for you.
How to Create a Polaroid Effect in Photoshop - It’s Easier than You Think!
There’s something fun about Polaroid pictures . Most of us have fond memories of getting a Polaroid picture snapped at a party or with a holiday mascot, and getting the picture before it was developed. Then came the waiting! You waited and watched as your picture slowly developed.
If you love the look of Polaroid images and have always wondered how to create a Polaroid effect in Photoshop, you’ll be glad to know that recreating the finished product with Photoshop is very easy and only takes a few steps.
This article is geared toward beginners who have a basic knowledge of the tools in Photoshop as well as how they work. It was written using Adobe Photoshop CS4 , but should work absolutely fine for anyone who is using Adobe Photoshop 7.0 or higher.
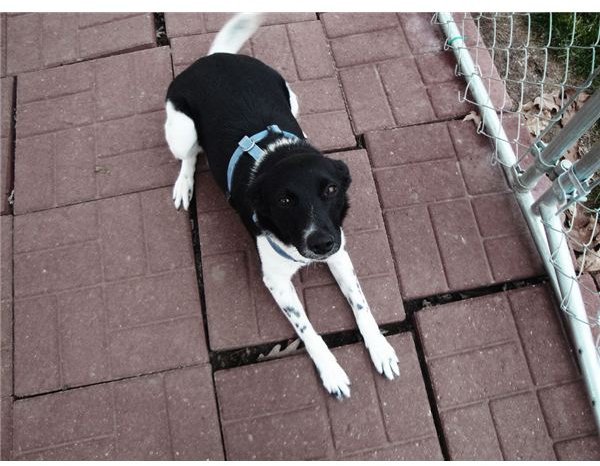
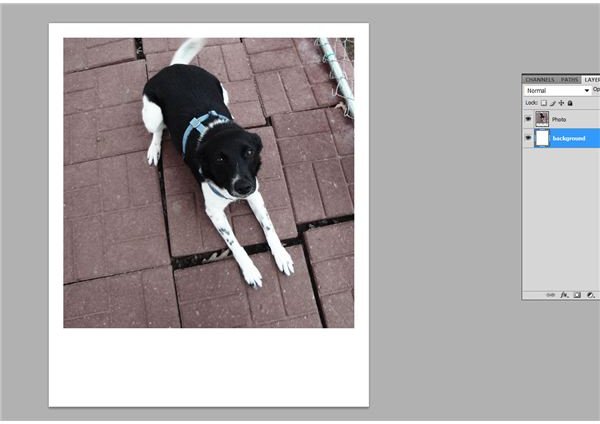
Open your photo in Photoshop. In this tutorial, I’m using a picture of my collie-mutt, Isabel.
Ideally, your image should be square, or at least square-ish. To make your image square, the easiest way is to grab your rectangular marquee tool, and click from the top of your image while holding down shift. This binds your box to be a perfect square. After you have created your square marquee, you can move it by clicking in the center of it and dragging it around. This makes it useful for centering your subject.
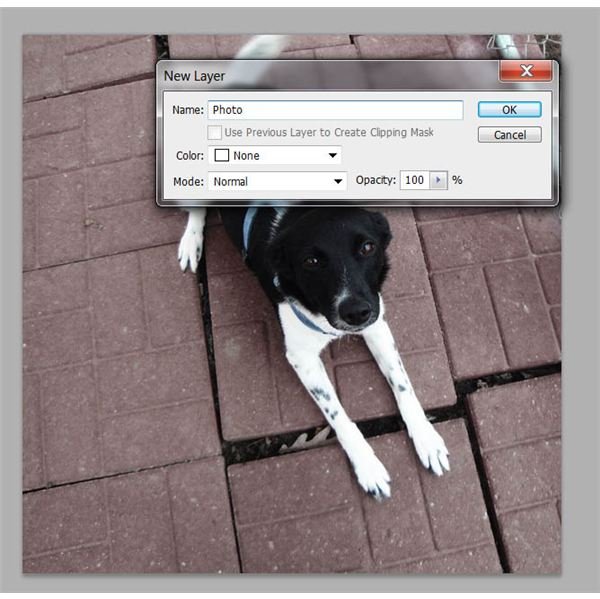
In the layer panel, double click on your image. This will unlock it, and allow you to rename it. Name it “photo.”
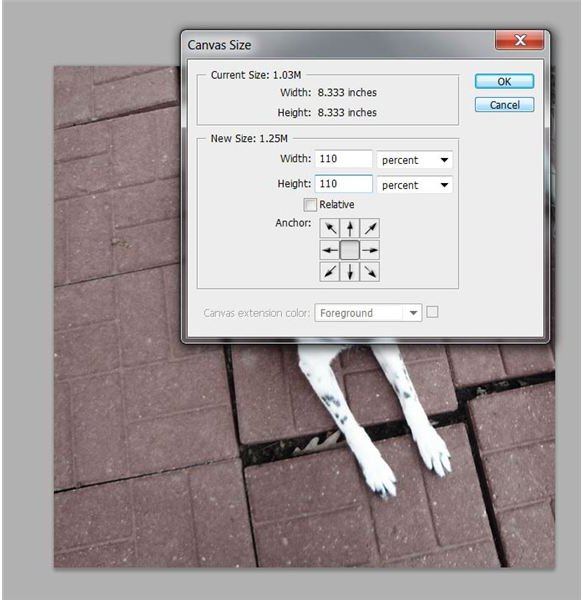
Now, go to Image in the top menu again, but this time select “Canvas Size.” In the settings box, enter the following:
Width: 110 percent
Height: 110 percent
And be sure to leave the anchor in the middle box. Click OK when finished.
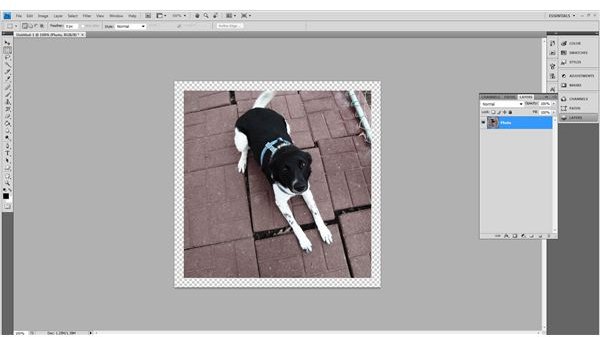
Now you should have something that looks like this:
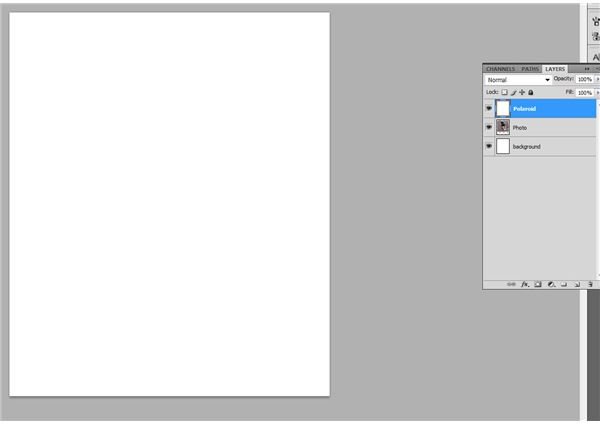
Now, once again, go into Image and then Canvas Size. This time we’re going to create the bottom “flap” of the Polaroid. Enter these settings in the box:
Width: 100 percent
Height: 120 percent
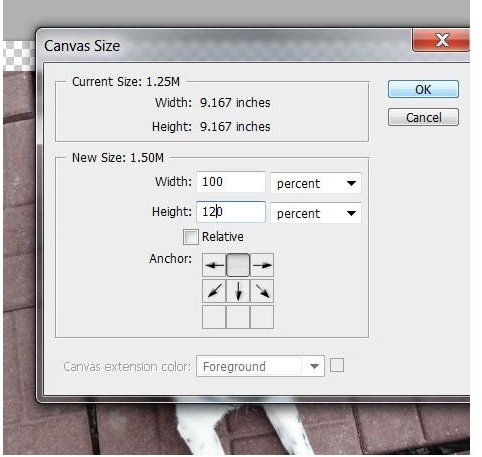
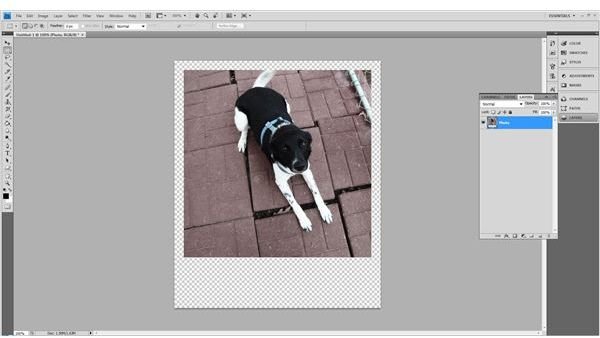
And this time click the top center box. This will expand your canvas size in only one direction, and leave you with something that looks like this:
Now comes a relatively easy part. Add another layer below your photo layer, and name it background. Fill it entirely with white. This actually won’t be our Polaroid effect, but rather a bit of insurance to make sure there is no transparency around the edges of the photo later.
Create a layer above your photo layer, and name it Polaroid. Fill it completely with white.
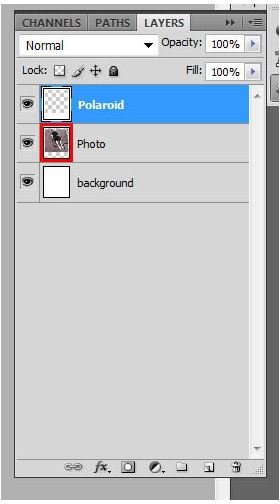
Now, with your Polaroid level selected, go to your layers panel, click hold down CTRL (Mac users hold down CMD) and click the layer thumbnail of your photo layer. I’ve highlighted it in red so you can clearly see what I mean.
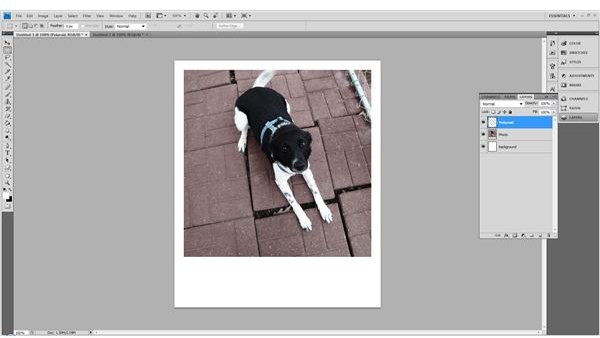
This will select only the space that your Photo occupies. Press delete when finished to remove the square from the Polaroid layer. You should have something that looks like this:
Double click on your Polaroid layer to bring up blending options. In Inner Shadow, leave all the settings to the default, but change your color to #D8C8B8.
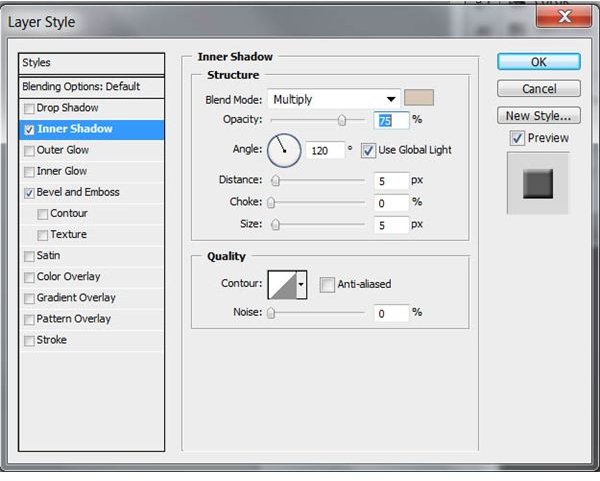
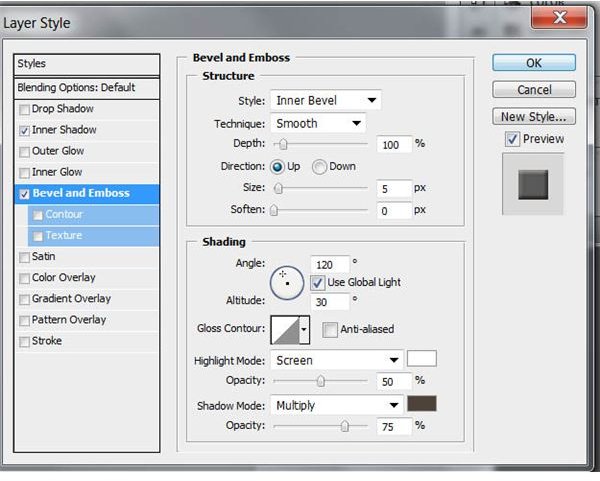
In Bevel and Emboss, only change these settings:
Highlight Mode: Screen
Color: #FFFFFF
Opacity: 50%
Shadow Mode: Multiply
Color: 4E4339
Opacity: 75%
Completed!
The completed Polaroid effect – feel free to break out your favorite handwriting font and add a caption to the picture.
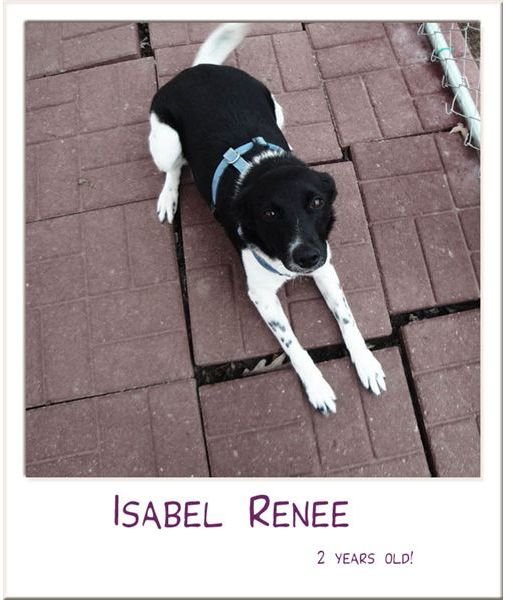
Image Credits
All images above were created by the author of this tutorial and are for educational purposes only.


