First introduced in Adobe Photoshop 3, layers have become powerful tools to create complicated images without dealing with channels. Now layers are a part of how to use Photoshop, so everyone has to learn what they are and how they work. This is one of several tutorials on layers in Photoshop.
An Overview of Layers
Layers are the mechanism used to modify an image by overlapping the images and objects above and below it. If you are familiar with overhead slides, you can visualize layers. Just as overlapping transparencies can be used to modify the appearance of the projected image, layers overlap and alter the appearance of an image as you view it from the top of the stack. Through layers, Adobe Photoshop users can alter the appearance of an object without modifying the original object. When multiple layers are used in an image, it is often described as a composition.
Using Layers
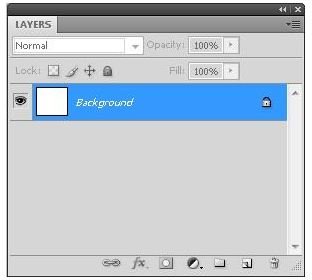
To begin learning how to use Photoshop layers, the “Layers” palette is a good place to start. From this window, users access most of the features available when working with layers. To open the palette, click “Window” on the Photoshop menu bar and then choose “Layers” from the available options. As an alternative, the “Layers” palette can be opened by pressing the
From here you can add layers to your composition, add layer effects, create masks, add fills and adjustments, sort layers into groups, delete layers, and determine whether or not a layer is visible. You can get additional options by clicking the additional options icon at the top right of the window to access most of these and other options.
The different layers that can be added to a composition include Image layers, Effect layers, and Type layers. The background layer is the layer created when a new Photoshop document is created.
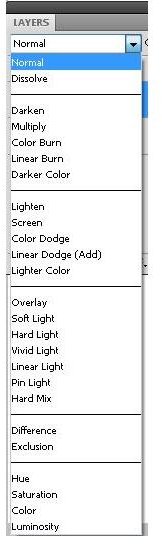
Layer features are found along the top of the window and include options to lock transparent pixels, lock image pixels, lock positions,and lock all. A drop down box is found at the upper left section of the window that gives you blending options.
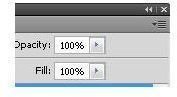
Sliders for opacity and fill are found at the top right of the “Layers” window.
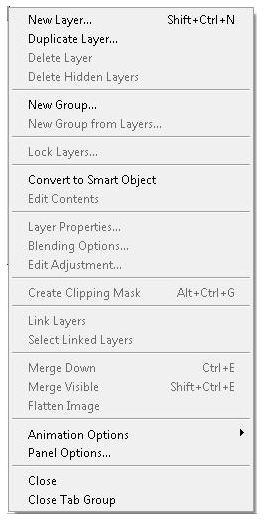
In addition to the “Layers” palette, most options for layers in Adobe Photoshop can be accessed by clicking “Layer” on the main menu and selecting options from that menu.
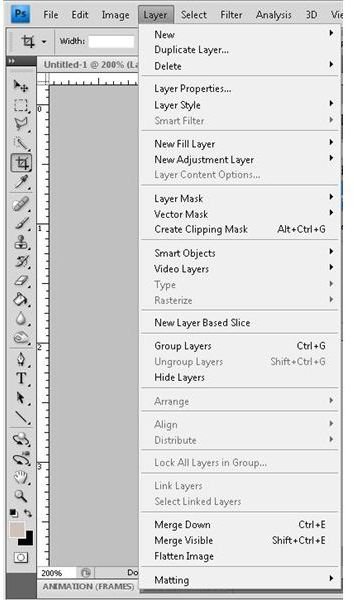
Image Credits: Screenshots taken by Bruce Tyson
Photoshop Layers Example
To get the sense of how layers work in Adobe Photoshop, this Photoshop tutorial will now show you how to use Photoshop to combine two images into one in a simple demonstration.
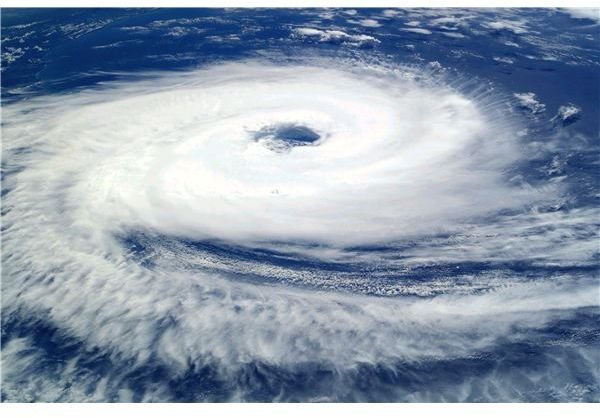
First, get the images. We’ll use a coin and a

First, open Adobe Photoshop and create a new file. Insert a two new layers.
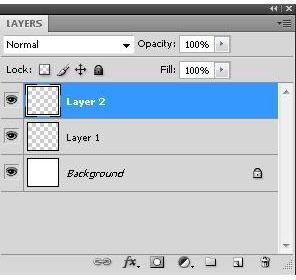
Place the clouds into Layer 1 and then select Layer 2 to place the coin.
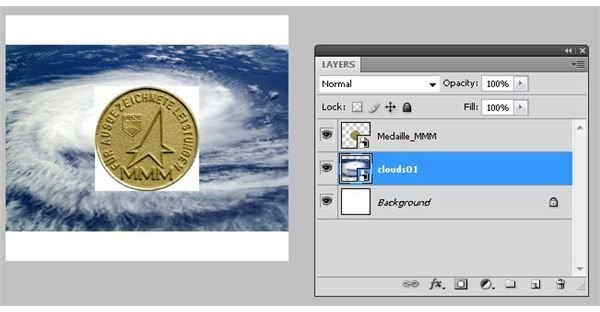
With Layer 2 selected, click the mask button at the bottom of the “Layer” palette to create a mask.

Grab the eraser tool and erase the white areas surrounding the coin. You now know how to use Photoshop layers to create compositions without modifying the objects involved.
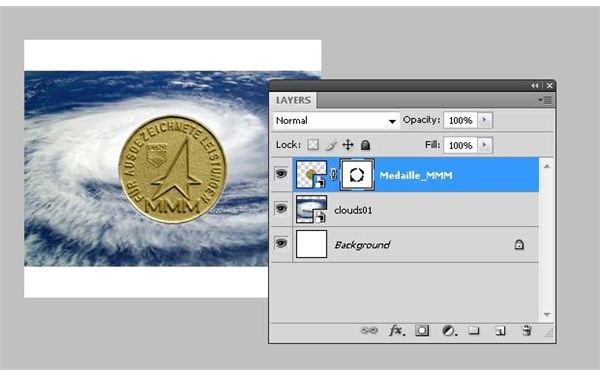
Image Credit: Wikimedia Commons/Burts (Coin)
Image Credit: Wikimedia Commons/NASA (Clouds)
Screenshots taken by Bruce Tyson


