Learn how to use Photoshop to create fun and creative blood splatter effects in your photographs and other images.
Getting Started
In order to learn how to use Photoshop to create blood splatter, you will need a computer that meets the minimum system requirements for Adobe Photoshop. Adobe Photoshop tutorials such as this one use Adobe Photoshop CS4 running on Windows 7, although users of other versions of Adobe Photoshop should be able to follow along as well. This Photoshop tutorial assumes that you have at least a basic working knowledge of Adobe Photoshop. Screenshots are included to help you monitor your results.
Creating the Blood Splatter
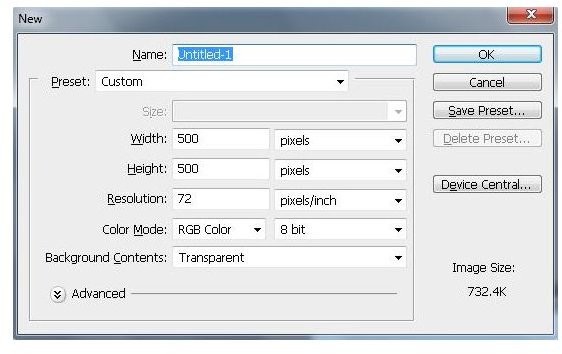
To get started, open Adobe Photoshop and create a new 500 x 500 composition. The size of the canvass is immaterial. You can choose any size that seems to be appropriate.
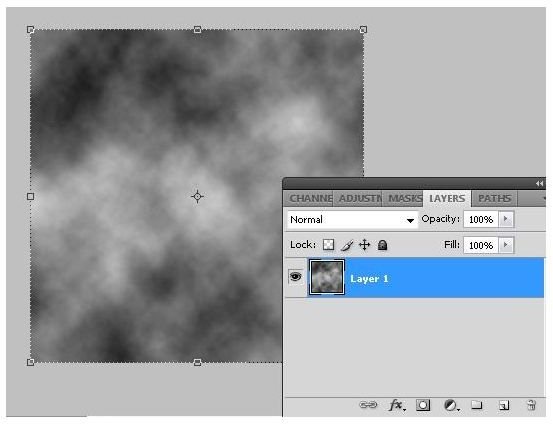
We will now use the “Cloud ” feature to form the basis of the blood splatter. To do this, click “Filter” on the main menu bar, “Render,” and then “Clouds.”
Now add fibers to the composition by clicking “Filter” and then “Render” and then “Fibers.” “Variance” should be set to “21” and “Strength” should be “2.0.” These are settings that can be altered based on your particular situation, so feel free to experiment how these settings change the appearance of your image.
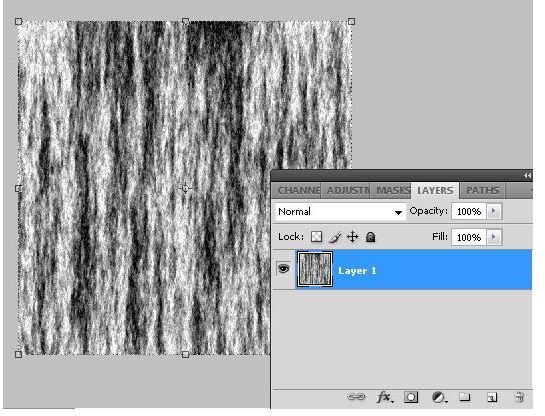
Click OK to apply to your image. Next, click on “Image” on the main menu and then click “Adjustments.” From the “Brightness/Contrast” menu, set the “Contrast” to “100.”
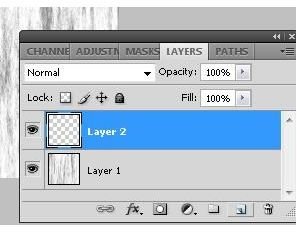
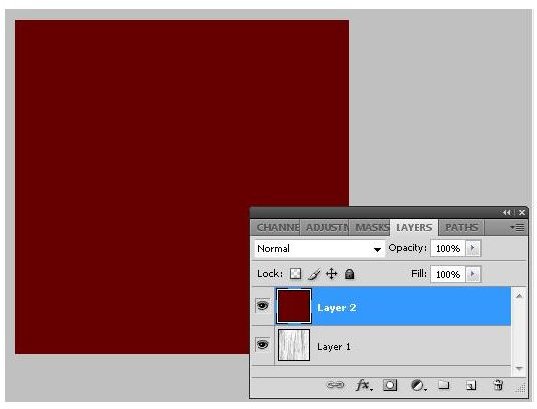
Now, add a new layer by clicking on the “New Layer” icon in the “Layers” window. The purpose of this layer is to hold the primary color of the blood.
Fill the new layer with a blood-like color.
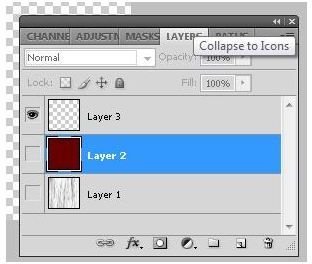
Next, create another new layer using the “New Layer” icon in the “Layers” window and then hide the other layers.
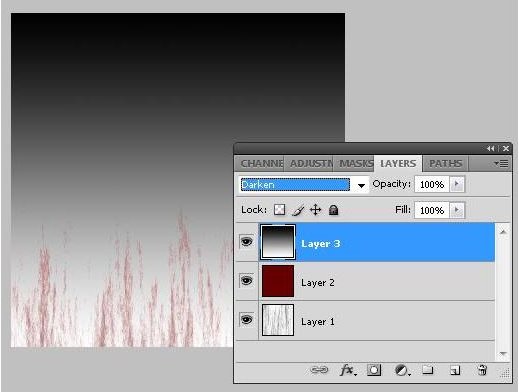
Grab the “Gradient ” tool from the Adobe Photoshop toolbox, set it to “Black and White” and then drag the gradient from the bottom of the layer to the top. Set the blending mode for the layer to “Darken.”
Now, switch to the colored layer and change the layer to “Screen” for blending mode.
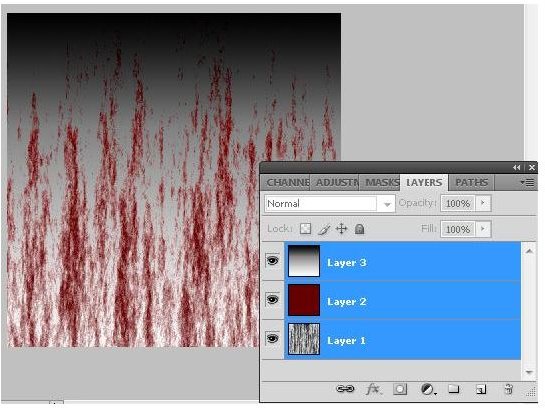
You now have the appearance of paint splattering against a wall. You will find an endless array of ways to change this according to your particular situation. Try different variations of the fiber rendering, the color for the blood, the blending of the layers, lighting, and opacity to get the exact appearance you are looking for.
Another way to use your blood is by converting it to a custom brush. You can do this by clicking on “Edit” from the main menu bar and then selecting the “Define Brush Preset.” You can then change the properties of the brush by accessing the “Brushes” window from the main menu bar.
Now that you know how to use Photoshop to create a blood splatter effect, you will find that you can manipulate this image in an unlimited number of ways.


