The GIMP is a popular free and open-source alternative to image manipulation programs such as Photoshop and Paint Shop Pro. GIMP users can make custom brushes for use in the program, allowing them to have complete control over their images. There are two primary methods of making GIMP brushes.
Custom GIMP Brushes
The GNU Image Manipulation Program, better known as the GIMP , is a powerful image editing tool that allows users a wide range of customization options. In addition to being able to add third-party plug ins and user-made features to the program, GIMP allows users to create custom brushes as well. Custom GIMP brushes can be simple variations on basic shapes or they can be more complex images that are created within the program and then saved as brush files. Both types of custom brushes are easy to create, though the latter requires GIMP to be restarted before they can actively be used in images.
Creating Basic Brushes
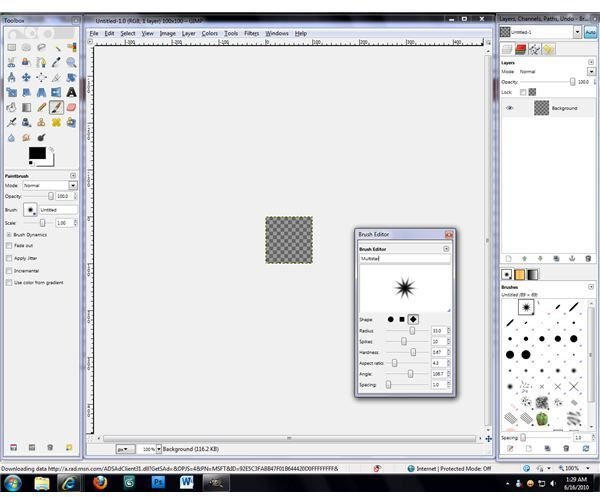
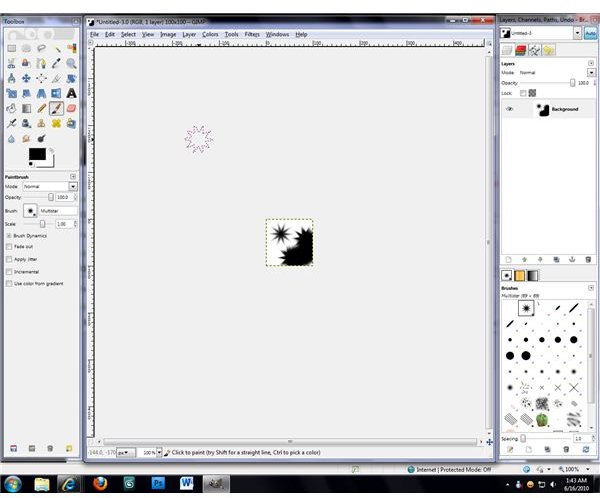
For the creation of basic brushes, GIMP has a built-in brush editor that can be used to create brushes based off of circles, squares, or diamonds. Click the “New Brush” button beneath the brush selection window (the second button from the left) to open the GIMP brush editor. Choose the basic shape that you wish to work from, then make adjustments to the brush using the sliders beneath the shape selection buttons. The preview window will show you the changes that are being made to your custom brush in real time, allowing you to tweak it so that it appears exactly the way that you want it to. Once your basic brush looks the way that you want, give it a name and close the brush editor. The brush will automatically be added to the brush selection window and will be selected by default.
Creating Unique Brushes
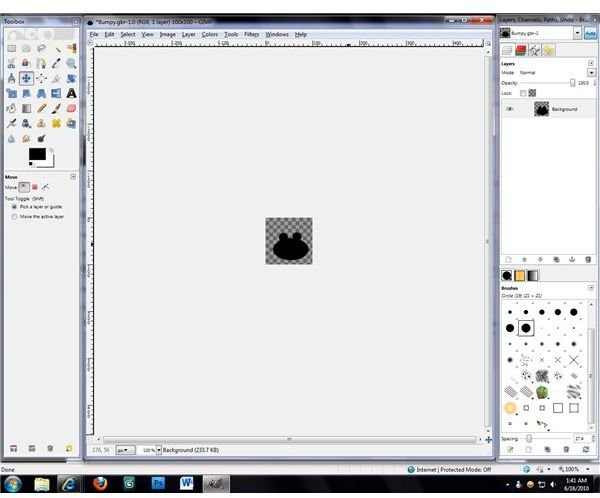
Unique GIMP brushes can be made using practically any image. GIMP will save the image in a monochrome format, allowing it to be used in the same manner as any basic brush that was made using the built-in brush editor. Load or create the image that you want to make into a brush, using the GIMP image tools to make any changes to the image until it looks exactly like you want your final brush design to appear.
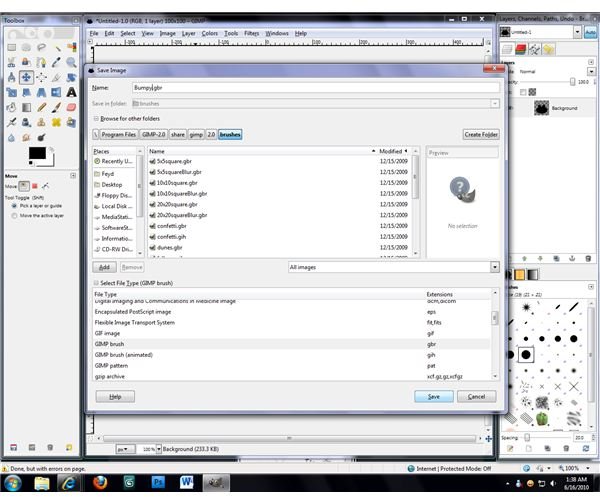
Once you have created your brush design, open the “File” menu and select the “Save As…” option. Expand the “Folders” and “File Type” menus by clicking the “+” boxes beside each listing. Browse to “GIMP-2.0\share\gimp\2.0\brushes” in your Program Files directory (or other directory where you have GIMP installed) to set your save location, and set your file type as “GIMP Brush” .gbr. Click the “Save” button to save your brush file. If your image contains layers you may be asked to export the image; click the “Export” button to export the image to a usable format and complete the save. Restart GIMP to load your newly saved brush.
Image Credits: All screenshots taken by J. Edward Casteele


