How to make water bubbles in Illustrator is hard to find among Adobe Illustrator tutorials. This tutorial will explain how to make water bubbles in Illustrator and demonstrate the process. In just a few steps, you can create realistic bubbles that can be a creative asset for use in many projects.
Creating Bubbles in Illustrator
To learn how to make water bubbles in Illustrator, you will need either a PC or a Mac that meets the minimum system requirements for Adobe Illustrator. The steps listed here use the Windows version of Adobe Illustrator CS4, but the process is mostly the same for other versions of Adobe Illustrator. Be sure to save your work often, so you don’t have to retrace your steps.
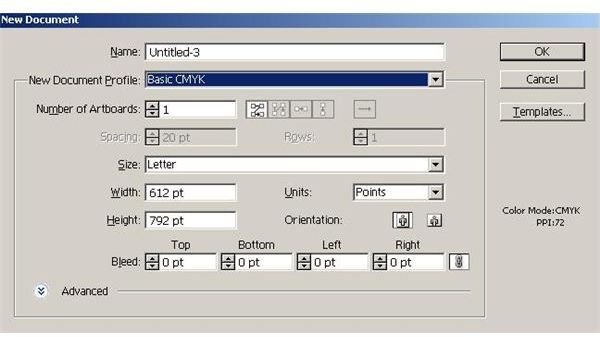
1. Begin with a new illustration. Sselect “Basic CMYK” for the “New Document Profile.”
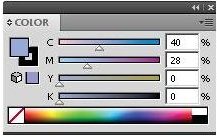
2. Open the color palette by clicking “Window” on the main menu and then selecting “Color.” You can also open this by pressing
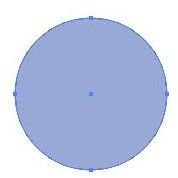
3. Grab the “Ellipse” tool from the tool box. Holding
4. Copy the circle using the “Edit” menu or by pressing
5. While holding down
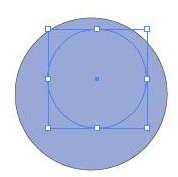
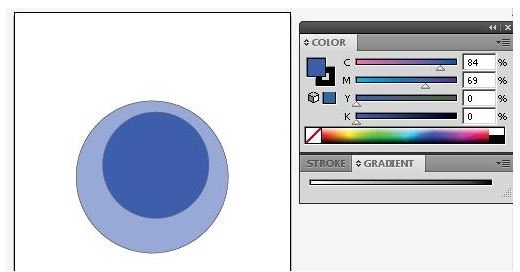
6. Set the fill of the top circle to a darker color. We’ll use C = 84, M = 69, Y = 0, K=0. Leave the stroke disabled.
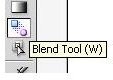
7. Grab the “Blend” tool from the Adobe Illustrator tool box (Or press
8. With the blend tool, click the lowest point of the first (largest) circle and then click the lowest point of the second (Smallest). Double click the “Blend” tool in the tool box to get the “Blend Options” dialog window. Select “Specified Steps” for “Spacing,” “Align to Path” for “Orientation” and “30” for the number of steps. Click “Select” on the menu bar and then “Deselect” (Or simultaneously press
9. Grab the pen tool from the tool box and use it to draw two small accents to signify light reflecting off of the bubble.
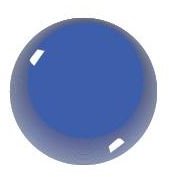
10. Using the selection tool, select all the objects in the bubble, right click and select “Group” to assemble the artwork. Now you can select it and paste it into your water.
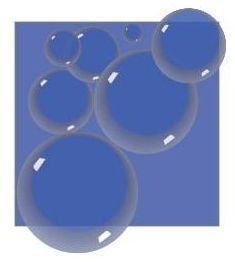
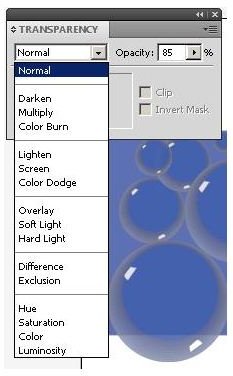
11. On the menu bar, click “Window” and then “Transparency.” Choose from several presets, change the opacity, clip, or invert mask as desired to finish your illustration.
You now know how to make water bubbles in Adobe Illustrator CS4 . Spend some time to learn how to build on this foundation to create fantastic artwork that includes bubbles.


