Adobe Illustrator is a powerful vector graphics platform that is perfect for creating all sorts of artwork. Adobe Illustrator tutorials can help you get started with the program or to learn something new. Here you’ll see how to draw gears in Adobe Illustrator.
Using Adobe’s Pathfinder Tool to Draw a Gear
This tutorial shows you how to make a quick and simple gear shape. In order to make a true gear you’ll have to try an alternate method. However, if you’re looking for something quick, look no further than the powerful Pathfinder tool. This tool will be key in creating quick gear shapes that you can use for a variety of purposes in your work.
-
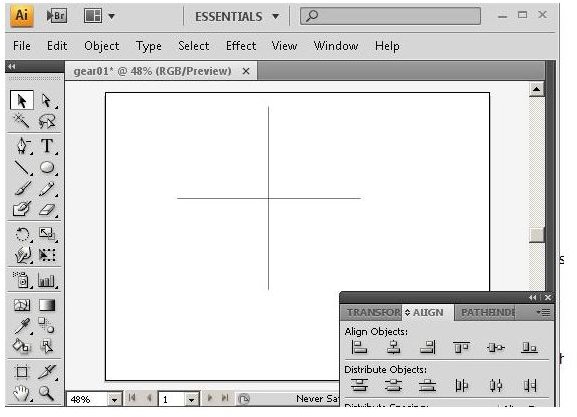
On a new canvas, draw a horizontal line. You can do this by holding the key down as you draw it. Once you draw the line, copy it, and then rotate the copy 90°. When that is done, use Pathfinder’s “Horizontal Align Center” and “Vertical Align Center” tools from the “Align Tab” to align the two lines as shown. If you don’t have the Pathfinder palette open already, you can open the Pathfinder window by pressing F9 or by using the “Window” option on the menu bar. (Click any image for a larger view.)
Advertisement -
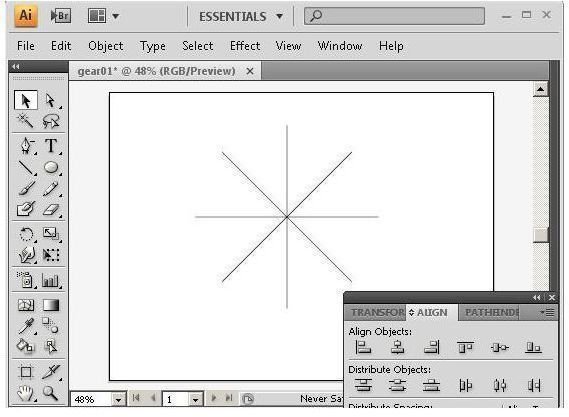
We will save some time by copying these perpendicular lines, so select both of them and then copy. After pasting the copy, rotate it 45° and then use the Pathfinder’s “Horizontal Align Center” and “Vertical Align Center” tools from the “Align Tab” to align the four lines as shown.
 Advertisement
 -
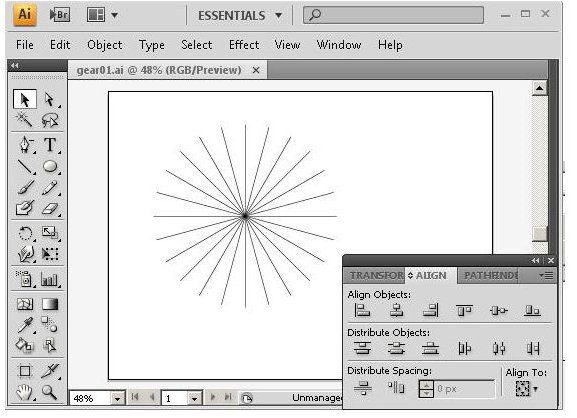
Now, select all the lines and make two copies. Rotate one set 15° and the other set -15°. Use the Pathfinder’s “Horizontal Align Center” and “Vertical Align Center” tools from the “Align Tab” to align all the lines as shown.
 Advertisement
 -
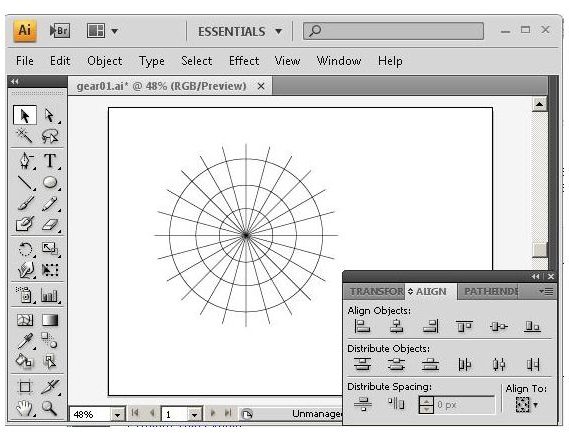
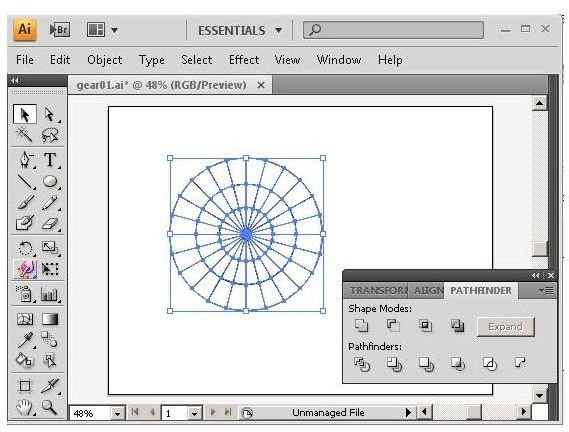
Now draw three concentric circles. the smallest will be the gear’s hub. The middle circle will be for the depth of the teeth, and the largest will be for the height of the teeth. Select the circles together with the lines and use the Pathfinder’s “Horizontal Align Center” and “Vertical Align Center” tools from the “Align Tab” to align the artwork as shown.
 Advertisement
 -
Select all the artwork and click the “Divide” tool on the “Pathfinder” tab.
 Advertisement
 -
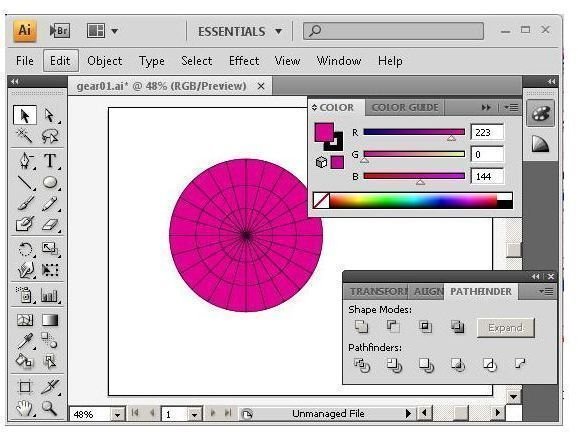
Fill in the shapes with the color of your gear.
 Advertisement
 -
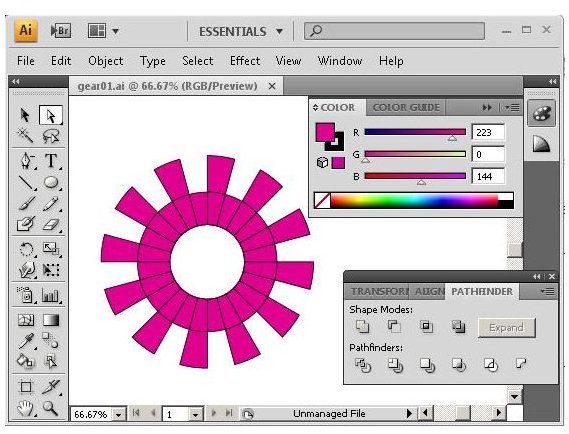
To define the gear, use the direct selection tool to start selecting and deleting the unnecessary artwork.
 Advertisement
 -
Select all the artwork and use the “Merge” tool from the “Pathfinder” palette to make the gear a single object.
 Advertisement
9. You now have a cool gear.
Comments
The Pathfinder tool is a quick and easy way to add gears to your illustrations. You probably noticed that the teeth don’t quite look right. This is because true gear teeth aren’t aligned based on the center point of the gear. If you’re doing serious design work, you may want to try an alternate method. You could base your gear on the same perpendicular lines and concentric circles and then either draw or trace your gear’s teeth to give it a more accurate perspective.


