Adobe InDesign offers a complete range of tools for type and paragraph formatting. The powerful flexibility of InDesign allows you to create text as part of your publication and format that text according to your needs. Here is how to set and remove a right indent in Adobe InDesign.
Adobe InDesign’s Paragraph Palette
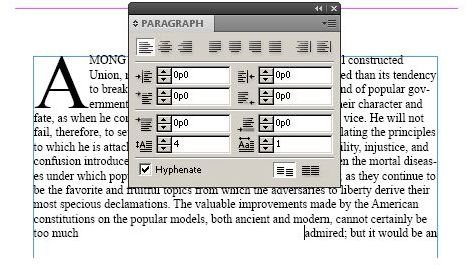
InDesign’s paragraph palette can be found by clicking “Window” in the menu bar, then “Type & Tables” and then “Paragraph” (alternatively press
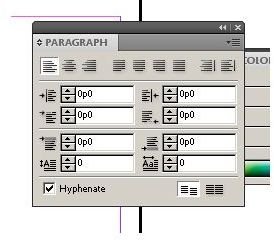
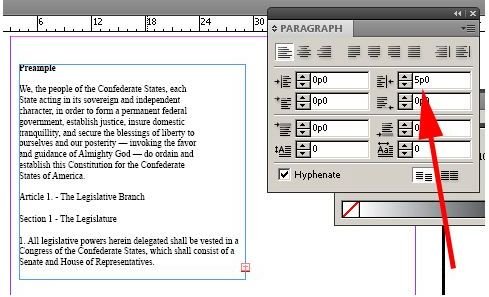
The next section is where the indent features are found: left indent, right indent, first line left indent, last line right indent. Settings are made using four combo boxes that can be used to increment or decrement indentations. Indents are used to format text. Left indents move text away from the left margin and right indents move the text away from the right margin. Right tab intents right align a line or selection of text with the right margin or indent.
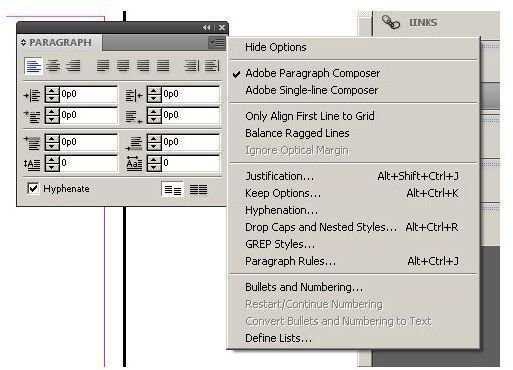
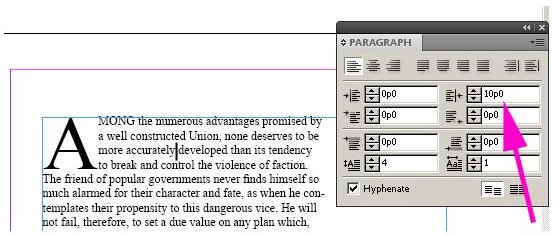
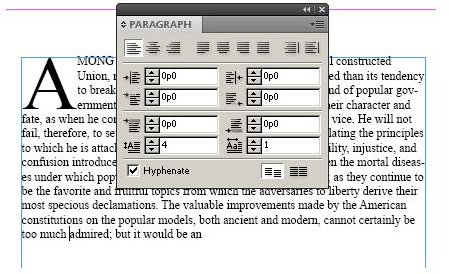
Found below the indent features is another set of combo boxes that are used to insert a space before or after, and drop cap height and width. At the very bottom of the palette is a “Hyphenate” checkbox and align (or do not align) with the baseline grid. Other options can be selected by clicking on the icon in the upper right corner of the palette.
Right now we’re going to be looking at the Indent tools to set and remove a right indent.
Setting a Right Indent in Adobe InDesign
A right indent can be used to offset text from the right side of a text box or right margin.
To set a right indent in InDesign:
-
Select the Type tool from the Tool Palette.
Advertisement -
With the text cursor (and if necessary) create a text box by clicking in the work area and dragging the mouse outward.
-
Type your text into the text box.
Advertisement -
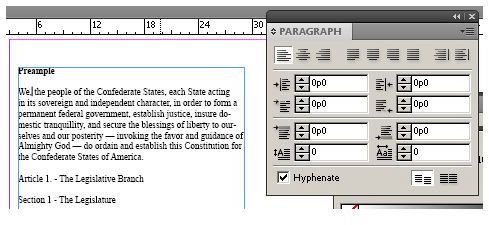
Place the text curser in the paragraph you wish to right indent.
 Advertisement
 -
Press
+ +T to open the Paragraph palette (When the Type tool is selected, you can also access Indent options from the control palette). -
In the Right Indent box, use the arrows to increase or decrease the indentation (or type in a numeric value into the box).
Advertisement -
Your selected text will now be indented on the right hand side.
 Advertisement
Removing a Right Indent in Adobe InDesign
Like all indents in Adobe InDesign, the right indent can be cleared. When you wish to clear a right indent in InDesign that has already been set, do the following:
-
Select the type tool from the tool palette.
Advertisement -
Click within the paragraph from which to clear indents.
-
Press
+ +T to open the Paragraph palette. Advertisement -
Change the value in the right indent combo box to zero using the arrows or by typing in a value.
 Advertisement
 -
The right indent is now cleared.
InDesign’s Right Indent Tab
Adobe InDesign also has a text function that allows you to set text aligned with the right side of your text box (or to the edge of your right indent). To use this, place your text cursor to the left of the text you wish to right-indent-tab.
Press