Replacing one color with another can be a tedious process in some image editing programs, but Photoshop makes it easy. Using the “Replace Color” function in Photoshop you can pick the color that you wish to replace right from your image and then select the color you want to replace it with.
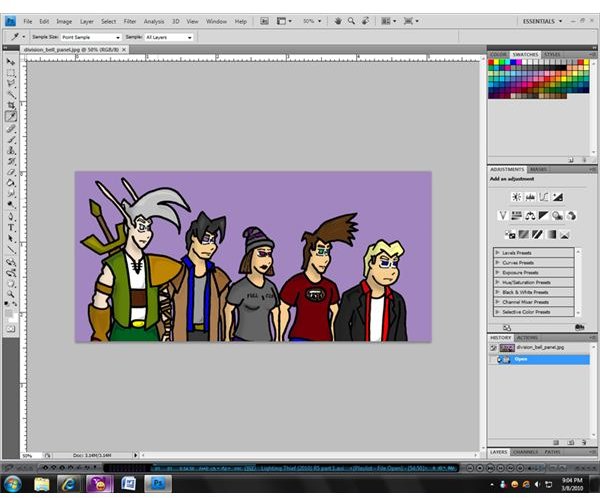
Replacing Colors
Replacing colors in Photoshop is easy thanks to the built-in function that allows the software to make these changes automatically. Before you can replace a color, however, you need to find the color in the image that you want to replace. Use the eyedropper selection tool to choose the color that you will be replacing, zooming in if necessary to make sure that you’ve chosen the right color.
Similar colors may be grouped together in the image, but only the specific color that is chosen will be changed when Photoshop finishes the color replacement. Once you’ve selected your color, open the “Image” menu by clicking it at the top of your screen (holding the “Alt” key and pressing “I” will open this menu as well).
Using the “Replace Color” Option
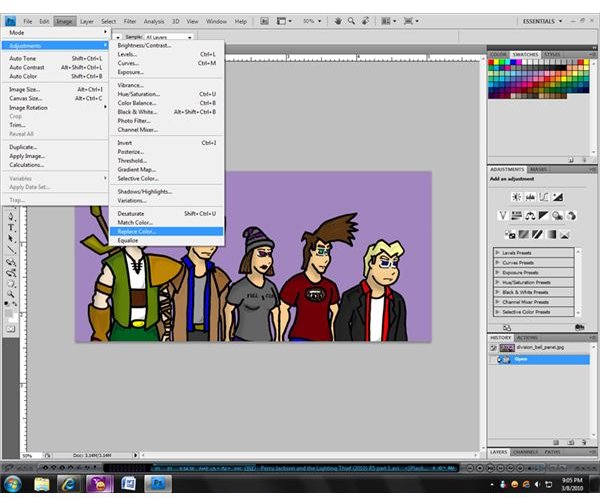
When you open the “Image” menu, the “Replace Color” option won’t be immediately available. Instead, you will need to open the “Adjustments” submenu by moving your mouse pointer over it. Near the bottom of the new menu you will see an entry titled “Replace Color…”; click it in order to open the “Replace Color” window.
Once it is open, you will be able to reselect your chosen color (and can even set the image display in the window to show only the portion of the image that is the color that you wish to change). You can also adjust the “fuzziness” of the color, indicating whether or not adjustments should be made to those colors which surround the specific color that you are changing as well.
Choosing the Replacement Color
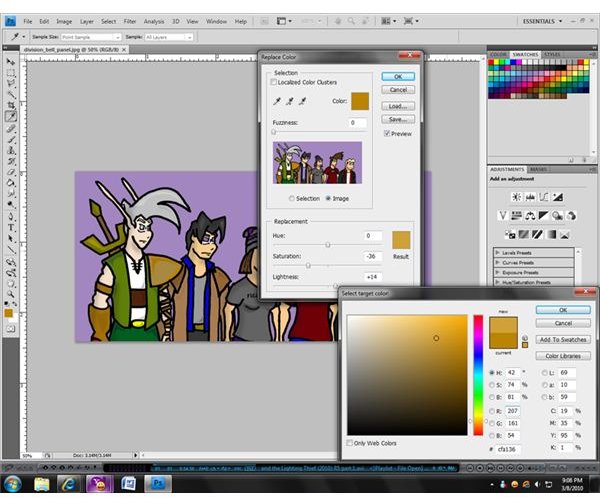
Once you have selected the color that you want to replace and have opened the “Replace Color” window, there are two different ways that you can choose your replacement color. The simplest method by which you can choose a color is to manipulate the three slides at the bottom of the window; using these slides to adjust the hue, saturation, and lightness of the end color.
To give yourself a wider range of color options, you can also click on the color preview image located next to the sliders… this will open a color selection window where you can enter the numeric values for a color in multiple ways or select the color from a palette. You can see what the new color looks like in the preview as well as on the main image, allowing you to make adjustments as needed before finalizing your decision. Once you are satisfied with your replacement color, simply click the “OK” button on the “Replace Color” window to finalize the change.


