Learn how to create graphics with InDesign. InDesign’s four drawing and graphics tools are explained in detail, showing you how to use them: the Pen tool, the Pencil tool, the Line tool, and the Shape tool. Even learn how to make simple stripes or a starburst!
Why Create Graphics With InDesign rather than Adobe Illustrator?
For creating simple to moderately complex line art graphics, it’s easier and quicker to do right in InDesign rather than switching to another program like Illustrator. InDesign’s drawing tools are comprehensive enough to cover the basics really well, and thanks to good programming, there are no printing issues with graphics created in InDesign.
InDesign’s Drawing Tools
InDesign’s tools palette offers 4 different options for drawing graphics in Indesign. I’ll introduce all four of them, including their keyboard shortcuts.
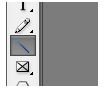
1. The Line Tool — keyboard shortcut: backslash (\)
Choose the line tool when you want very simple, straight line graphics. By using the “Transform” and “Transform Again” options under the Object menu, you can quickly create a uniform stripe pattern.
You can make lines as wide or narrow as you want using the Stroke palette. 0.25 point is hairline, the narrowest width professional printers will recognize. 0.5 and 1 point are common line widths. Anything wider than 2 point is a pretty chunky line.
When drawing lines, hold down the shift key to constrain your line to any 45 degree angle.
2. The Shape Tool — keyboard shortcut: L
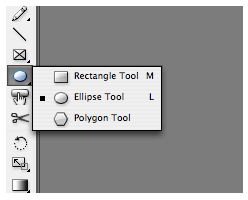
The Shape tool offers three options: Rectangle, Ellipse, and Polygon. With all of these, the shift key will constrain your shape to a square or circle shape.
Holding down the option (alt) key will draw your shape beginning in the center, instead of from a corner.
With all of these tools, you can click on your page rather than begin drawing, and an options box will appear. Most of the time this box offers inputs for width and height measurements. The polygon is a bit special in that you can also specify how many points it has, and whether it will be a star or not. The polygon tool is useful for creating quick starburst shapes to use as violators.
3. The Pencil Tool — keyboard shortcut: N
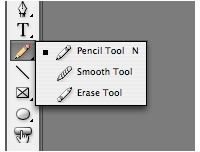
The Pencil tool is a freeform sketching tool. Frankly, I’ve never had a use for the Pencil in either Illustrator or InDesign. It’s too imprecise for my design needs. However, I do enjoy playing with it, and the hand-drawn look is in demand for some design applications.
The Smooth tool is the Pencil tool’s indispensible twin. Drag it across wobbly curves made by the Pencil tool, and it smoothes them out automatically.
The Erase tool does just what it says: Drag it across an area of your pencil drawing, and it’ll erase it.
4. The Pen Tool — keyboard shortcut: P
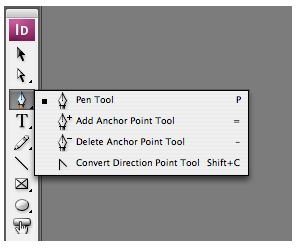
With the Pen tool, you can create complex, precisely-drawn curves and shapes. Draw a panda, a crayon, or a tree, if you like. Every time you click on the page, an anchor point is created. Click and drag, and you create a curve.
Hold down the shift key to constrain the pen to a 45 degree angle. To adjust curves, use the Direct Selection tool (hollow arrow).
Go Draw!
Now that you know the basics, it’s time to try your hand at creating graphics with InDesign. Play around with the tools I’ve described here, and refer to Adobe’s InDesign Help within the application for more detail — it’s a pretty good resource. With a little practice, you’ll be creating simple line art, icons, and drawings within InDesign itself.


