So you’ve decided to finally make the switch from Quark to InDesign, or you’re being forced to by your company. It’s a big change, but you’ll be happy with the switch. Here’s why.
I’ve been a publishing professional since the early 1990s, and as a result, was weaned on QuarkXPress. Sure, Quark had its problems — chief among them being the company’s unresponsiveness to its customers — but it was light years ahead of its competition, Aldus’ (and then Adobe’s) PageMaker.
Anyone reading this article is likely to be as old school, or nearly as old school, as me, so I won’t be pussyfooting around technical terms like master pages or kerning. You’re either a professional freelance designer looking to make the switch to an all Adobe workflow, or in a corporate design environment where you’re being forced to migrate from Quark to InDesign.
Whatever your situation, have no fear. InDesign bears no resemblance to its predecessor PageMaker, which was so awful in production environments it earned the nickname “PageWrecker,” and prepress ops would convert PageMaker files to Quark because the finessing needed to make them print was less than if you ran them from their native application.
Adobe listened to users, and from the initial CS launch to CS4, has implemented features designers had longed for for years. InDesign got layers before Quark did (I have to confess, the last version of Quark I’ve used is 6), tossed in some useful and usable minimal drawing tools, and seamlessly integrated with Illustrator and Photoshop.
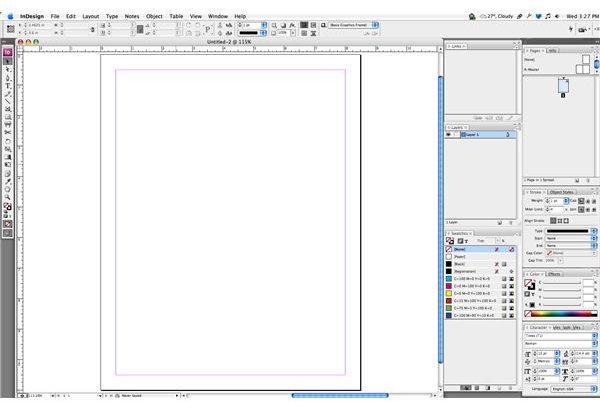
The transition from Quark to InDesign will be nearly seamless. It uses text and picture boxes (frames, in Adobe-ese) just as Quark does. InDesign has master pages, style sheets, and linking (threading) text boxes, and a Collect for Output (Package) that puts Quark to shame.
Download Adobe’s Quark to InDesign Migration PDF
Adobe has produced an invaluable PDF to help users migrate from Quark to Indesign.
It’s an exhaustive resource, helpfully pointing out the many tools with slightly different names (for instance, the Item tool from Quark is the Selection tool in InDesign), and going into extensive detail on keyboard shortcuts, document creation, preflight, and so forth.
What You’ll Miss in InDesign
Switching from Quark to InDesign will be mainly intuitive; the Tools palette will look mostly familiar. However, some features you love in Quark will be sadly missing or hard to find. For instance, Runaround in Quark is called Text Wrap in InDesign and is tucked away in the Window menu or accessed by the command-option-W shortcut. If you like to fine-tune kerning, tracking, leading, and font sizes from the keyboard, you’ll immediately want to go into InDesign’s preferences and adjust the defaults from the crazy-big 2-point increments and 20/1000 em down to something more reasonable. I prefer to change the default increment to 0.1 point and 1 or 5 thousandths of an em.
Paragraph spacing is done from a palette only. There is no keyboard shortcut-accessible dialog box that you can bring up and tab through. Frankly, I find this a near-fatal flaw. Power users know it’s always a pain to have to go away from the keyboard and click around in palettes to set something as basic and crucial as space after or indents.
You’ll Still Be Happier With InDesign Overall
In spite of the above issues, I’ve found that the feature and workflow improvements offered by InDesign make up for having to give up my favorite page layout program (Quark). Being able to draw a small icon on the fly within InDesign itself, instead of having to run to Illustrator for a decent pen tool, and hassle-free PDF production are just two of the many changes — improvements — that overall have made production workflows so much smoother.
So give that Adobe-produced Quark-to-InDesign migration guide (here’s the link again ) a good read and/or print it out for the entire department. The feel of InDesign isn’t all that different from Quark — migrating from Quark to InDesign will probably be more hassle-free than you think.


