
This article complements the Valentine’s Stationery Paper tutorial. With Microsoft Word and a do-it-yourself attitude you can create envelopes to match the Valentine’s stationery you’ve already made. You can also use these instructions to create stationery and matching envelopes for any occasion.
Creating Homemade Valentine’s Day Envelopes in Microsoft Word
When creating your own Valentine’s Day envelopes to match your stationary, you have two options to run with. The first option is to use the faint look which will allow the graphic you are using to become the background and it will have a faded look to it. This option can be used with faded stationary, or stationary with bright graphics. It will compliment either one.
The second option you have is to use a bright graphic that will be placed somewhere on the stationary’s envelope. Whichever you choose to use will work just fine. In this tutorial, you will learn how to create both of the envelopes to match your stationary.
First things first, make sure you still have the graphic you used to create your Valentine’s Day stationary . If you do not have the same graphic, you may want to go in search of it. If you can’t find it, you can always search for something that will match the stationary in some way. Once you have the graphic you want to work with, or find the one you have already used, continue on to get started with this tutorial.
How to Make Valentine Envelopes with Word
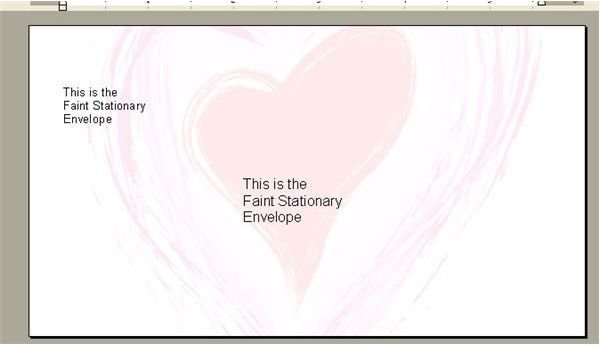
In the Valentine’s stationary tutorial, the first paper we created was the faint stationery . These steps show how to create the envelopes to match that stationary.
Open your Microsoft Word program and create a new document. Go to the top of the program and click Tools -> Letters and Mailing -> Envelopes and Labels. This is how to create the template for envelopes.
Note: If you are using Microsoft Word 2010, you will need to click Mailings at the top. Then click the Envelopes button in the toolbar.
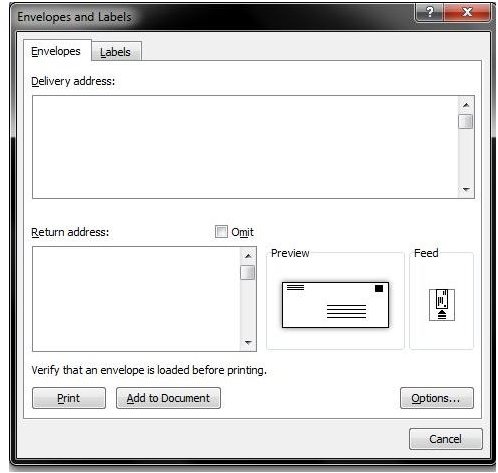
In the properties box that just opened, you will see the From address and the To address. You can begin by filling in these two sections. However, if you are making multiple envelopes, you may want to leave the To field blank and just enter your information in the From field.
Next, you will need to select your envelope options and your printing options. To get to these options, click the Options button on the right side of the box. These are the options that will allow you to choose the size of your envelope and how you would like to print the envelope.
The box that just opened is your envelope and printing options. You will see the two tabs at the top of the box. Click the Envelope tab and adjust your options for the envelope. Then click the Printing Options tab and adjust the printing options. Click OK to close the box and save your settings.
Now click the Add to Document button. You will now see your envelope template in your program. The next step is to add the stationary part. Click your mouse on the template. Then click Format -> Background -> Printed Watermark. When the box opens, tick the Picture field. Then click Select Picture and locate the graphic you used for your stationary. Tick the Washout box and select the size you want the graphic to be scaled, too. You can click apply to see the size of the graphic. If you need or want to change the size of the graphic, change the scale size. Once you have it the way you want it, click the Close button.
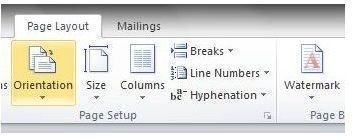
MS Word 2010 users will need to click the Page Layout tab and click the arrow below Watermark. When the menu opens, click Custom Photo to open the above box. From there, you can follow the above instructions.
Aternative Way to Making Valentine’s Day Envelopes
Here is the other way to create the matching envelopes for the Valentine’s stationary paper in Microsoft Word. Follow the same steps to create an envelope that fit your Valentine cards as we showed in the above section. Do everything up to the point where you add the watermark. Don’t add the watermark. Instead, click your mouse on the envelope and click Insert -> Picture -> from File. Locate the other graphic you used and open it. You can move your graphic around the envelope by using the alignment tool.
Once you have your envelopes the way you want them. Print one out to see if it’s OK. If the envelope prints correctly, go ahead and print the others. You can also adjust the font on the envelope. You can highlight it and change the font style, color, and size.


