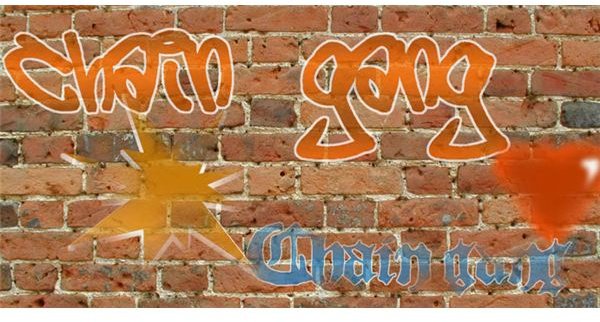
This step-by-step guide will show you two methods you can use to create graffiti artwork in Photoshop.
Creating Graffiti Text
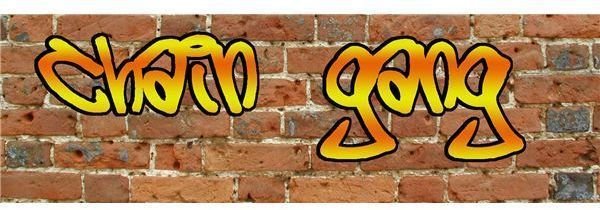
This graffiti-style text can be created against a plain background or you can use an image of a brick wall for your background. For the purposes of this tutorial, we shall use a brick wall for an authentic effect. There are two methods you can use to create your graffiti artwork.
Method #1
-
 Advertisement
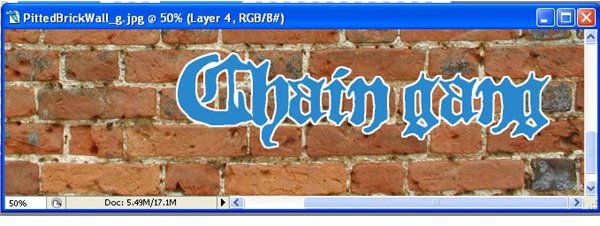
Open your brick wall image. Select the text tool and then choose a font and font color. Type in your desired text onto the image.
-
Rasterize the text: right click on the text layer and then select rasterize.
Advertisement -
Select the text using the Magic Wand tool.
-
Expand your selection using by 3px (Select > Modify > Expand).
Advertisement -
Add a new layer behind the current text layer (Shift + Ctrl + N).
-
Fill the selection with a color of your choosing.
Advertisement
Giving Graffiti Text a Worn Look
Give the graffiti text a worn or faded look;
- Select both of the layers (text and background layers).
- Merge the two layers together (Ctrl+E).
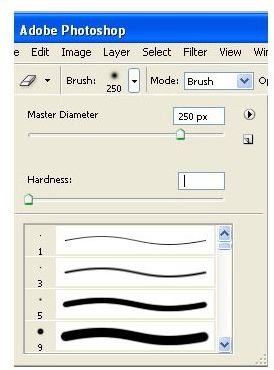
- Select the erase tool, and choose a round brush 250px size.
- Adjust the brush hardness to 0.
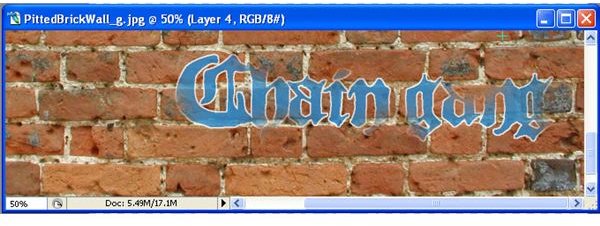
- Erase some of the text edges and portions of text. Reduce the fill to 90%.
- Save your image. And you are done!
Method #2
1. Select a font and font color, and then type in your desired text onto the image.
2. Rasterize the text: right click on the text layer and then select rasterize.
3. Expand your selection using by 3px (Select > Modify > Expand).
4, Add a new layer behind the current text layer (Shift + Ctrl + N).
5. Fill the selection with a color of your choice.
6. Select the text layer. Select the text color using magic wand tool, and then delete the color.
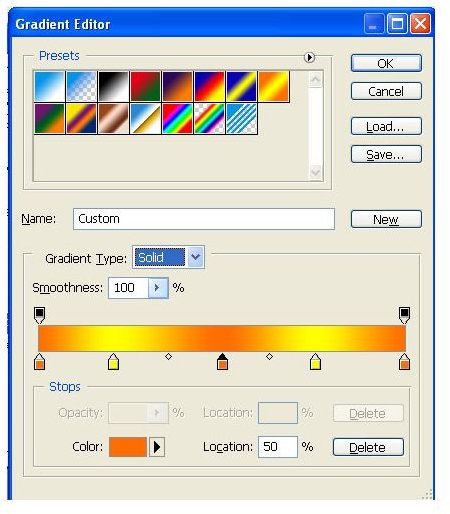
7.
Select the gradient tool. Adjust the settings to create a funky gradient scheme.
8. Add this scheme to your selection.
9. Give it a worn look by following the steps in Section #2 above.
10. Save your image. And you are done!
Give Your Graffiti Text Some Flair
Add graphic elements s to your graffiti to add some flair. For the purposes of this tutorial, we will add a love heart.
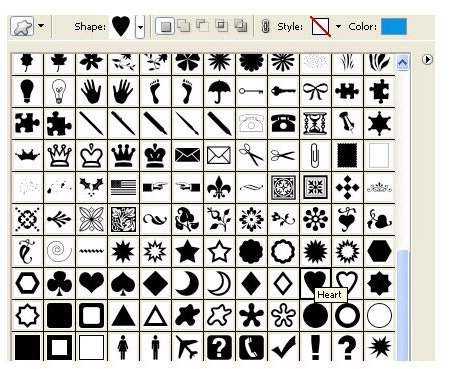
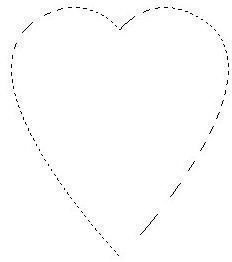
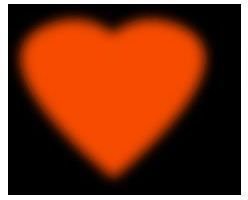
1. Create a heart shape using Photoshop’s custom shapes.
2. Feather the shape’s outline by 6px (Select > Feather).
3. Fill the heart with a color of your choice. We have used orange in our example.
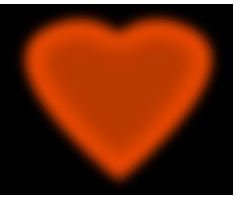
4. Contract the selection (Select > Modify > Contract) by 3px.
5. Fill the selection with more of the same color
6. Give the heart a 3D-look by adding a white portion to the upper left or right corner of the heart shape.
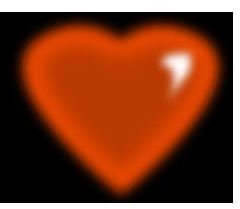

7. Add the completed heart to your graffiti art. And you are done!


